Plastic snaps are an easy-to-use and durable fastening solution for a variety of sewing and crafting projects. learning how to use plastic snaps properly can significantly enhance the functionality and appearance of your creations.

In this guide, we will walk you through the process of selecting, installing, and maintaining plastic snaps to ensure a perfect result every time.
What Are Plastic Snaps?
Definition and Overview
Plastic snaps are small, fastener pieces commonly used in sewing and crafting projects. They consist of two interlocking parts: a male (or stud) part and a female (or socket) part. When pressed together, these two parts snap into place, providing a secure closure. The outer material is typically made from durable plastic, which is lightweight, flexible, and available in various colors and sizes to suit different projects.
Types of Plastic Snaps
Plastic snaps come in various styles and designs to fit different needs. Some of the common types include:
- Flat Snaps: Perfect for lightweight fabrics like cotton, these snaps lie flat against the fabric, providing a sleek look.
- Domed Snaps: These have a rounded shape and are ideal for thicker fabrics or where a more pronounced fastening is needed.
- Resin Snaps: Often used for specialized applications, resin snaps offer a decorative finish with an array of patterns and colors.
Advantages of Using Plastic Snaps
Plastic snaps are popular due to their convenience and versatility. Some key advantages include:
- Durability: They are designed to withstand frequent use without easily wearing out.
- Ease of Use: Installation is quick and simple, making them ideal for DIY projects.
- Lightweight: Unlike metal snaps, plastic snaps are light and ideal for delicate or lightweight fabrics.
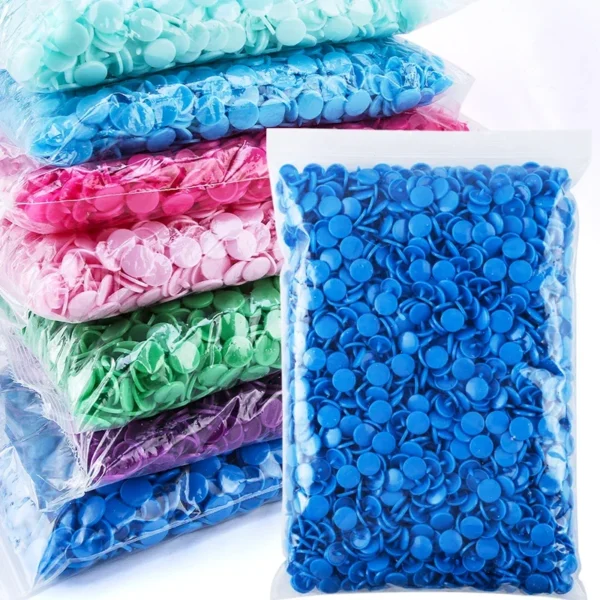
- Color Variety: Available in many colors, plastic snaps can match or complement the fabric of your project.
Choosing the Right Plastic Snaps for Your Project
Factors to Consider
Before you begin working with plastic snaps, it’s important to consider the following factors:
- Fabric Type: The weight and texture of the fabric will determine the type and size of snap you should use.
- Closure Functionality: If the snap is used in a high-stress area, like a jacket or diaper cover, you’ll need a strong, secure snap.
- Project Aesthetic: Choose a snap that matches or complements the overall design of your project.
Different Sizes and Styles
Plastic snaps come in various sizes, typically ranging from 8mm to 15mm in diameter. You should choose a size based on the thickness of the fabric you’re working with. For thicker fabrics like denim, opt for larger snaps, while smaller snaps are better suited for lightweight materials.
Matching Plastic Snaps to Fabric Types
- Cotton & Denim: Medium to large-sized snaps work well for cotton and denim. Domed snaps can add a stylish touch to these fabrics.
- Fleece & Knits: For stretchy or soft fabrics, select snaps designed for light to medium-weight fabrics to prevent bunching or warping.
How to Use Plastic Snaps:Essential Tools for Installing Plastic Snaps
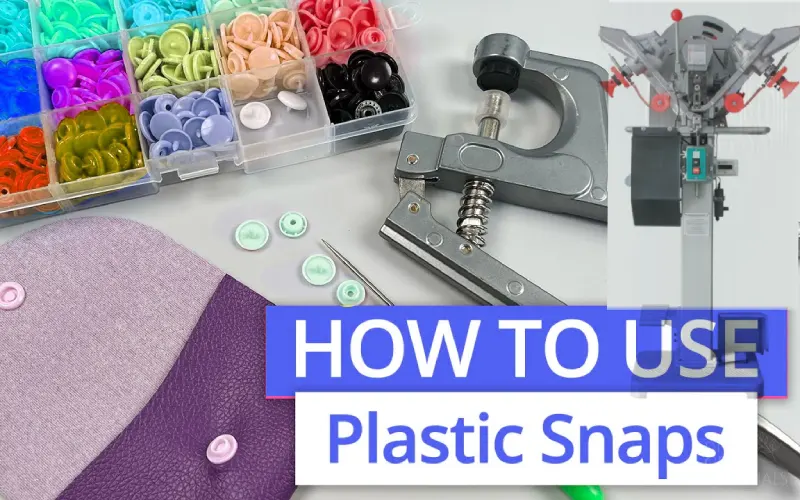
Snap Fastener Pliers
One of the most essential tools for working with plastic snaps is a pair of snap fastener pliers. These pliers come with interchangeable heads designed to press the snap parts together securely. They are easy to use, even for beginners, and provide a consistent result every time.
Setting Dies and Installation Kits
If you’re working with larger quantities of snaps, or prefer a more professional look, you might want to invest in a snap-setting die kit. These kits include tools to help you precisely place and attach snaps, ensuring they are perfectly aligned and secure.
Alternative Tools for DIY Projects
For DIYers on a budget, there are a variety of basic tools that can serve in place of specialized snap tools. For example, a hammer and hand tool set can be used in place of pliers to attach snaps manually. However, using the right pliers or setting dies will yield better results.
Step-by-Step Guide to Using Plastic Snaps
Preparing the Fabric
Start by preparing your fabric. Ensure it’s clean, smooth, and wrinkle-free to achieve the best results when attaching the snaps. You should also mark where you want the snaps to be placed. Use a fabric marker or pencil for accuracy.
Marking the Placement for Snaps
It’s crucial to position your snaps evenly on both sides of the fabric. Use a ruler or measuring tape to ensure proper alignment. Mark the exact spot for each snap using a fabric pen or chalk, which will wash out easily later.
Installing Plastic Snaps with Pliers
Once you’ve prepared the fabric and marked the placement, it’s time to install the snaps. Follow these steps:
- Insert the snap parts (male and female) into the pliers’ setting tool.
- Position the fabric between the snap components.
- Squeeze the pliers firmly to attach the snap to the fabric. Be careful to apply even pressure to ensure a secure fastening.
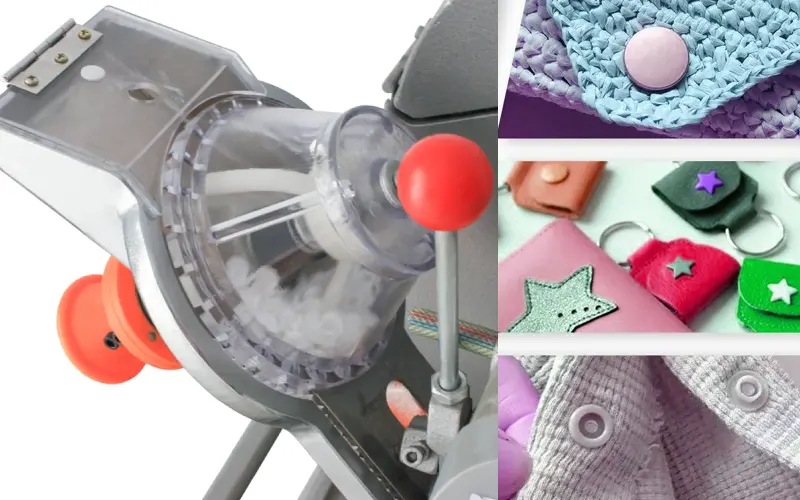
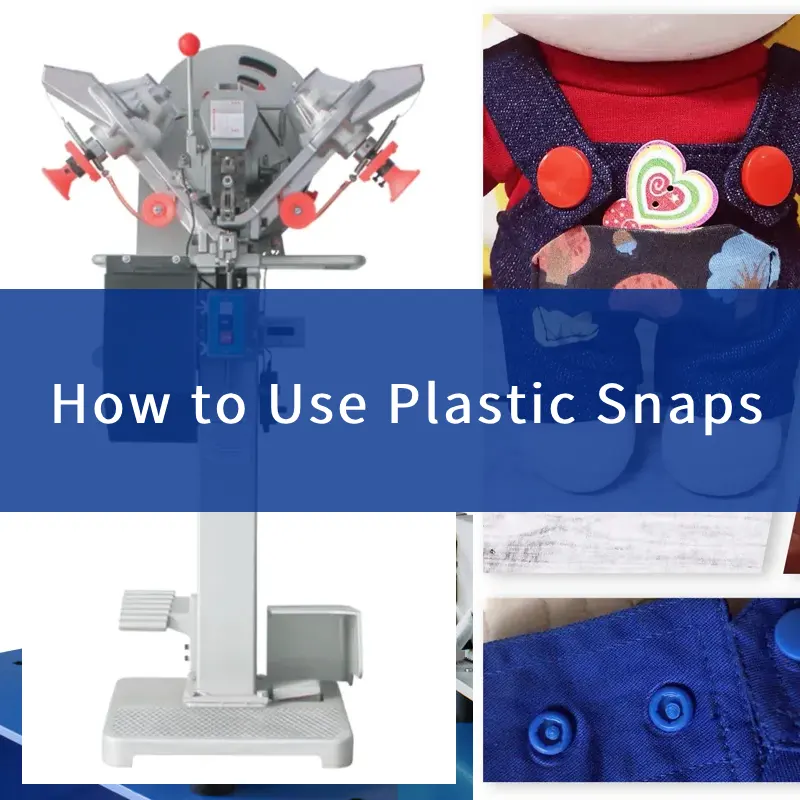
Snap Button Attaching Machine Installation of Plastic Snaps Steps

Prepare the Materials and Machine
- Materials Needed:
- Plastic snaps (cap, socket, stud, and post)
- Fabric pieces where snaps will be applied
- Snap button attaching machine
- Ensure the machine is clean and well-maintained. Check that there are no obstructions in the machine and that the necessary attachments are installed.
2. Set Up the Machine
- Install the Correct Die Set:
- Attach the appropriate die set for plastic snaps to the machine. The die set will have different components to accommodate the cap, socket, stud, and post of the snap.
- Adjust the Pressure:
- Adjust the pressure settings according to the fabric type you are working with. For lightweight fabrics, use lower pressure, and for heavier fabrics, increase the pressure.
3. Position the Fabric
- Align the Fabric Pieces:
- Place the two fabric pieces together where you want the snap to be applied. Make sure they are aligned properly, ensuring the snap will be positioned exactly where needed.
- Mark Snap Placement:
- Mark the exact placement for each snap on the fabric. This will help ensure accurate installation.
4. Load the Plastic Snap Components
- Place the Snap Parts in the Die Set:
- Insert the plastic snap components into the designated positions in the die. The cap, socket, stud, and post should be positioned according to the die set instructions. Generally, the cap is on the top side of the fabric, while the socket goes on the bottom side (for the receiving part of the snap).
5. Position the Fabric Under the Machine Head
- Align the Fabric with the Die:
- Place the fabric underneath the machine head, ensuring that the snap parts are aligned with the corresponding die components. Double-check the fabric placement and snap alignment to avoid misplacement.
6. Activate the Machine
- Press the Foot Pedal:
- Once everything is aligned, press the foot pedal to activate the machine. The snap button attaching machine will apply the necessary pressure to attach the plastic snap to the fabric. The snap parts will be securely joined together.
7. Check the Installation
- Inspect the Snap:
- After the machine finishes, check the snap installation. Make sure the snap is securely attached and that the fabric isn’t damaged. The snap should open and close smoothly.
8. Repeat for Additional Snaps
- Apply Snaps to Other Fabric Areas:
- If you need to install additional snaps, repeat the above steps for each placement.
9. Post-Installation Adjustments
- Test the Functionality:
- Test the snap by pressing and releasing it several times to ensure it functions properly. If any snaps are loose or not holding correctly, adjust the pressure on the machine or check for any issues with the snap components.
How to Attach Plastic Snaps to Different Fabrics
Using Plastic Snaps on Cotton and Denim
For cotton and denim, medium-sized domed snaps are typically the best choice. Place the snap close to the edge of the fabric to prevent any strain on the material when the snap is closed. Use snap fastener pliers for an even and secure attachment.
Attaching Snaps to Synthetic Fabrics
When working with synthetic fabrics like polyester, opt for smaller, lightweight snaps to avoid putting unnecessary pressure on the fabric. Ensure that the snap is evenly placed to prevent any distortion of the fabric when the snap is fastened.
Troubleshooting Common Issues with Plastic Snaps
Incorrect Snap Placement
One of the most common problems when using plastic snaps is incorrect placement. If your snaps don’t line up properly, the fabric may not close securely. To fix this, simply remove the snaps and reposition them according to your original measurements.
Snaps Not Securing Properly
If the snap isn’t securing properly, it could be due to improper installation or a faulty snap. Try removing the snap and reinstalling it with a little more pressure using the pliers. If the issue persists, consider replacing the snap entirely.
How to Fix Snaps That Won’t Close
Tips for Adjusting Plastic Snaps
If your plastic snap isn’t closing tightly, use the pliers to gently squeeze the snap’s prongs together. This will help it fit more securely into the socket. If needed, try adjusting the position of the snap on the fabric for a tighter fit.
Replacing Damaged Snaps
If a snap becomes damaged or worn out over time, simply remove it and replace it with a new one. Use the pliers to secure the new snap in place.
Tips and Tricks for Efficient Plastic Snap Usage
Prepping the Fabric for Neater Results
Before attaching your snaps, iron your fabric to remove any wrinkles. This will help the snaps adhere better and ensure that they stay in place longer. Additionally, use fabric stabilizers for lightweight fabrics to prevent any sagging or stretching around the snap area.
How to Ensure a Tight Fit
For a tight, secure fit, make sure you’re using the right size snap for the fabric thickness. Don’t forget to apply even pressure when using the snap fastener pliers to ensure both parts of the snap are fully engaged.
How to Maintain Plastic Snaps for Long-Lasting Use
Cleaning Plastic Snaps
Plastic snaps are easy to clean. Simply wipe them with a soft cloth dampened with warm water and mild soap. Avoid harsh chemicals that can degrade the plastic over time.
Storage Recommendations
To keep your plastic snaps in good condition, store them in a cool, dry place. If possible, store them in a compartmentalized container to avoid any accidental damage or misplacement.
FAQs
How can I install plastic snaps without pliers?
While pliers make the process much easier, you can use a hammer and hand tool to install snaps. However, this method requires more precision to avoid damaging the fabric.
Can I use plastic snaps on leather?
Yes, plastic snaps can be used on leather, but you’ll need to use a snap specifically designed for thicker materials like leather.
What’s the difference between plastic and metal snaps?
Plastic snaps are lightweight, versatile, and come in a wide range of colors, while metal snaps tend to be more durable and ideal for heavy-duty use. Both types function similarly, but plastic snaps are better for lighter, more decorative applications.
How do I know what size snap to use for my project?
The size of the snap you choose should match the thickness of the fabric. Lighter fabrics typically require smaller snaps, while thicker fabrics need larger ones.
Are plastic snaps durable enough for heavy use?
Yes, plastic snaps are durable enough for most applications, including everyday clothing and accessories. However, for high-stress items like jackets or bags, metal snaps may be a better option.
Can plastic snaps be used on stretchy fabrics?
Yes, plastic snaps can be used on stretchy fabrics, but ensure that you choose the right size snap and place it carefully to avoid distortion of the fabric.
Conclusion
Plastic snaps are a versatile, easy-to-use fastening solution for various crafting and sewing projects. By choosing the right snaps, tools, and techniques, you can create durable and functional items that last. Remember to follow these tips for a secure installation and long-lasting results!


