
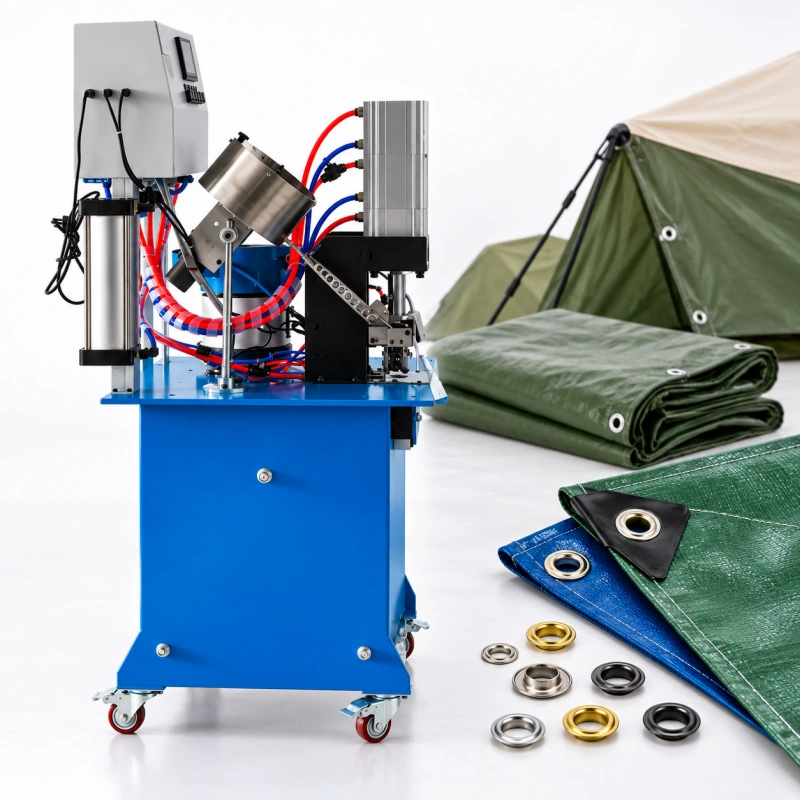
A tent sidewall can leave your workshop with neatly set eyelets and still cause problems during assembly. If the attachment points do not match the adjoining panel, your customer has to pull the fabric out of shape to lace it together. An outdoor equipment cover can have a similar problem: the fasteners look secure on the bench, but the corner folds put them under a different load once you fit the cover.
When you choose eyelet machines for tents and outdoor covers, you need to consider the finished product as well as the setting operation. Your machine must handle the actual reinforced sections, reach every specified position, and let you move large panels without losing alignment.
This guide helps you plan eyelet production for camping and event tents, removable shelter walls, and fitted covers for outdoor equipment, furniture, and stored goods.
Start with the job each attachment point must do
Before you compare machines, mark the eyelet locations on your product drawing. Separate the points used for lacing, retaining a removable panel, or connecting a cord from any attachment that forms part of your shelter’s main anchoring system.
That distinction affects the reinforcement, hardware, and validation you need. You cannot establish the strength of a complete tent simply by choosing a larger eyelet or a more powerful press.
Tent walls and joining edges
If you manufacture modular event tents, your sidewall eyelets may have to line up with another wall, an overlap flap, or specified frame connections. Consistent pitch matters, but so does the position of the first and last hole.
Use the finished panel dimensions as your reference. If you mark holes before sewing or welding the joining edge, allow for the dimensional changes introduced by those operations. Otherwise, a regular row of eyelets can end up in the wrong place on the assembled tent.
Reinforced tabs and corner points
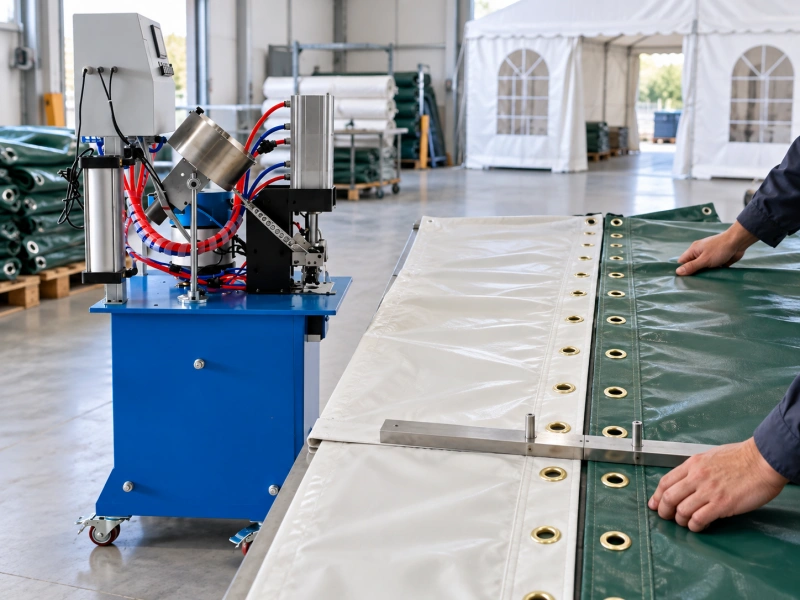
On camping tents, your eyelet may sit in a separate webbing tab or a reinforced fabric patch rather than directly in the lightweight tent body. Check whether you can set that component while it is still flat, before attaching it to the larger assembly.
For corner locations, keep the intended pull direction visible on the drawing. A sample pulled straight across a flat strip does not fully represent a corner that is folded and tensioned at an angle.
Fitted outdoor covers
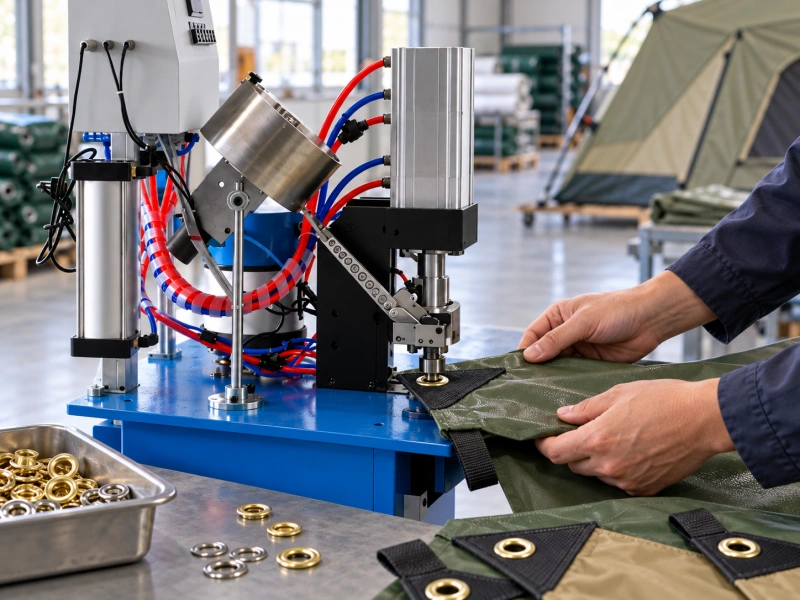
When you make covers for machinery, patio furniture, or stored equipment, your retention points need to remain accessible after fitting. Check their relationship to the lower hem, fastening cord, handles, and any access openings.
A useful prototype check is straightforward: fit the cover, connect the intended fasteners, then remove and refit it. You can spot awkward cord routes and inaccessible eyelets before committing the pattern to production.
Check your finished material assembly
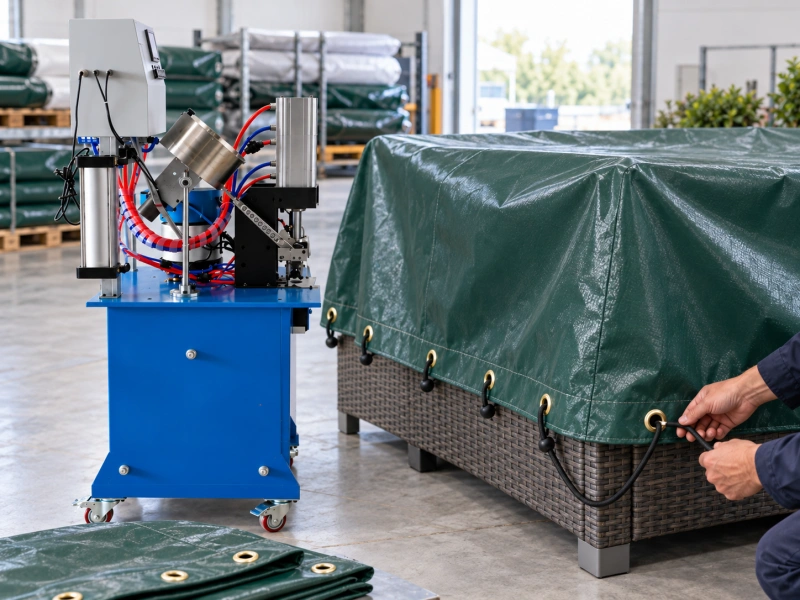
A fabric name alone is not enough to select an eyelet machine. Your regular hem, corner reinforcement, and webbing tab may all need different setting conditions even when they belong to the same tent.
Prepare samples that reproduce the construction at each location. Include the actual coating, reinforcement, thread or welded overlap, and hardware. Record the thickness at the point where the eyelet will be installed; fabric weight in grams per square metre does not tell you the complete thickness of that assembly.
| Your material or component | What to include in the trial | What to watch for |
| Lightweight coated polyester or nylon | Finished reinforcement patch or tab | Puckering, yarn damage, or distortion around the flange |
| Canvas or polycotton tent fabric | Sewn hem and corner construction | Different compression between ordinary hems and seam crossings |
| PVC-coated polyester shelter panels | Actual welded overlap and reinforcement | Coating marks, uneven seating, or separation near the hole |
| Laminated woven PE protective covers | Folded edge with the specified backing | Stretching of the hole or separation of the laminate |
| Webbing attachment tabs | Production webbing and intended layer count | Incomplete cutting, trapped fibres, or an uneven fastener roll |
Treat these as trial priorities, not blanket compatibility claims. You still need the machine supplier to confirm the exact fabric, fastener, and tooling combination.
You may find that an ordinary sidewall hem runs well while the corner assembly needs a different barrel length or setup. Keep those variants identifiable. Asking your operator to recognise every thickness change by feel invites inconsistent results.
Match the eyelet to your tent or cover design
You may see suppliers use “eyelet machine” and “grommet machine” for similar equipment. For purchasing, the terminology matters less than the actual fastener drawing and the machine’s approved configuration.
Start with the opening your cord, hook, or connector requires. Then check the flange diameter, barrel length, washer profile, material, and finish. A nominal size number is not a complete specification.
Choose the washer and reinforcement together
Your washer must belong to a compatible eyelet system. A plain washer and a spur washer are not interchangeable accessories that you can swap without checking the tooling.
For heavier reinforced tent components, you can ask about a rolled-rim grommet with a matching spur washer. The interlocking design grips the material, as illustrated in Stimpson’s rolled-rim and spur-washer specifications. Whether that system suits your product depends on the reinforcement and the result of your assembly tests.
On a thin coated panel, an aggressive gripping profile may introduce damage. You need to evaluate the complete attachment, rather than assuming that more teeth or a wider flange will always improve it.
Confirm outdoor suitability for both parts
Specify the eyelet and washer materials together. If you have selected metal hardware, compare brass, steel and stainless steel eyelets against the cover’s moisture exposure, finish requirements and washer combination. A finish description such as “silver” or “gold” does not identify the base metal, and a corrosion-resistant eyelet paired with an unsuitable washer leaves you with a weak specification.
For your intended outdoor exposure, ask the hardware supplier for relevant weathering information. If you consider plastic eyelets, request evidence for the selected polymer’s outdoor use and retention performance. The fact that a machine can install a plastic component does not establish its service life on your cover.
Decide how the hole will be made
You have two separate questions to resolve: whether the hardware is self-piercing, and whether the machine has a punching operation.
A self-piercing fastener system creates the opening during installation on suitable materials. A machine can also use dedicated tooling to punch the opening and then set the eyelet within an integrated cycle. Those are different mechanisms.
Traditional sheet-metal and rolled-rim hardware generally require the opening to be cut before setting, either within a suitable machine sequence or as a separate operation. Have your supplier demonstrate the route on your thickest finished component. Do not infer clean cutting through dense webbing from a demonstration on a single thin sheet.
Plan eyelet positions around panel fit
For tents, positional accuracy has an immediate practical consequence: your components must fit together at the installation site.
Give each panel a defined reference edge and starting point. Specify the distance from the finished edge to the hole centre, the centre-to-centre pitch, and any exceptions at corners, doors, or overlapping sections. Use the same reference system on the matching component.
If you make left- and right-hand sidewalls, label them clearly in both the drawing and the production bundle. A mirrored panel can pass a quick visual inspection and still put its joining eyelets on the wrong edge.
Avoid accumulating spacing errors
Measuring every new hole from the previous one can carry a small error along the entire row. For repeat panels, consider a full-length template, an approved positioning fixture, or periodic checks against fixed reference marks.
As an illustration, an average positioning error of 1 mm repeated across 20 intervals can produce a 20 mm end-position difference. That is an arithmetic example, not an expected machine tolerance. Your allowable error must come from the finished-product drawing and fit requirement.
Check a pair of adjoining panels together during first-piece approval. Do not stretch them into agreement. If the eyelets only line up under forced tension, investigate the pattern, finishing allowance, and positioning method.
Keep structural spacing on the product drawing
There is no universal eyelet spacing that makes every tent or cover suitable for wind exposure. Panel dimensions, fabric construction, reinforcement, attachment method, and the overall shelter design affect the requirement.
Your eyelet machine should reproduce an approved layout. It should not become the reason you move a critical attachment point or reduce the reinforcement simply to make production easier.
Choose the machine around your production route
The useful comparison is the work your operator must perform between completed attachment points. That includes presenting the material, supplying the hardware, checking its location, activating the machine, and moving to the next point.
“Automatic” does not necessarily mean the machine transports your entire tent panel or measures the next position. Confirm which operations are automated in the quoted configuration.
When automatic eyelet and washer feeding helps
If you produce repeat tent walls or protective covers using a stable hardware specification, automatic feeding can remove repeated component handling. Your operator can spend more of the cycle positioning the panel.
QC Machinery’s QC16002 automatic eyelet punching machine is described as automatically feeding both eyelets and washers, with customised dies for punching and setting. Its product page lists a throat-depth range of 45–130 mm and a 220 V supply.
Use those details to begin a technical discussion. Ask QC Machinery to confirm the usable reach, cutting method, utilities, and compatibility of your selected eyelet and finished reinforcement. The product description does not establish a universal tent-fabric thickness limit or a guaranteed number of completed covers per hour.
When a semi-automatic machine is worth considering
You may need a different route for smaller eyelets on lighter components, particularly where your production mix involves separate tabs or relatively manageable panels.
QC Machinery’s QC54222 semi-automatic eyelet machine is described for small holes and metal eyelets on thin to medium-thickness fabrics. It feeds eyelets automatically; you place washers manually when required. Its listed working throat depth is 160 mm.
That makes it a model to assess for suitable lighter tent components. It is not enough evidence to recommend it for your heaviest reinforced corner or dense multilayer webbing. Include washer placement and component handling in your trial timing.
When your construction needs another configuration
If your samples exceed a shortlisted machine’s confirmed capability, ask for a different configuration or a separate punching route. Do not compensate for an unsuitable eyelet barrel or die profile by simply increasing the setting force.
Likewise, ask what a hardware change involves. You may need adjustments to feeding parts as well as a replacement die. A machine that accommodates several sizes is not necessarily a machine that changes between them quickly.
Give large panels enough support
Your machine’s throat depth limits how far an eyelet can sit in from an accessible edge. It does not directly limit the overall width of a flexible tent wall.
For example, a four-metre-wide panel with eyelets close to its perimeter may be workable on a relatively shallow-throat machine if you can present each edge and support the remaining material. A much smaller fitted cover can be harder to handle if a closed seam blocks access to the required location.
Check the actual three-dimensional assembly. Can you bring a boxed corner to the die? Will a neighbouring eyelet catch on the table? Can your operator rotate the panel without pulling the next mark away from its reference?
Plan a clean support surface near the setting height, with room for both incoming and finished work. Keep the panel’s weight off the eyelet being installed. Follow the machine’s guarding requirements when arranging support; your operator should not have to reach into the setting area to steady a heavy fold.
For some components, changing the assembly sequence solves the access problem. You might install eyelets in a reinforced strip while it is flat, then attach the strip to the cover. Validate that sequence against the final dimensions and inspect the hardware after subsequent sewing or welding.
Approve the assembled product, not just the appearance
A smooth flange is only part of your acceptance check. You also need evidence that the attachment works in the finished tent or cover.
Check installation quality
Inspect both faces of each trial setting. Look for complete formation, correct washer seating, sharp edges, trapped fibres, coating damage, and unwanted distortion. Compare ordinary hems with corners and seam crossings.
Use the specified cord or connector to check the finished opening. An eyelet that looks acceptable may still have an internal edge or distorted opening that interferes with your fitting.
Check fit and retention
Assemble matching tent panels or fit the cover over a representative object. Confirm that the fastening points remain accessible and the fabric sits as intended.
For retention testing, use the actual reinforcement and a loading direction that represents the attachment’s job. Agree the test method, required load, and acceptance criteria with your product designer or customer. A hand tug can reveal an obvious loose setting, but it does not measure an attachment’s rated strength.
Record how a failed sample behaves. Fabric tearing, reinforcement separation, and the eyelet opening are different failure modes. You need that distinction before changing the hardware or machine settings.
Include the handling your customer will repeat
If your tents are repeatedly erected, dismantled, and packed, include those actions in prototype evaluation. Fold the panel along the intended packing lines, reopen it, and check whether the hardware marks adjacent coated surfaces or catches on another component.
Where your product specification requires wet, aged, or temperature-conditioned testing, test the complete attachment under those conditions. A new dry sample alone cannot establish its long-term outdoor performance.
Measure output in complete panels and covers
Cycle speed is useful, but it can hide your actual bottleneck. A large tent wall may take longer to reposition than the machine takes to set an eyelet.
Time a representative batch from the first material pickup to the finished stack. Include turning corners, checking matching edges, replenishing hardware, changing setups, and dealing with rejected parts. Record accepted panels per hour and the number of operators involved.
Suppose your cover has 24 eyelets and your measured setting-and-positioning time averages four seconds per point. That portion takes 96 seconds per cover. If lifting, turning, and inspection add another 90 seconds, the total becomes 186 seconds. Before further downtime or rejects, that is about 19 covers per hour. This is an illustrative calculation, not a QC Machinery output claim.
The calculation helps you decide where to improve. If handling accounts for nearly half the time, a better table arrangement or a revised panel sequence may help as much as a faster setting cycle.
Prepare a useful enquiry for QC Machinery
When you request a machine recommendation, send a small production brief that shows what you actually make:
- Your tent or cover drawing, including panel dimensions and attachment locations.
- Samples of the ordinary hem, thickest reinforcement, and separate tabs.
- Eyelet and washer samples, with dimensions, materials, and part numbers.
- Your intended punching route and any need to change hardware sizes.
- Required accepted output, batch sizes, and available operators.
- Photos showing how you currently support, turn, and stack the work.
- Your fit, appearance, and retention acceptance requirements.
Ask for a demonstration that includes your difficult corner or joining edge, not only the easiest section. Have the quotation identify the proposed machine, tooling, feeding arrangement, utilities, and any support equipment included.
You can contact QC Machinery with that brief to discuss a machine configuration for your tent and outdoor-cover production. A clear sample package gives you a firmer basis for comparing the proposal and approving the result.
FAQ
Can you use one eyelet machine for lightweight tents and heavy covers?
Possibly, but you need to validate both ends of your material range. Your lightest reinforced panel and thickest corner may require different hardware or settings. Confirm the cutting, setting, feeding, and access requirements for each before standardising on one machine.
Should you install eyelets before or after sewing the tent panel?
Choose the stage that preserves your final hole positions and gives you reliable access. You can sometimes set separate webbing tabs before assembly. For a finished hem or joining edge, installing after sewing may make positional control easier. Check the final fit whichever route you choose.
Does an automatic machine space the eyelets for you?
Only if the specified system includes that positioning function. Automatic eyelet and washer feeding does not by itself measure the distance along a panel. Ask whether you will use manual marks, guides, fixtures, or an automated indexing arrangement.
Will a properly set eyelet make your cover waterproof?
An ordinary eyelet leaves an open passage through the cover. A neat setting does not seal that opening. Position attachment holes within the intended weather-protection design, and assess any flap, overlap, or sealing arrangement as part of the finished cover.
Can you copy the eyelet layout from a similar tent?
You should use the layout approved for your own product. Similar-looking tents can differ in fabric, reinforcement, dimensions, and attachment loads. Use another product as a reference for questions to investigate, not as proof that its spacing is suitable for yours.