
Snap buttons, also known as press studs or snap fasteners, are essential components in apparel, bags, and accessories. Accurately measuring their size ensures functionality, aesthetics, and compatibility with fabrics. This guide covers everything from snap button basics to automated installation and troubleshooting.
What Are Snap Buttons?
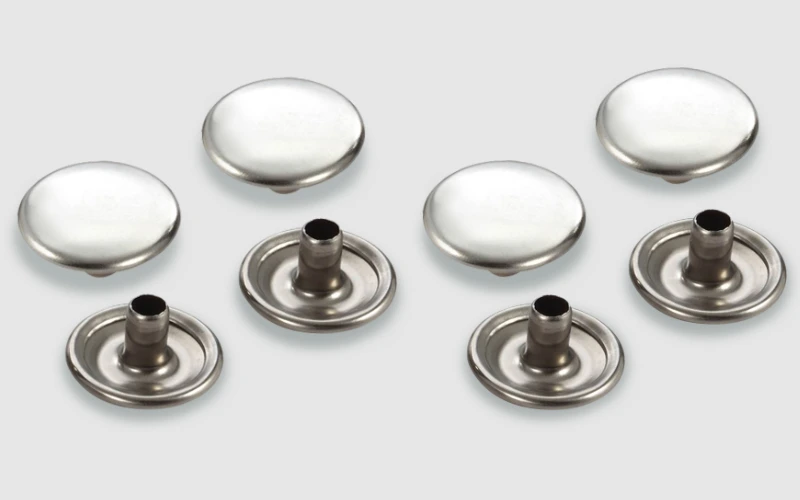
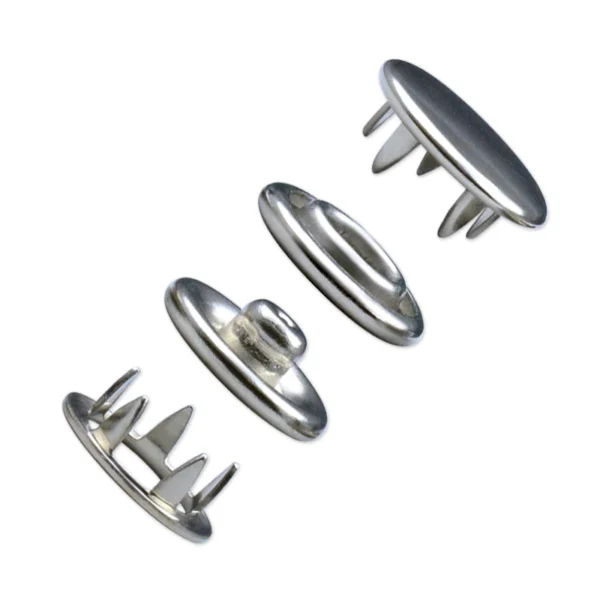
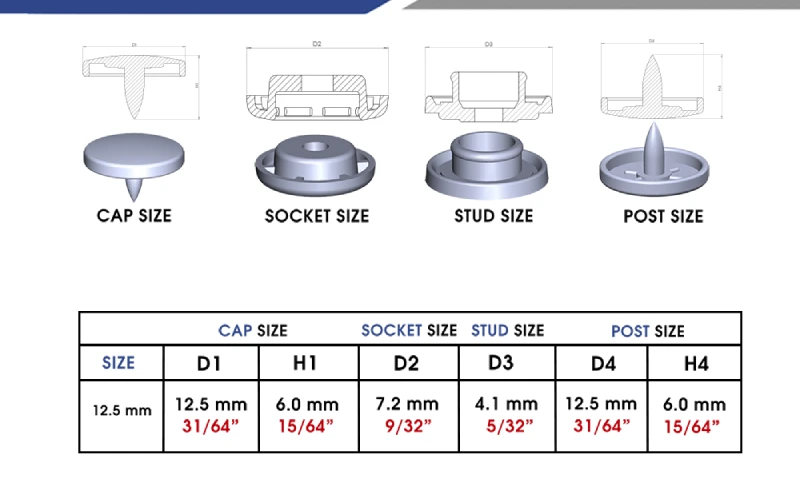
Snap buttons are two-part fasteners that interlock when pressed together, creating a secure closure. They consist of four components:
- Cap (Male Part): The visible top piece, often decorative.
- Socket (Female Part): The recessed component that receives the stud.
- Stud (Male Part): The protruding post that fits into the socket.
- Post (Female Part): The base attached to the fabric.
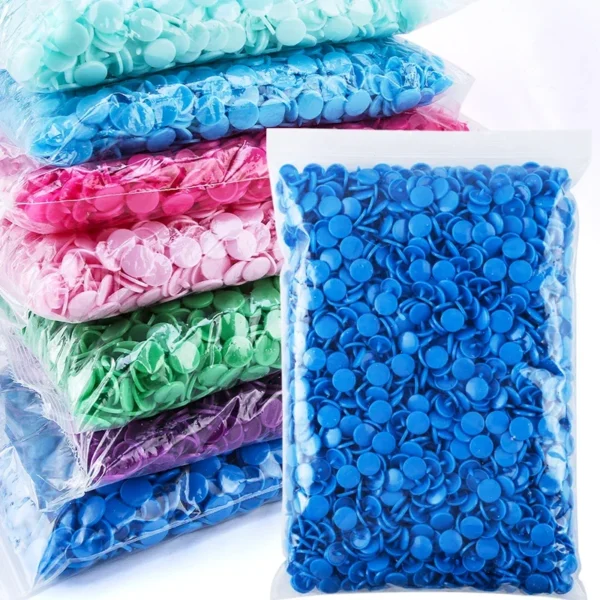
Snap buttons have evolved significantly since their invention in the late 19th century. Originally crafted from metal for heavy-duty applications like military uniforms, modern snap buttons now utilize diverse materials such as stainless steel, brass, nickel-plated alloys, and even reinforced plastics. Each material offers unique advantages: stainless steel resists rust and corrosion, making it ideal for outdoor gear, while plastic snaps are lightweight and budget-friendly for fashion garments.
The standardization of snap button sizes is critical for compatibility. Sizes are categorized using “line numbers,” a historical measurement system where 1 line = 0.635mm. For instance, a Line 24 snap button has a diameter of 15.24mm (24 x 0.635mm). This system ensures consistency across manufacturers, though regional variations exist—European brands may use metric measurements (e.g., 10mm, 15mm) alongside line numbers.
Snap buttons are further classified by functionality:
- Heavy-Duty Snaps: Designed for bags, tents, or workwear, these feature reinforced studs and thicker caps (Line 24–36) to withstand high stress.
- Fashion Snaps: Smaller sizes (Line 15–20) suit lightweight fabrics like silk or chiffon, prioritizing aesthetics over strength.
- Magnetic Snaps: Integrate magnets into the cap and socket for effortless closure, popular in handbags and tech accessories.
Understanding these distinctions helps designers and manufacturers select the right snap type for durability, appearance, and user experience.
How to Measure Snap Button Size
Accurate measurement prevents mismatched components and ensures smooth operation.
Tools Needed:
- Digital Calipers: Essential for precise diameter and thickness readings.
- Line Size Chart: Provided by suppliers to convert measurements to line numbers.
- Fabric Swatch: Mimics the final material to test snap compatibility.
Step-by-Step Measurement Process:
- Measure the Cap Diameter:
Place the calipers across the widest part of the cap. Record the measurement in millimeters and cross-reference it with a line size chart. For example, a 12mm cap corresponds to Line 20. Note that decorative caps (e.g., rhinestone-embellished) may have irregular shapes—measure the base, not the ornamentation. - Determine Stud Length:
The stud’s protrusion length determines how securely it locks into the socket. For thin fabrics like cotton, a 2mm stud suffices. For layered materials like denim or upholstery, opt for 3–4mm studs. To measure, place the snap’s post flat on a surface and use calipers to gauge the stud’s height from the base. - Assess Socket Depth:
The socket must accommodate the stud without excessive force. Insert the calipers into the socket’s cavity to measure its internal depth. The ideal depth matches the stud length ±0.2mm. Too shallow, and the snap won’t close fully; too deep, and the connection feels loose. - Test Compatibility:
Assemble the cap, stud, socket, and post manually. Press them together—a proper fit produces a crisp “snap” sound and requires moderate force to open. Test on a fabric swatch to simulate real-world conditions.
Pro Tips:
- Always account for fabric compressibility. For foam-padded materials, add 0.5mm to the stud length.
- For multi-layer applications (e.g., leather bags with lining), test snaps with all layers present.
Installing Snap Buttons with an Automatic Machine
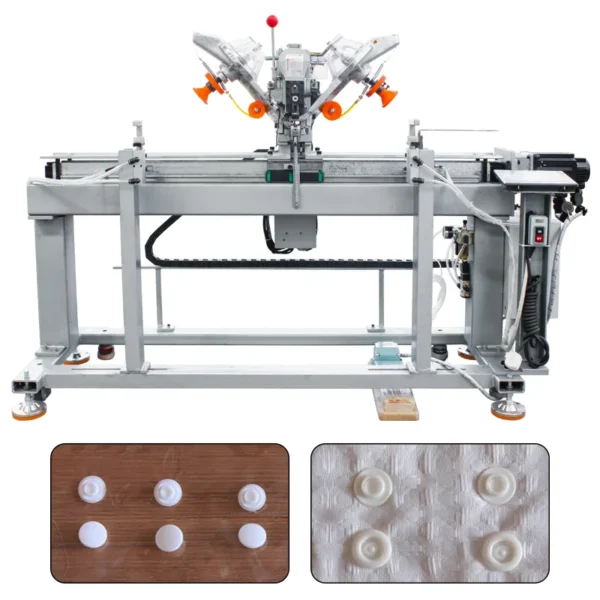
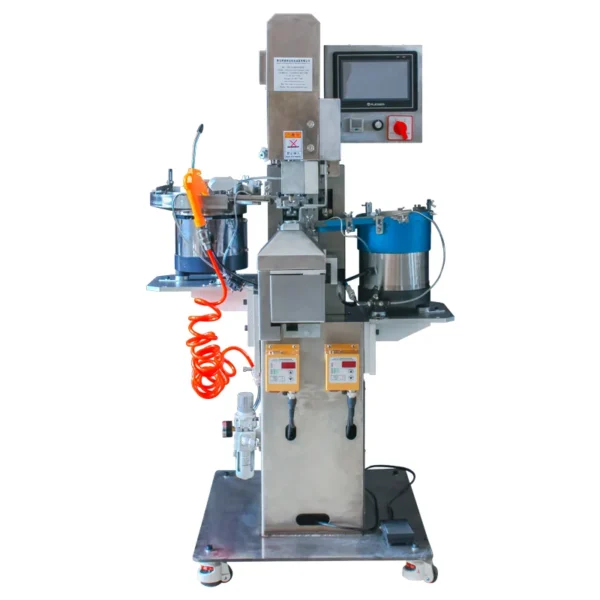
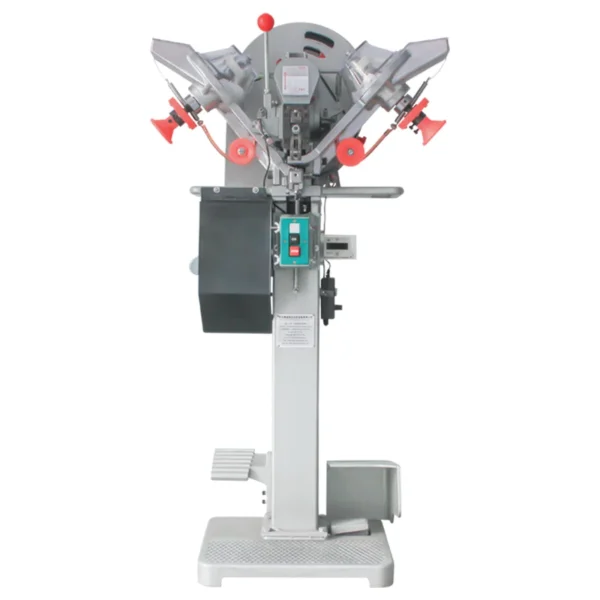
Automatic snap button machines revolutionize high-volume production, offering unmatched speed and consistency. Popular industrial models include the KML-370 (for heavy-duty snaps) and YS-606 (for fashion-grade applications).Our machines feature active cooling and electronically controlled transformers for improved performance and safety.
Machine Setup and Calibration:
- Select Dies:
Dies are custom metal molds that align snap components during pressing. Choose dies matching your snap’s line number and material. For example, hardened steel dies are required for metal snaps, while nylon dies prevent plastic deformation. - Adjust Pressure Settings:
Pressure calibration is critical. Delicate fabrics like satin require 15–20 PSI to avoid tearing, while leather or canvas needs 30–40 PSI. Modern machines feature digital pressure gauges for fine-tuning. - Load Components:
Automatic feeders streamline the process. Caps, studs, sockets, and posts are loaded into vibratory bowls or tape reels, which orient and deliver components to the pressing station. Ensure feeders are free of debris to prevent jams.
Step-by-Step Installation:
- Fabric Preparation:
Pre-punch holes if the fabric is thick or non-woven (e.g., felt). Use a rotary leather punch or laser cutter for clean edges. For woven fabrics, the machine’s integrated punch die can create holes during installation. - Alignment and Positioning:
Place the fabric layers under the die, using alignment pins or laser guides. Misalignment by even 1mm can cause skewed snaps or fabric puckering. - Machine Operation:
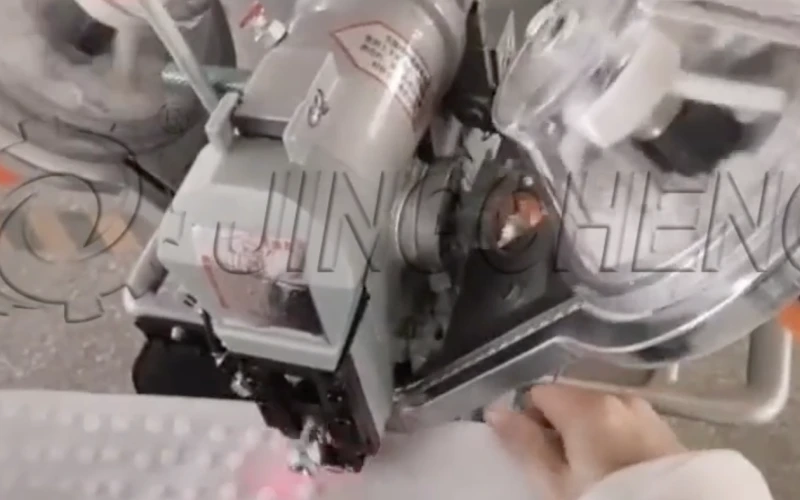
Activate the foot pedal. The machine’s pneumatic arm drives the die downward, piercing the fabric (if needed) and crimping the snap components into place. Cycle times average 0.5–1 second per snap. - Quality Assurance:
Inspect the first 10–20 snaps for:- Flush Fit: No gaps between the cap and fabric.
- Functionality: Smooth engagement and disengagement.
- Aesthetics: No scratches or dents on decorative caps.
Advantages of Automation:
- Speed: 800–1,200 snaps/hour vs. 50–100/hour with manual tools.
- Precision: Tolerance levels as tight as ±0.1mm.
- Scalability: Easily switch between snap sizes via quick-change dies.
Maintenance Tips:
- Lubricate dies weekly with silicone spray to prevent sticking.
- Replace worn dies every 50,000 cycles to maintain accuracy.
Advanced Considerations for Snap Button Selection
Choosing the right snap involves more than size—material, coating, and environmental factors play pivotal roles.
Material Selection:
- Stainless Steel: Ideal for marine or outdoor use due to corrosion resistance.
- Brass: Offers a vintage aesthetic but requires nickel plating to prevent tarnishing.
- Nylon-Reinforced Plastic: Combines flexibility with strength, perfect for children’s clothing.
Coatings and Finishes:
- Electroplating: Adds decorative finishes like gold, rose gold, or gunmetal.
- Powder Coating: Enhances durability and provides color customization.
- Antimicrobial Coatings: Used in medical textiles to inhibit bacterial growth.
Environmental Factors:
- Temperature Resistance: Silicone-coated snaps withstand -40°C to 200°C, suitable for automotive interiors.
- UV Resistance: Essential for outdoor gear; polycarbonate snaps retain integrity under prolonged sun exposure.
Troubleshooting Common Snap Button Issues
Even with precise measurement and installation, challenges arise. Here’s how to address them:
- Snaps Pop Open Under Pressure
- Cause: Insufficient stud length or weak socket grip.
- Fix: Upgrade to a larger line size or reinforced socket design.
- Fabric Fraying Around Snaps
- Cause: Dull punching dies or high-speed abrasion.
- Fix: Apply a fabric sealant (e.g., Fray Check) or switch to rotary punch tools.
- Corrosion on Metal Snaps
- Cause: Exposure to moisture or acidic environments.
- Fix: Use stainless steel or coated snaps; avoid brass in humid climates.
- Difficulty Aligning Automatic Machine Dies
- Cause: Misaligned feeder tubes or worn guide pins.
- Fix: Recalibrate the machine using alignment jigs provided by the manufacturer.
FAQ
How do I choose the right snap size for my project?
Fabric Weight: Match snap strength to material. Use Line 15–20 for silks, Line 24+ for canvas.
Functionality: Heavy-duty snaps require larger studs for grip.
Aesthetics: Smaller sizes suit minimalist designs; larger snaps add visual impact.
Why do my snaps keep detaching?
Cause 1: Incorrect stud length. Too short = weak grip; too long = misalignment.
Fix: Re-measure and test with fabric swatches.
Cause 2: Worn dies or uneven pressure.
Fix: Replace dies and recalibrate machine settings.
Can I install snaps without a machine?
Manual Tools: Hand-held pliers or hammer kits work for small batches.
Limitations: Risk of uneven force and slower output (50–100 snaps/hour).
Are plastic snaps as durable as metal?
Plastic: Lightweight, corrosion-resistant, but prone to cracking under stress.
Metal: Higher durability, ideal for frequent use.
Tip: Use nylon-reinforced plastic for a balance of strength and flexibility.
How do I prevent fabric fraying around snaps?
Reinforcement: Apply fray-check glue or use interfacing.
Punch Clean Holes: Sharp dies create neat holes; avoid tearing.
Can snaps be removed and reused?
Removal: Pry open with pliers, but this often damages components.
Reuse: Metal snaps can sometimes be re-pressed; plastic snaps are rarely reusable.
Conclusion
Mastering snap button measurement and installation is a blend of science and artistry. From understanding line numbering systems to leveraging automated machinery, every detail impacts the final product’s functionality and appeal. Designers must balance aesthetics with practicality—opting for decorative electroplated snaps for luxury handbags or rugged stainless steel for outdoor gear. Manufacturers, meanwhile, prioritize efficiency through automated systems, ensuring consistent quality across thousands of units.
Emerging trends, such as smart snaps with embedded RFID tags or biodegradable materials, are reshaping the industry. However, the fundamentals remain: precise measurement, material compatibility, and rigorous testing. By adhering to these principles and staying updated on technological advancements, brands can deliver snap-fastened products that excel in durability, usability, and visual impact.