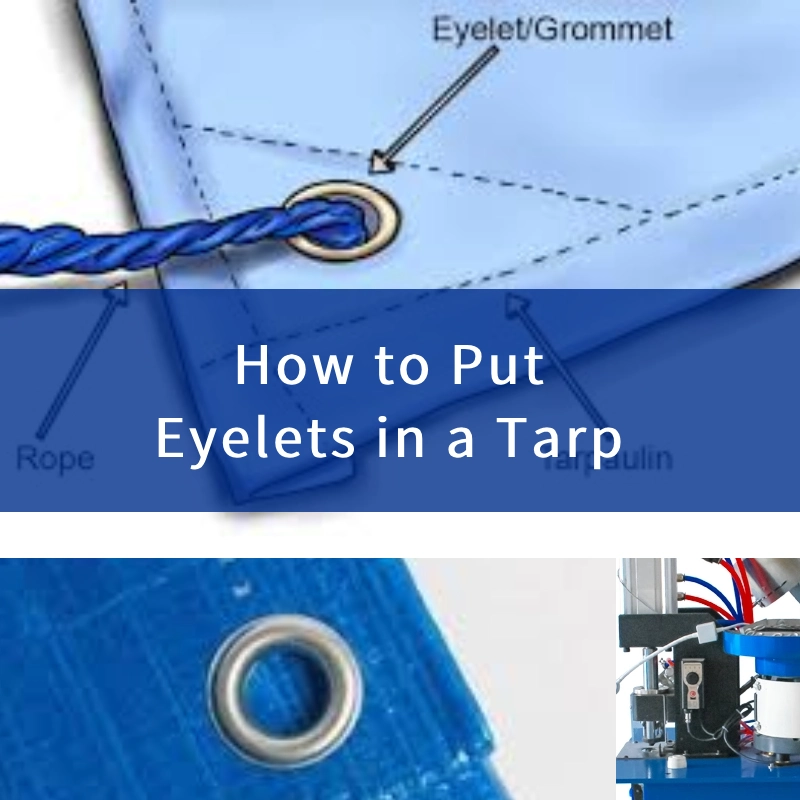
Tarp is a commonly used material. How to Put Eyelets in a Tarp is a process that many of us are concerned about.
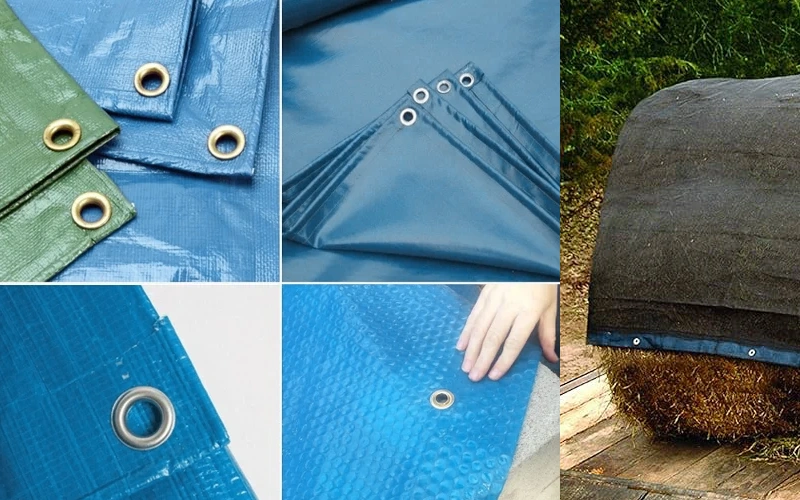
Why Add Eyelets to a Tarp?
Adding eyelets turns an ordinary tarp into a highly versatile solution for securing and protecting goods. They serve as reinforced points that prevent tearing, enabling ropes, hooks, or cords to pass through without compromising the tarp’s integrity. Properly installed eyelets can extend a tarp’s lifespan while making it more adaptable for tasks such as:
- Outdoor Activities: Setting up temporary shelters or windbreaks.
- Farming and Gardening: Protecting crops or creating greenhouse covers.
- Industrial Applications: Securing construction materials or covering equipment.
Materials Needed to Add Eyelets to a Tarp
Before you dive into installing eyelets, gather the required materials. Proper preparation ensures efficiency and accuracy in the process.
Essential Tools for Manual Installation
- Punch Tool: To create clean holes in the tarp.
- Hammer: To secure the eyelet components together.
- Cutting Tool: For adjusting hole sizes if needed.
- Die Set: To help crimp the eyelets effectively.
Tools for Automatic Installation
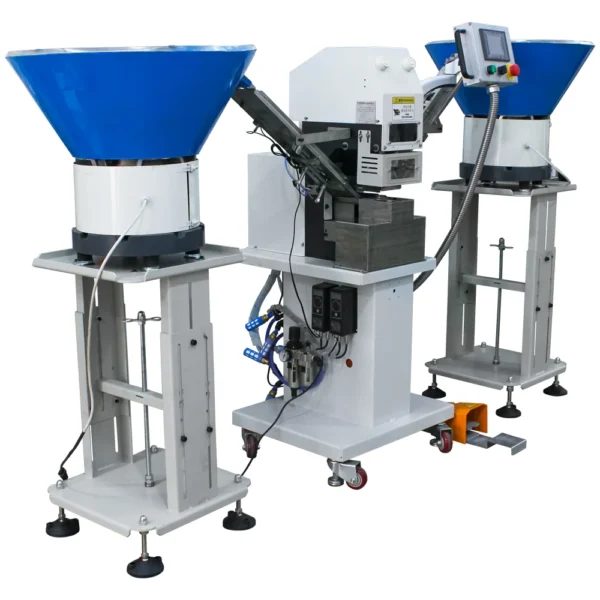
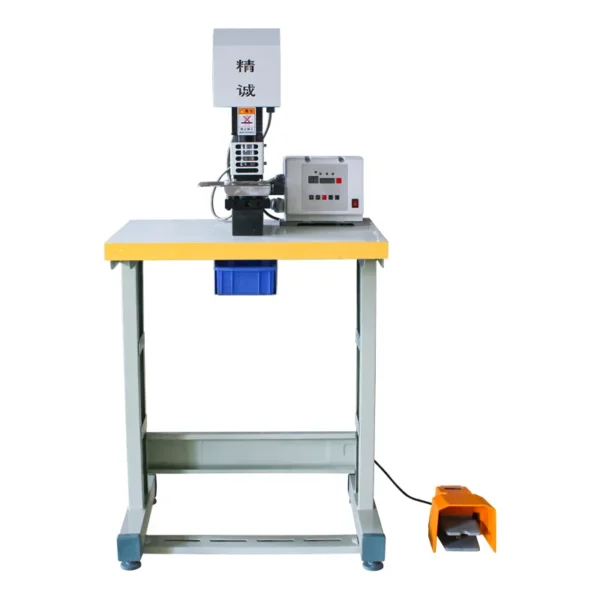
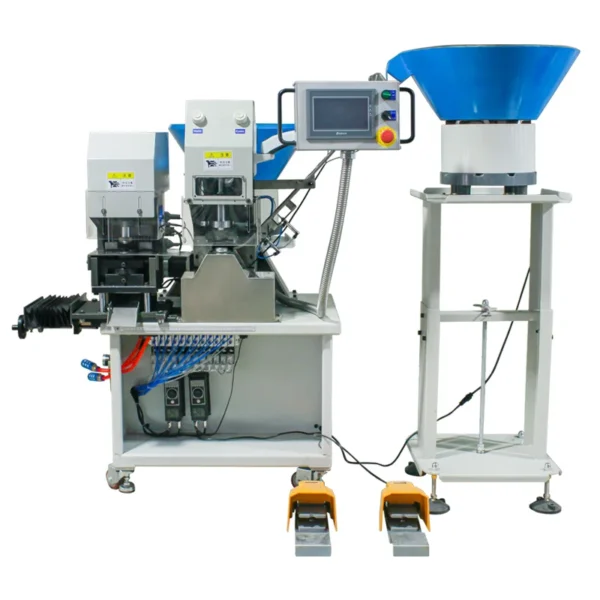
- Automatic Eyelet Punching Machine: A powered device for quick and precise installation.
- Eyelet Dies and Feeders: Compatible with the machine for automated loading.
Tarp Material and Eyelets
- Tarp: Available in plastic (polyethylene), canvas, or vinyl. The material affects the choice of eyelets and tools.
- Eyelets: Made from either metal (brass, aluminum, or steel) or plastic. Choose based on durability and exposure to elements.
Preparation Before Adding Eyelets
Measuring and Marking the Tarp
Preparation is key. Use a measuring tape to ensure evenly spaced eyelets along the edges or corners of the tarp. Standard spacing ranges from 12 to 36 inches, depending on the application. Mark the spots using a washable fabric marker or chalk.
Choosing the Right Eyelet Size
Eyelets come in different sizes. For lightweight tarps, 3/8-inch eyelets work well. Heavy-duty tarps often require 5/8-inch or larger eyelets. Consider the diameter of the rope or hooks you plan to use.
Reinforcing the Holes
To prevent tearing, reinforce the tarp around the marked holes with adhesive grommet tape or an extra layer of tarp material.
How to Put Eyelets in a Tarp:Step-by-Step Guide: Using Manual Tools
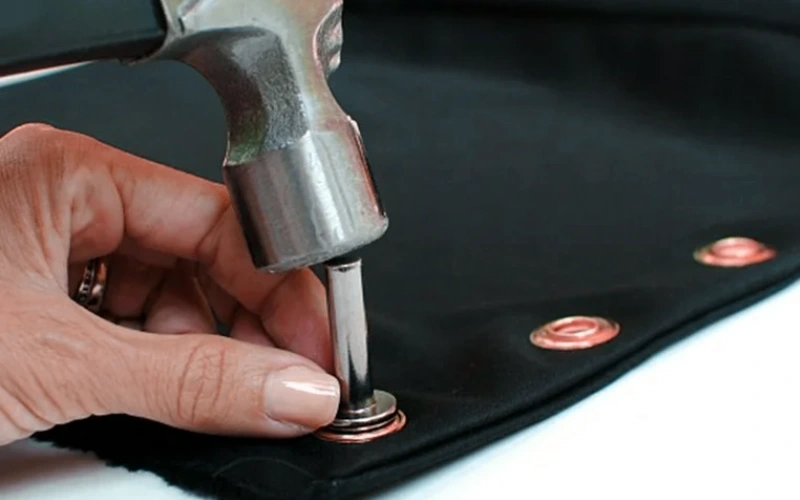
How to Cut Holes in the Tarp
- Flat Surface Setup: Lay the tarp on a solid, clean surface.
- Punch the Hole: Use a punch tool to cut through the tarp at the marked spots. Ensure the hole is slightly smaller than the eyelet.
- Reinforcement: Apply reinforcement tape around the hole if necessary.
Placing and Securing the Eyelets
- Insert the top half of the eyelet through the hole.
- Position the washer on the backside of the tarp, aligning it with the eyelet.
- Use the hammer and die to crimp the eyelet securely. Strike firmly but avoid over-crimping, as it may damage the tarp.
Manual installation is ideal for small projects or when only a few eyelets are needed.
How to Put Eyelets in a Tarp:Step-by-Step Guide: Using an Automatic Eyelet Punching Machine
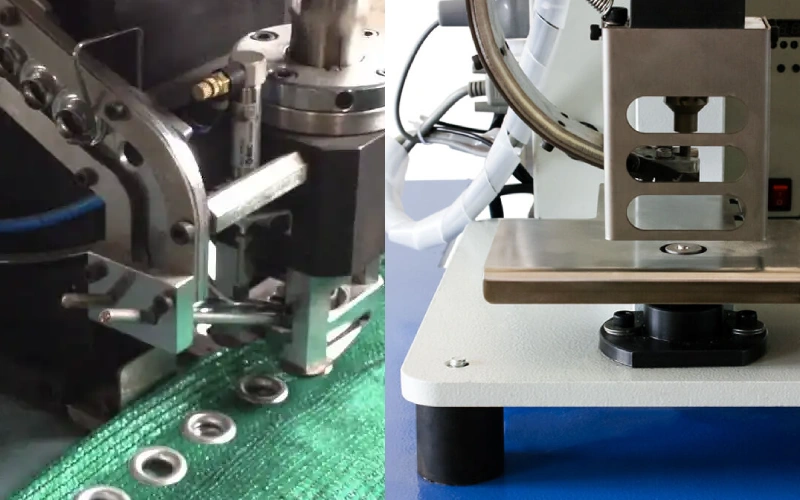
Automatic machines are the gold standard for efficiency and precision, particularly for large-scale projects.
Setting Up the Machine
- Load the correct eyelet size into the machine.
- Adjust settings based on the tarp material thickness and type.
- Perform a test run on a scrap piece of material to confirm alignment and pressure settings.
Aligning the Tarp and Punching Eyelets
- Feed the tarp into the machine, aligning the first marked spot under the punching die.
- Activate the machine (manual handle, electric button, or pneumatic control).
- Repeat for the remaining marks, ensuring consistent spacing and alignment.
With its speed and accuracy, the automatic machine reduces errors and enhances productivity.
Why Choose Our Eyelet Punching Machine, Our eyelet punching machines are designed to deliver precise and efficient eyelet insertion for various materials. Used in clothing, luggage, home textiles, packaging, outdoor supplies and other industries. These machines ensure secure and consistent eyelet placement , enhancing the durability and aesthetic of your products.
Comparing Manual Tools vs. Automatic Machines
| Feature | Manual Tools | Automatic Machines |
|---|---|---|
| Speed | Moderate; requires patience | Fast; ideal for bulk installations |
| Cost | Affordable for beginners | Higher upfront investment |
| Precision | Depends on user skill | Consistently precise |
| Applications | Small-scale projects | Large-scale, professional tasks |
Common Mistakes to Avoid When Adding Eyelets
- Incorrect Hole Sizes: Holes that are too large may cause the eyelets to pop out.
- Over-Hammering: Excessive force can damage both the tarp and the eyelet.
- Skipping Reinforcement: Neglecting reinforcement may lead to tearing under stress.
- Using Incompatible Tools: Mismatched tools and materials can result in poor finishes.
Applications of Eyelet-Enhanced Tarps

Everyday Uses
- Camping: Secure tarps for shelters, windbreaks, or ground covers.
- Transport: Cover loads on trucks or trailers effectively.
- Home Use: Protect outdoor furniture or create custom privacy screens.
Industrial and Commercial Applications
- Construction: Protect machinery and materials from weather.
- Agriculture: Cover crops, hay, or equipment.
- Event Planning: Create temporary coverings for outdoor events.
FAQs
What size eyelets should I use for my tarp?
Eyelet size depends on the tarp material and intended use. Lightweight tarps often use 3/8-inch eyelets, while heavy-duty options may require 5/8-inch sizes.
How do I prevent eyelets from tearing out of the tarp?
Reinforce the holes with grommet tape or an extra tarp layer before adding eyelets.
How do I prevent eyelets from tearing out of the tarp?
Reinforce the holes with grommet tape or an extra tarp layer before adding eyelets.
Can I use an automatic eyelet punching machine for all tarp materials?
Yes, as long as the machine settings are adjusted for the material’s thickness and durability.
What are the best tools for a beginner?
Manual punch kits are affordable and easy to use, making them ideal for beginners.
How do I fix poorly placed eyelets?
Remove the faulty eyelet carefully, reinforce the area, and reapply a new one.
Conclusion
Adding eyelets to a tarp elevates its usability and lifespan, whether you’re tackling DIY projects or managing industrial-scale tasks.
Manual tools offer affordability and flexibility for small projects, while automatic machines deliver speed and precision for larger endeavors. Follow these steps, and you’ll have a professional-looking, highly functional tarp in no time.

