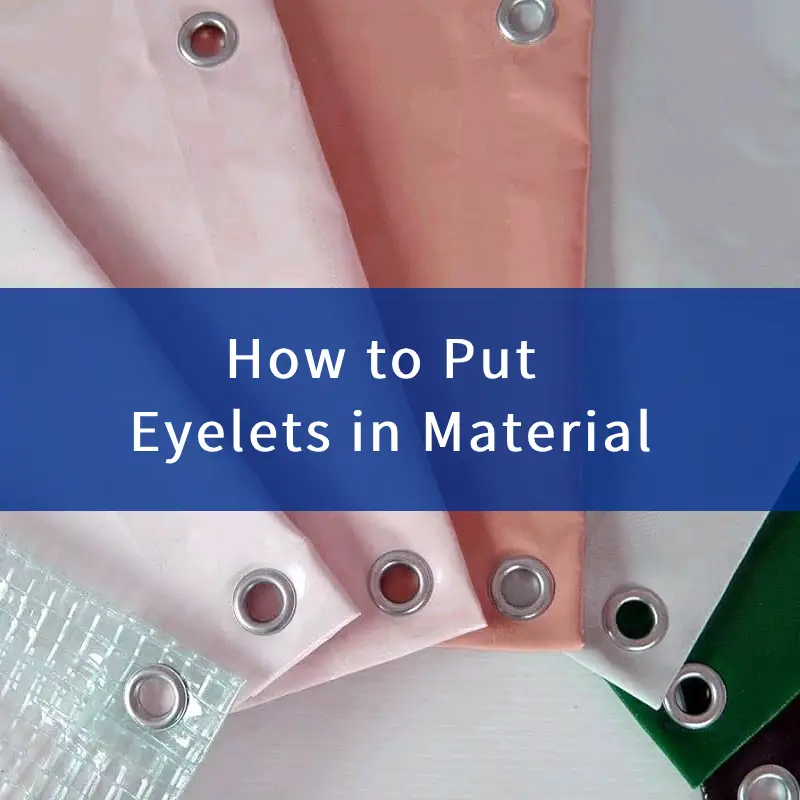
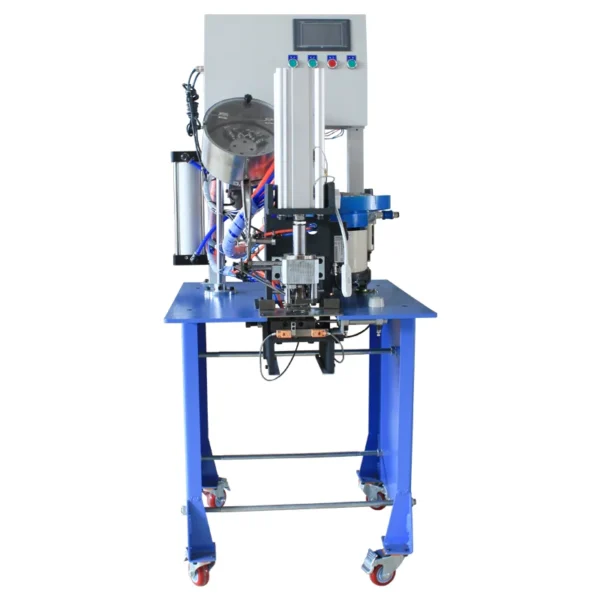
In life, many materials need to be punched to help us meet our needs. So, how to Put Eyelets in Material?
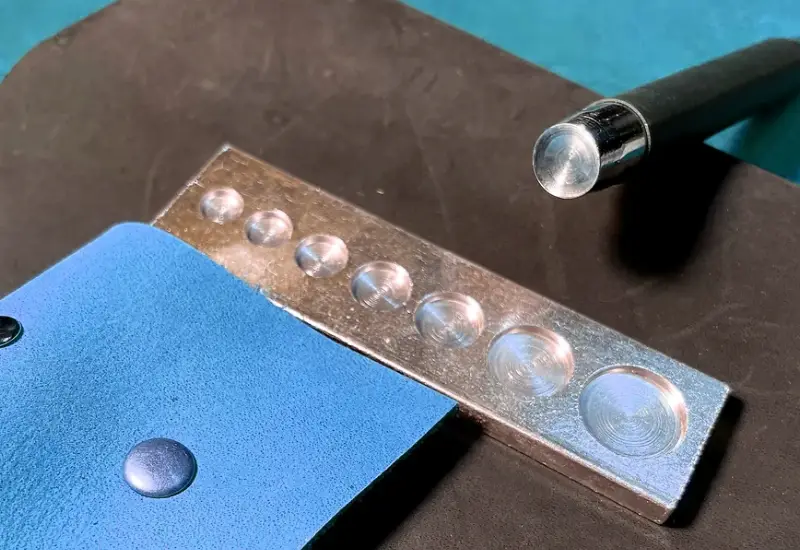
Eyelets are small, circular rings placed into a hole in fabric or other materials, providing durability and allowing for a clean finish when threading cords, ribbons, or laces. Whether you’re working on a sewing project, creating custom bags, or setting up curtains, eyelets add a professional touch to your work. In this guide, you will learn how to install eyelets using both an automatic eyelet machine and by hand, empowering you to choose the best method for your project.
What You’ll Need
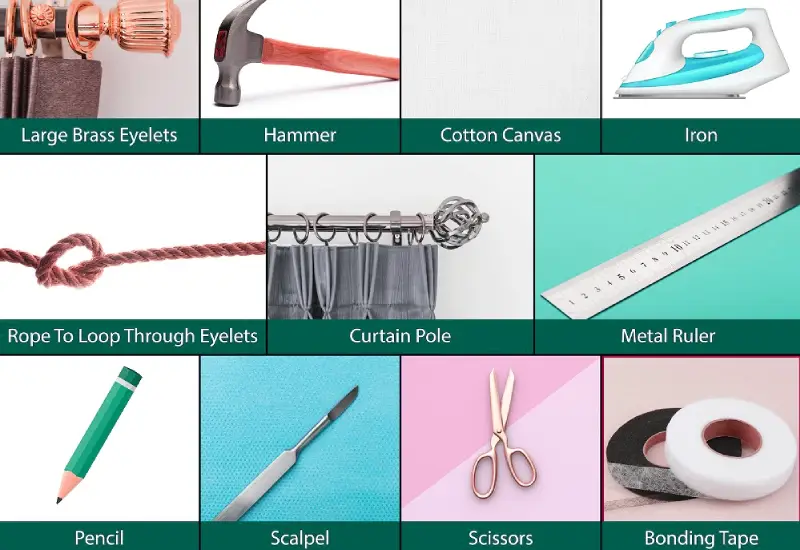
Before you start, gather the following materials and tools:
- Eyelets: Depending on your project, choose the right size and color.
- Fabric: The material you’ll be working with (canvas, cotton, leather, etc.).
- Eyelet Setter Tool or Automatic Eyelet Machine (depending on your method).
- Fabric Scissors
- Awl or Hole Punch
- Measuring Tape
- Marker or Fabric Pencil
- Cutting Mat or Board
- Ruler or Straight Edge
- Safety Glasses (if using a machine)
- Clamps or Weights (to hold material steady)
Installing Eyelets by Hand
Step 1: Prepare Your Material
- Select Your Fabric: Choose a durable material suitable for eyelets. Thicker fabrics like canvas or leather are ideal.
- Measure and Mark: Use your measuring tape and marker to determine where you want the eyelets. Make sure to mark the center of each eyelet hole clearly.
- Cut Holes: Using an awl, fabric scissors, or a hole punch, create holes that match the size of your eyelets. The hole should be slightly larger than the inner diameter of the eyelet for a snug fit.
Step 2: Insert the Eyelet
- Position the Eyelet: From the back of your fabric, insert the eyelet into the hole. The flange of the eyelet should rest against the fabric’s surface.
Step 3: Secure the Eyelet
- Use the Setter Tool: Place the setter tool over the eyelet. Ensure that it aligns correctly with the eyelet.
- Strike with Hammer: Gently but firmly tap the top of the setter with a hammer. You will hear a difference in sound as the eyelet secures itself. Avoid hitting too hard to prevent damage to your fabric.
- Check the Eyelet: After a few taps, check to see if the eyelet is securely placed. If it feels loose, continue tapping until it feels stable.
Step 4: Repeat for Additional Eyelets
- Follow the same process for any additional eyelets according to your initial measuring and marking. Ensure consistency in spacing for a professional look.
Installing Eyelets Using an Automatic Eyelet Machine
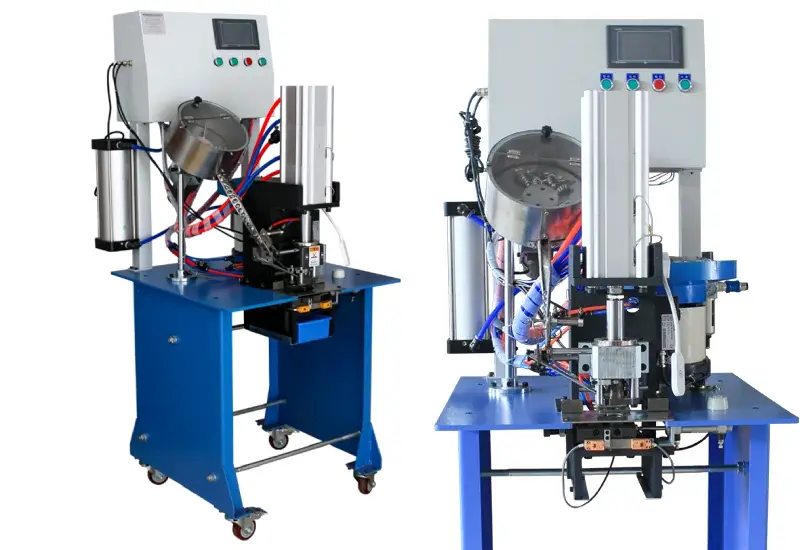
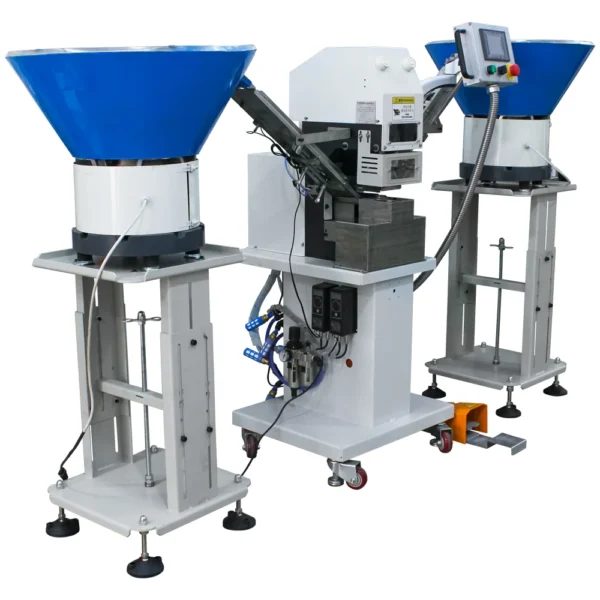
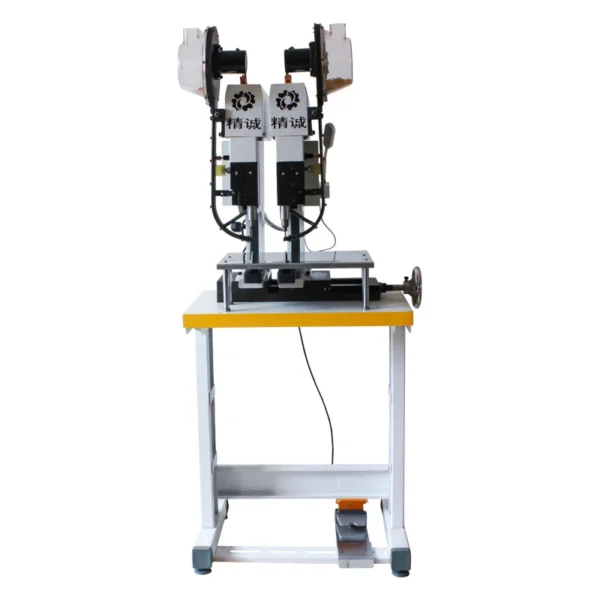
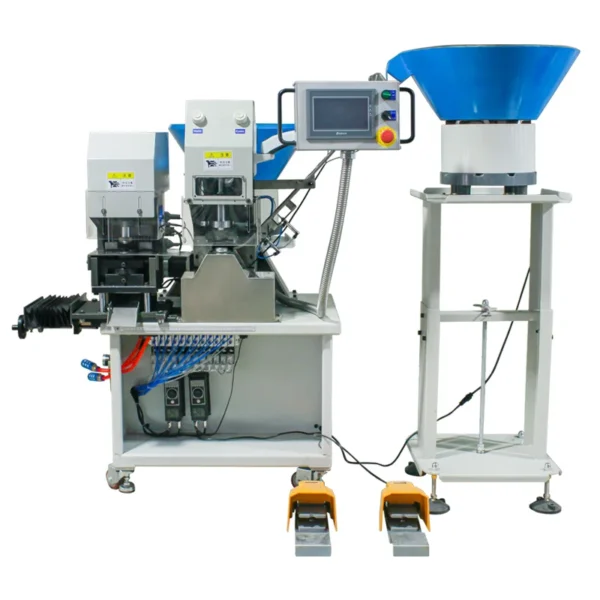
Using an automatic eyelet machine can substantially speed up the process, especially if you’re installing multiple eyelets. Here’s how to use this machine effectively while ensuring a professional finish.
Step 1: Set Up Your Equipment
- Choose a Suitable Setting: Find a stable surface to work on, free of clutter. Make sure the automatic eyelet machine is placed securely.
- Select Eyelet Size: Load the appropriate sized eyelets into your machine according to the project requirements.
- Prepare Fabric: Just like with hand installation, ensure your fabric is marked and cut at the desired locations.
Step 2: Prepare the Eyelet Machine
- Adjust the Machine: Follow the manufacturer’s instructions to adjust the machine for the thickness and type of fabric you’re using.
- Position Your Fabric: Place the fabric under the machine in the designated spot. Ensure the hole aligns with the machine’s eyelet insertion point.
Step 3: Install the Eyelet
- Load Eyelet into the Machine: Insert an eyelet into the machine’s holder, ensuring it’s positioned correctly.
- Activate the Machine: Depending on your machine, either press the button or pull the lever to activate the eyelet insertion. The machine will automatically punch the hole and set the eyelet in one go.
- Repeat: Move to the next marked spot and repeat the process until all eyelets are installed.
Step 4: Troubleshooting Common Issues
- Fabric Getting Stuck: If the fabric is caught, gently pull it out and ensure it’s flat and well-positioned before retrying.
- Eyelets Not Setting Properly: Check if the eyelet is the right size for your fabric. Adjust the settings on your machine if necessary.
- Uneven Eyelet Installation: Make sure the fabric is secured in place to prevent shifting as you work.
Post-Installation Tips
- Secure Edges: If you’re working with fabric that frays, consider using fray-check or sewing around the edges of the hole to prevent future damage.
- Test Eyelet Strength: Before putting heavy items through the eyelet, test its strength by pulling gently to ensure secure installation.
- Cleaning: Clean the eyelet machine after use to prolong its lifespan. Remove any eyelet debris and ensure the punch and setting area are clear.
FAQs
Here’s the classification of questions regarding the installation of grommets and eyelets in fabric, presented in a table in English:
| Category | Questions |
|---|---|
| Installing Grommets | How to attach grommets How to set grommets How to apply grommets How to place grommets How to put a grommet in fabric How to add a grommet How to fasten grommets How to insert a grommet How to use grommets How to install grommets in fabric without a tool How to put grommets in fabric without a tool |
| Installing Eyelets | How to apply eyelets How to insert eyelets How to put in eyelets How to install eyelets without a tool |
| Using Tools | How to install a grommet without a grommet tool How to put in eyelets without a tool How to use a grommet tool on fabric How to use eyelet and grommet tools for scrapbooking How to add eyelets and grommets for scrapbooking |
| General Questions | Grommets how to install Eyelets how to How do you use eyelets How do you put grommets in fabric How to grommet fabric How to grommets in fabric How to attach a grommet to fabric How to insert an eyelet How to put on eyelets How to put in an eyelet |
1. Installing Grommets
What are Grommets?
Grommets are reinforced rings used in fabric, paper, leather, or other materials. They provide a finished hole and protect the material from tearing or fraying.
Steps to Install Grommets:
- Mark the Placement: Determine where you want to place the grommet and mark it clearly.
- Punch a Hole: Use a hole punch tool or an automatic grommet machine to create the hole at the marked spot. The hole diameter should match the grommet size.
- Insert the Grommet:
- Place the grommet through the hole from the back side (the washer side should face the back).
- Set the Grommet:
- Use a grommet setting tool or an automatic grommet machine to secure the grommet in place by applying sufficient pressure. Make sure the grommet is firmly seated.
Tips:
- Use a backing material if needed for extra support.
- Select the correct size of the grommet for your application.
2. Installing Eyelets
What are Eyelets?
Eyelets are similar to grommets but typically feature a smaller diameter and are often used for decorative purposes or reinforcing holes in lighter materials.
Steps to Install Eyelets:
- Mark the Location: Decide where the eyelet should go and mark it.
- Create the Hole: Use a hole punch or an automatic eyelet machine to punch a hole at the marked location.
- Insert the Eyelet: Push the eyelet through the hole from the back side.
- Set the Eyelet:
- Use an eyelet setting tool or an automatic eyelets machine to fasten the eyelet securely. Apply pressure to ensure it’s set well.
Tips:
- Make sure the eyelet size matches the thickness and type of material.
- Practice on scrap material if you’re unsure about the process.
3. Using Tools
Common Tools for Grommets and Eyelets:
- Manual Hand Tools: Hand-held grommet and eyelet setters for low-volume projects.
- Hole Punches: For creating holes; ensure the punch matches the grommet/eyelet size.
- Automatic Grommet Machines: These machines streamline the installation of grommets, offering consistent quality and speed for larger projects.
- Automatic Eyelet Machines: Designed for high-volume eyelet installation, these machines enhance efficiency and accuracy.
- Backing Boards: Used to support fabric while setting grommets or eyelets.
4. General Questions
What are the advantages of using automatic grommet and eyelet machines?
- Efficiency: They increase production speed, making them ideal for large projects.
- Consistency: Automatic machines provide a uniform application, reducing the chance of human error.
- Ease of Use: These machines often require less manual force, reducing operator fatigue.
What materials can grommets and eyelets be used on?
- They can be used on a variety of materials including fabric, leather, canvas, vinyl, and paper.
How do I choose the right size of grommet or eyelet?
- The size depends on the thickness of the material and the intended use. Larger grommets/eyelets are suitable for heavier materials, while smaller options work well for lighter ones.
Can I install grommets and eyelets without a machine?
- Yes, manual tools can be used, but for high-volume work, automatic machines are recommended for efficiency and consistency.
What maintenance is required for grommet and eyelet machines?
- Regularly clean the machine to remove any fabric debris, check for wear on the punch and die, and lubricate moving parts to ensure smooth operation.
This overview should help with understanding the processes, tools, and common queries related to grommets and eyelets, especially in the context of using automatic machines.
Conclusion
Whether you choose to install eyelets by hand or use an automatic eyelet machine, following these steps will help you achieve a professional-looking finish. Eyelets add not only functionality by reinforcing holes in fabric but also aesthetic appeal to your projects. With practice and the right tools, you can confidently incorporate eyelets into all your creative endeavors. Happy crafting!

