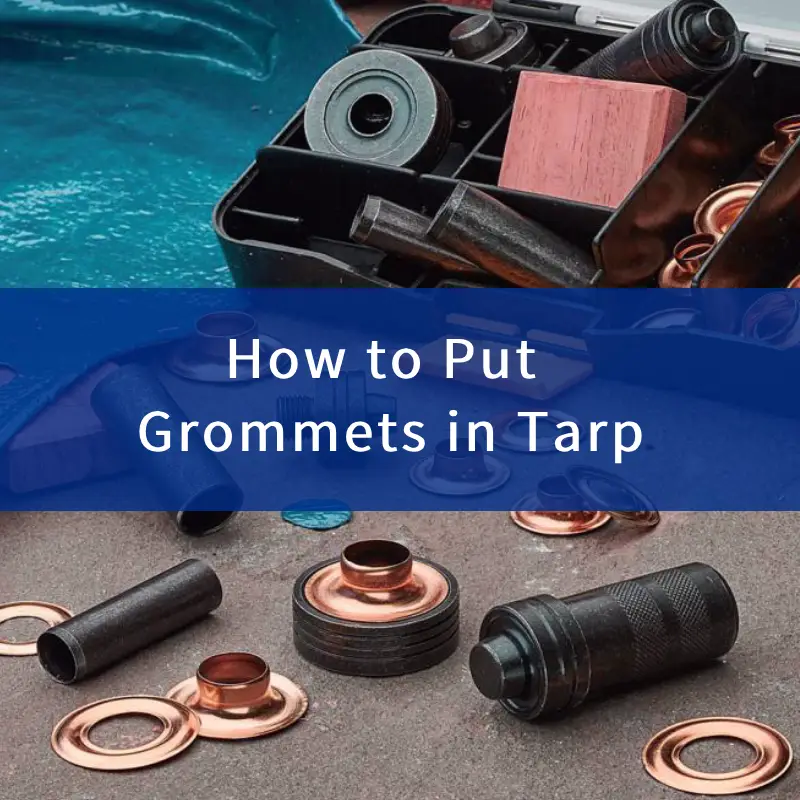
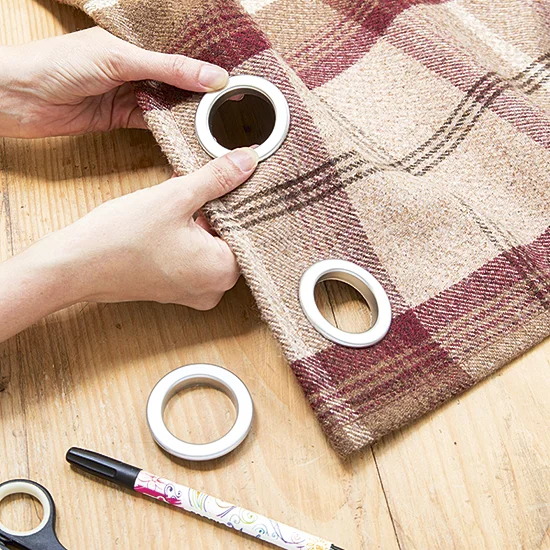
Grommets are essential accessories for working with tarps, How to Put Grommets in Tarp, providing extra strength and preventing tearing at points where ropes, cords, or hooks are attached.
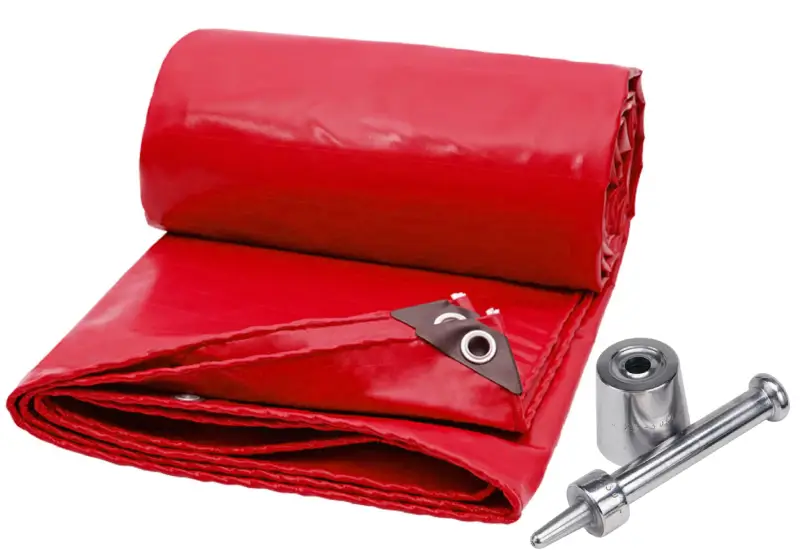
This guide will walk you through the process of installing grommets in a tarp using both manual techniques and automatic grommet machines, empowering you to choose the best method for your needs.
What is Grommet ?
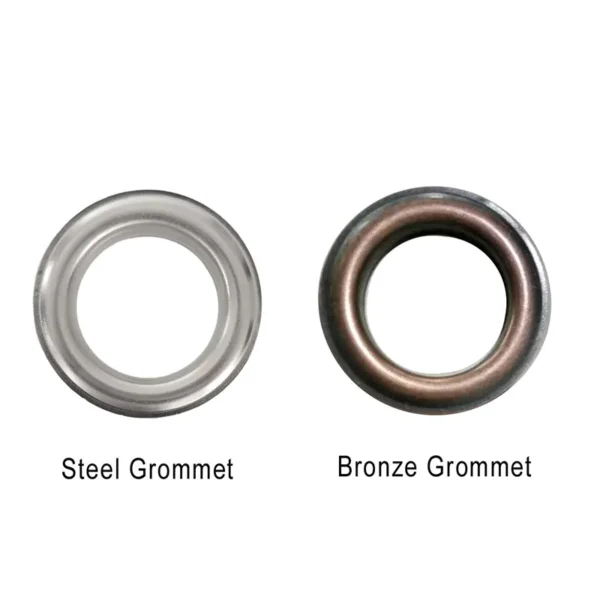
Before diving into the installation process, let’s briefly discuss what grommets are and their functions. A grommet is a ring made from metal, plastic, or rubber that is inserted into a hole in a tarp or fabric. Its primary purpose is to reinforce the fabric around the hole and prevent fraying or tearing. Grommets are typically used for:
- Securing tarps to a frame or another surface.
- Creating tie-down points for tents, awnings, or outdoor gear.
- Facilitating drainage in tarps used over equipment or surfaces where water is a concern.
what is a grommets and what is grommet curtains there are more details to learn
What is a Tarp
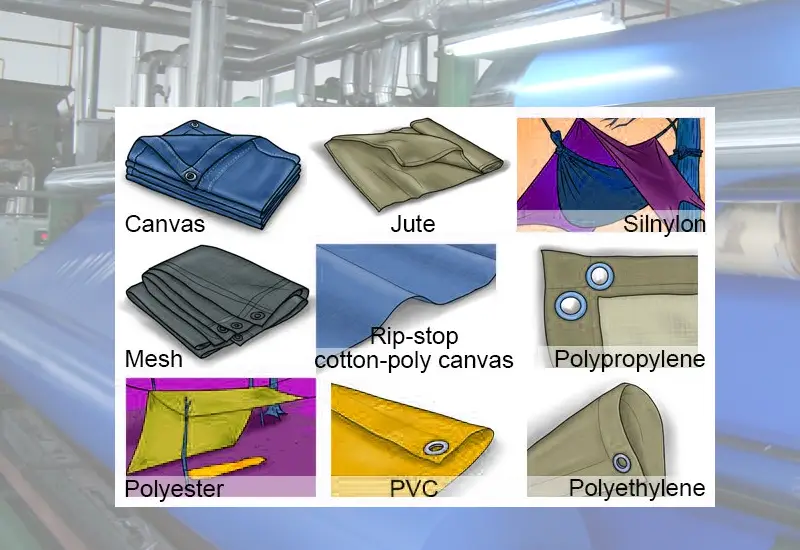
A tarp, short for tarpaulin, is a large sheet of strong, flexible material, often made from cloth like canvas or synthetic materials such as polyethylene or vinyl. Tarps are commonly used for protection against wind, rain, sun, and other adverse weather conditions. They are versatile, durable, and can vary in size, color, and thickness.what are tarps made of?
Gathering Your Materials and Tools
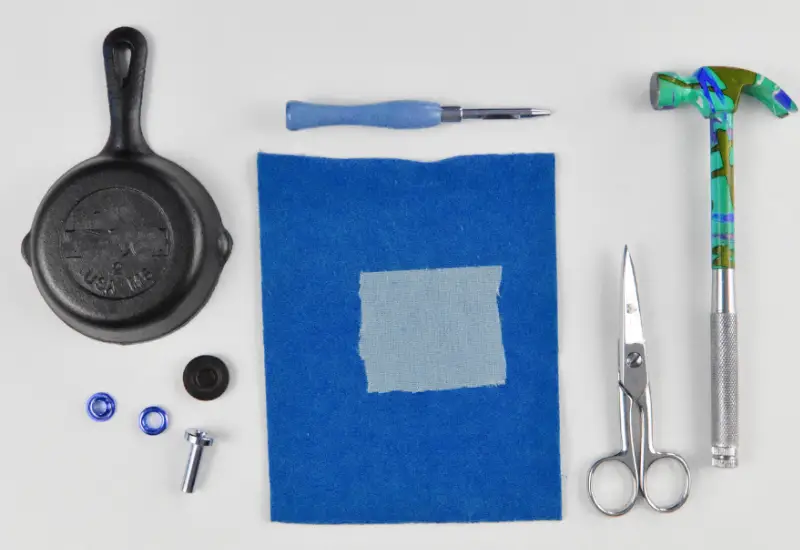
Before you begin, gather the following materials:
- Tarps: Identify the type of tarp you’ll be using. Thicker tarps may require heavy-duty grommets.
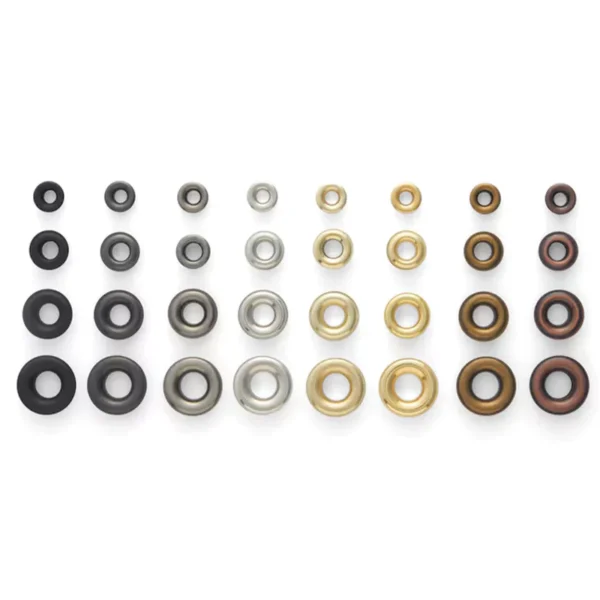
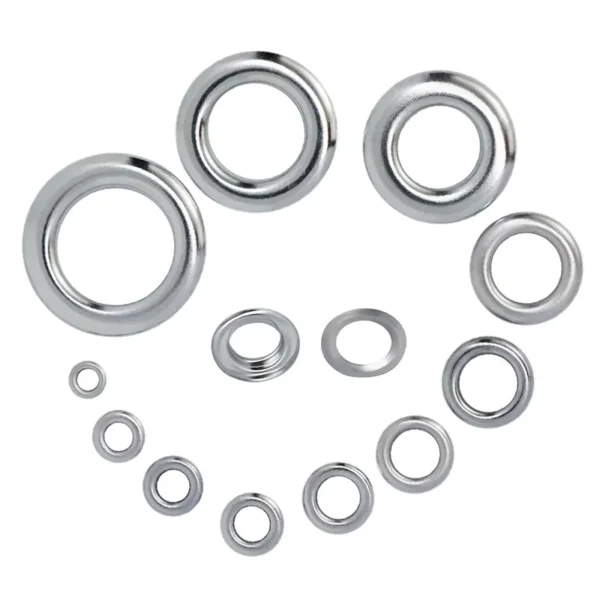
- Grommets: Select the appropriate size and type.
- Grommet Kit: This usually includes the grommets and their accompanying washers.
- Grommet Installation Tool: Depending on your chosen method, you may need either a manual hand tool or a grommet machine.
- Awl or Hole Punch: To create holes for the grommet insertion.
- Measuring Tape
- Marker or Fabric Pencil
- Cutting Mat or Board
- Weight or Clamps: To keep your tarp secure during installation.
- Safety Glasses: Always a good idea when working with tools to protect your eyes.
Installing Grommets by Hand
Step 1: Prepare Your Tarp
- Choose the Location: Determine where you want to install the grommets on your tarp. Typically, you’ll want to space them evenly along the edges or corners, depending on your use case.
- Mark the Spots: Use your measuring tape and marker to mark the locations where you will install the grommets. Make sure the grommets are positioned far enough from the edges (usually about 1 inch) to ensure stability.
- Cut Holes: Using an awl or a hole punch, create holes at the marked points. The hole should be slightly larger than the inside diameter of your grommets to allow easy insertion.
Step 2: Insert the Grommet
- Prepare the Grommet: Take one part of the grommet and place it through the hole from the back side of the tarp. The flared side should rest against the tarp surface.
- Add the Washer: On the front side of the tarp, place the washer over the exposed part of the grommet. The washer should fit snugly against the fabric.
Step 3: Secure the Grommet
- Use the Grommet Tool: If you have a grommet-setting tool, place it over the washer and ensure it’s centered properly.
- Strike with a Hammer: Using a hammer, gently strike the tool to press the grommet and washer together. Be careful not to hit too hard, as you could damage the tarp or misalign the grommet.
- Check Stability: After several strikes, examine the grommet to ensure it is secure. It should not wiggle or feel loose.
Step 4: Repeat for Additional Grommets
- Continue the Process: Repeat the above steps for any additional grommets you need to install. Maintain consistency in spacing and orientation for a professional look.
Tips for Hand Installation
- Ensure Accuracy: When marking, double-check measurements to avoid mistakes. Using a ruler or straight edge can help keep your markings straight.
- Practice Makes Perfect: If you’ve never installed grommets before, practice on a scrap piece of tarp to build your confidence.
Installing Grommets Using an Automatic Grommet Machine
Utilizing an automatic grommet machine can streamline the process, especially for large projects or when installing many grommets. Below is a step-by-step guide for using one effectively.

Step 1: Set Up the Grommet Machine
- Select Your Location: Find a stable workspace to set up the grommet machine. Ensure you have enough room for both the machine and the tarp.
- Choose Grommet Size: Load the appropriate grommets into the machine according to your project’s requirements. Consult the machine’s manual for specific instructions on loading grommets.
Step 2: Prepare the Tarp
- Lay Out the Tarp: Spread your tarp out flat on a cutting mat or work surface. Using weights or clamps will help keep it stationary during installation.
- Mark the Locations: As with hand installation, mark where the grommets will be placed. Use measuring tape to ensure consistency in spacing.
- Create Holes: Use an awl or hole punch to make holes at each marked point. The holes should be slightly larger than the inner diameter of the grommets.
Step 3: Insert the Grommet
- Load the Tarp: Place the tarp under the grommet machine so that the holes align with the grommet insertion point.
- Position the Grommet: Insert a grommet into the machine’s designated holder.
Step 4: Activate the Machine
- Engage the Machine: Depending on the model of your grommet machine, either press the button or pull the lever to set the grommet. The machine will automatically punch a hole in the tarp and set the grommet simultaneously.
- Check Alignment: After setting the grommet, double-check to ensure it has been inserted correctly. The washer should fit snugly against the fabric.
Step 5: Continue with Additional Grommets
- Repeat the Process: Move to the next marked point on your tarp and repeat the process, loading a new grommet as necessary. Ensure the fabric remains well-positioned each time.
Tips for Machine Installation
- Keep the Machine Clean: Regularly clean the machine to prevent debris buildup and ensure smooth operation.
- Test Before Full Use: Always conduct a test on a scrap piece of tarp to confirm that the machine settings are appropriate for your material.
Troubleshooting Common Issues
- Loose Grommets: If a grommet feels loose after installation, you may need to adjust how tightly you’re striking the grommet or the type of grommet used. Grommets made for thicker materials should be considered for heavy-duty tarps.
- Misalignment: If grommet holes are off-center, refasten the machine or recheck your alignment before inserting the grommet.
- Tarp Damage: Avoid hitting the grommet too hard as this can lead to tears in the tarp material. Ensure you’re using the correct tool for the material thickness.
FAQs
Conclusion
Installing grommets in a tarp can seem intimidating at first, but by following the steps outlined in this guide, you should be able to perform this task with confidence. Whether opting for manual installation or using an automatic grommet machine, each method has its own set of advantages and can be chosen depending on your specific project needs.
With grommets securely in place, you enhance the durability and functionality of your tarps, providing peace of mind in outdoor settings or when securing equipment. Remember to practice and measure precisely to achieve the best results. Happy crafting!
Can I put grommets in any type of tarp?
Most tarps can have grommets added, but lightweight tarps may tear more easily. It’s best to use durable tarps made of materials like canvas or heavy-duty polyethylene for added strength.
How do I choose the correct size grommet?
Grommets come in various sizes. Select a size that matches your needs based on the thickness of the tarp and the cord or hardware you plan to use with them.
How many grommets should I put in my tarp?
The number of grommets depends on how you plan to use the tarp. Adding grommets at each corner is common, and adding a few along the edges can provide additional tie-down points.

