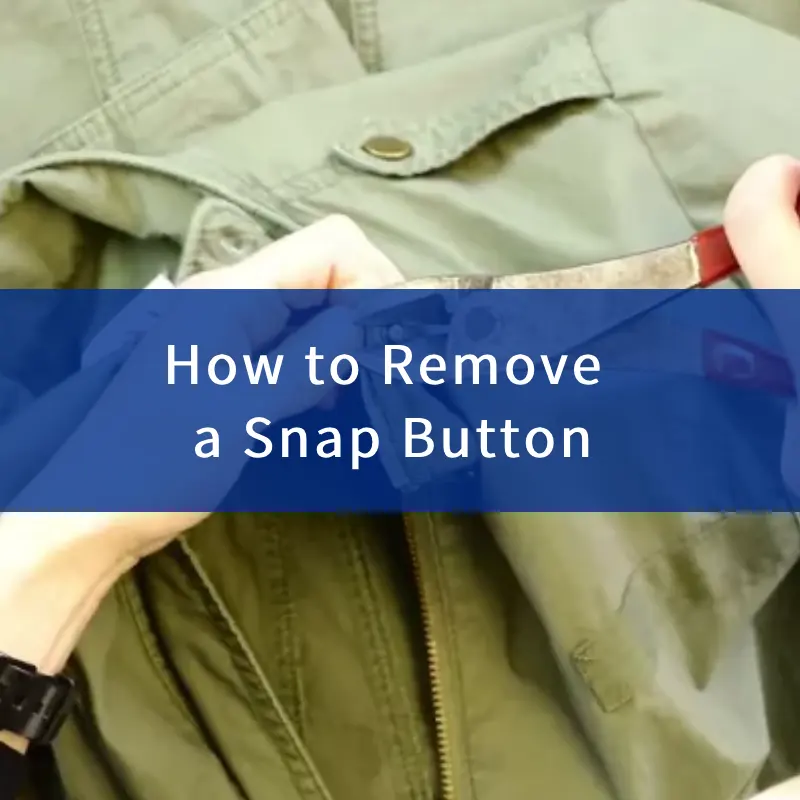
Snap buttons are a popular choice for fastening garments, bags, and various fabric items due to their ease of use and durability. However, there are times when you may need to remove a snap button, whether it’s because of a damaged snap, a change in style, or simply for customization purposes.
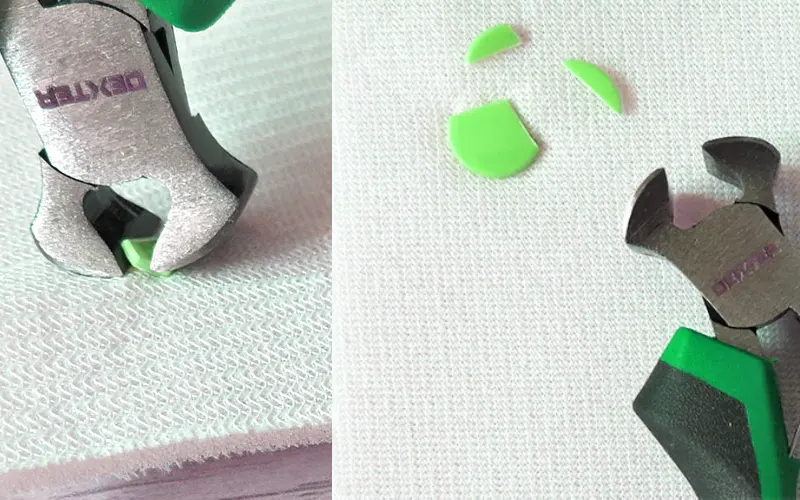
In this guide, we will walk you through everything you need to know about how to remove a snap button safely and effectively, ensuring that your garment or fabric remains intact.
What is Snap Buttons
Snap buttons, also known as press studs, are small fastening devices that consist of two parts: a male and female component. They are commonly used in clothing, upholstery, and accessories for their convenience and secure hold. The snap button works by connecting the male and female parts when pressed together, creating a strong closure that can easily be opened with a slight pull.
These versatile fasteners are widely used for their ease of operation and durability. But as with any fastening device, there may come a time when you need to remove or replace a snap button. Understanding how to remove a snap button correctly is essential to avoid damaging your fabric or garment.
Why You Might Need to Remove a Snap Button
There are several reasons why you might want or need to remove a snap button from a garment or fabric item. Let’s explore the common scenarios:
Damage to Fabric or Garment
One of the most common reasons for removing a snap button is that it has caused damage to the fabric or is no longer functioning properly. Snaps can become loose, rusty, or simply break over time, making them ineffective. If the snap becomes misaligned or detached, it may not close properly, which can lead to discomfort or a malfunction in your garment.
Style Changes and Customization
Sometimes, you may want to change the appearance or functionality of a garment. Perhaps you prefer a different type of closure or want to upgrade to a more decorative snap. Whether you’re updating your jacket or changing the closure on a bag, removing the snap button is the first step in the customization process.
Tools Needed for Removing Snap Buttons
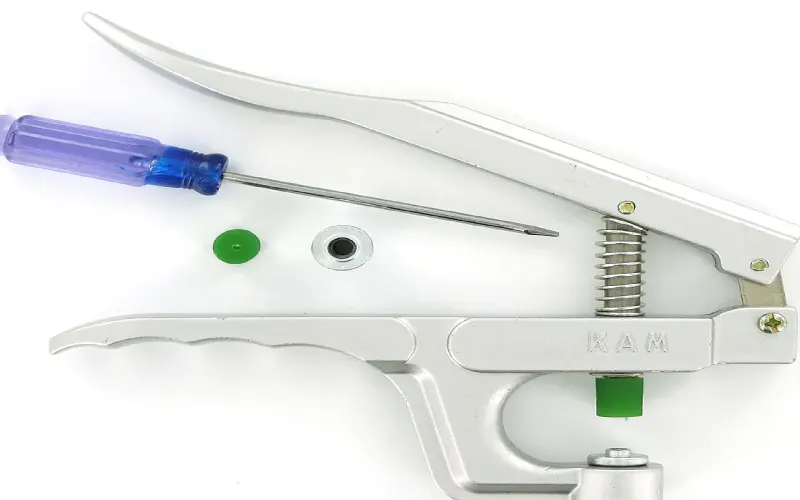
Before you begin the process of removing a snap button, it’s essential to gather the right tools. Using the appropriate tools will ensure that the snap is removed efficiently without damaging the fabric. Here are the basic tools you’ll need:
Pliers
Pliers are one of the most common tools used for snap button removal. They provide a firm grip, allowing you to pull apart the snap button’s components. You’ll want to use needle-nose pliers for precision or regular pliers depending on the type of snap you’re working with.
Screwdrivers
In some cases, snap buttons may be attached with small screws instead of being simply snapped together. If that’s the case, you’ll need a small screwdriver to loosen the screws and remove the button.
Snap Button Removal Tool
For a more efficient and specialized solution, a snap button removal tool can be purchased. These tools are designed to easily remove snap buttons without causing damage to the surrounding fabric. If you frequently work with snap buttons, this may be a worthwhile investment.
Step-by-Step Guide to Removing a Snap Button
Once you’ve gathered your tools, it’s time to start removing the snap button. Here is a detailed, step-by-step guide:
Step 1: Prepare the Fabric
Before you begin, make sure the fabric is clean and dry. Lay the fabric flat on a surface to avoid wrinkles, and ensure that you’re working in a well-lit area. If possible, place a cloth or towel underneath the fabric to protect it from any damage while working on the snap button.
Safety Precaution: Always wear gloves when handling metal tools to avoid injury, especially if the snap is old or corroded.
Step 2: Remove the Button
Start by determining which part of the snap button you need to remove first. There are typically two parts: the male snap (the knob) and the female snap (the socket). The method of removal depends on the type of snap:
- For Regular Snap Buttons: Use your pliers to gently grip the edges of the snap. Apply pressure to pry open the male and female components.
- For Sewn-on Snap Buttons: You may need to carefully cut through the stitches holding the snap in place with a seam ripper or small scissors.
- For Snaps with Screws: If there are screws, use a small screwdriver to remove them, taking care to keep track of the screws for reattachment later.
Step 3: Assess the Snap Closure
After removing the snap button, check the fabric for any signs of damage. If you notice any holes, fraying, or stress marks around the snap area, you may need to patch or repair the fabric before adding a new snap or closure.
Step 4: Clean and Repair (if needed)
If the snap removal has caused any damage, gently clean the area and use a fabric repair kit or sewing machine to fix any holes or tears. Be sure to allow any repairs to dry completely before proceeding with reattaching a new snap or different type of closure.
Tips for Preventing Snap Button Damage
Once you’ve successfully removed the snap button, you’ll want to take steps to ensure that future snap buttons do not cause damage. Here are some tips:
Proper Sewing Techniques
When sewing on a new snap button, make sure to sew it securely and reinforce the stitching around the snap to prevent it from loosening over time. Always sew through the fabric multiple times to ensure a tight, durable attachment.
Choosing the Right Snap Type
There are various types of snap buttons available, from plastic to metal, each suited for different materials. When choosing a snap button for a new project, consider the fabric’s thickness, stretch, and weight. A heavier fabric, for example, may require a larger or more durable snap than a lightweight garment.
Alternatives to Snap Buttons
While snap buttons are a popular choice, they may not always be the best option depending on the application. Here are some alternative fastening methods:
Hook-and-Loop Tape
Velcro or hook-and-loop tape is a great alternative to snap buttons. It’s easy to use, adjustable, and doesn’t require sewing through the fabric, making it ideal for children’s clothing or items that need frequent opening and closing.
Zippers and Buttons
For garments where snap buttons aren’t practical, zippers and traditional buttons are excellent alternatives. They provide secure closures and are easy to replace when necessary.
How to Install Snap Buttons
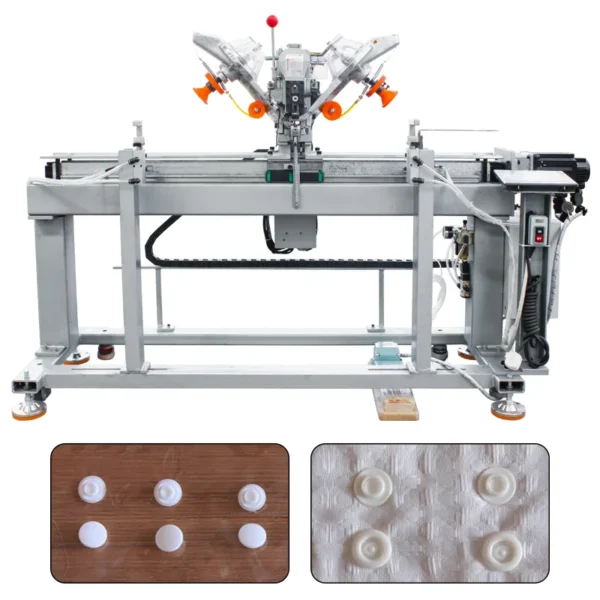
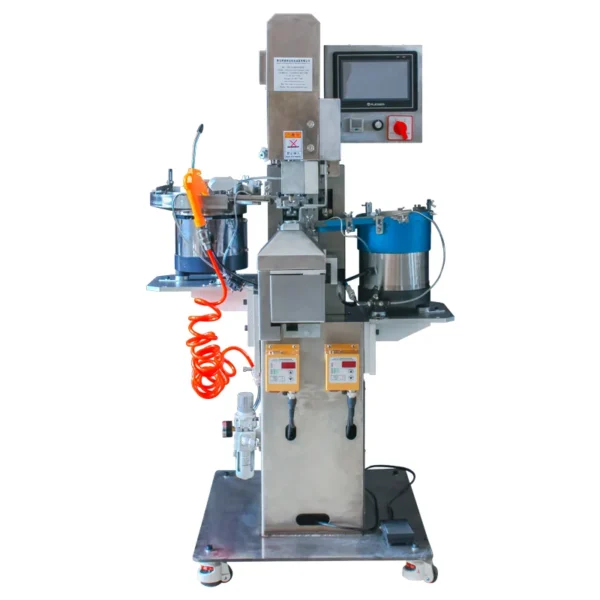
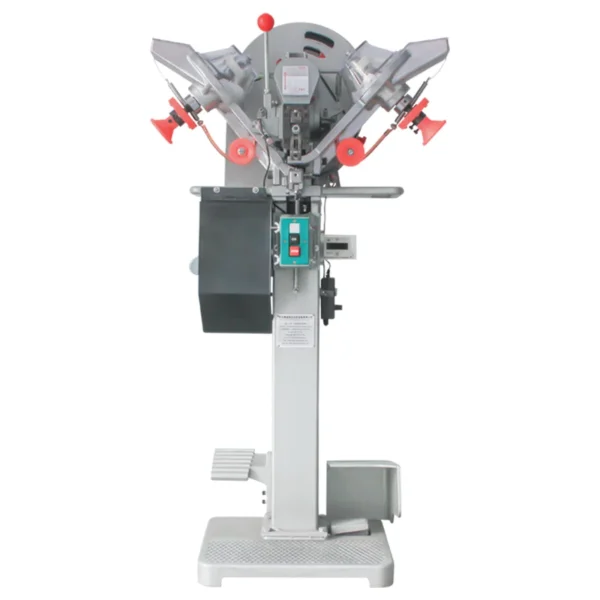
How to Install Snap Buttons Using a Snap Button Attaching Machine
Installing snap buttons with a Snap Button Attaching Machine is an efficient way to fasten snaps securely onto fabric. Here’s a step-by-step guide to help you with the process:
- Prepare Your Fabric
Start by placing your fabric on a flat surface. Make sure it’s clean and smooth to ensure the snap button attaches evenly. - Set Up the Snap Button Attaching Machine
Install the correct size snap button on the machine. Snap button attaching machines often come with different dies, so make sure you choose the right one for the snap size you’re using. Adjust the machine settings according to the fabric type and thickness. - Position the Fabric and Snap
Place the fabric under the machine’s press. Position the snap button correctly — the male and female components should align with the designated spots on the fabric. - Align the Dies
Insert the appropriate dies into the machine. The top die will press the male snap, while the bottom die will press the female snap onto the fabric. - Press the Button
Activate the machine to press the snap button onto the fabric. The machine will apply pressure, attaching the snap securely. - Inspect the Snap
After installation, check the snap button to ensure it’s properly attached and functions correctly.
FAQs
Can I Remove a Snap Button Without Special Tools?
Yes, it’s possible to remove a snap button without special tools. You can use a pair of pliers or even a flathead screwdriver to pry the snap open, although specialized tools make the process easier and safer.
How Do I Replace a Removed Snap Button?
To replace a removed snap button, simply align the new snap components in the same position as the previous one and sew them onto the fabric securely. You may also need a snap button tool if you are using press-fit snaps.
What If the Snap Is Stuck?
If the snap button is stuck and won’t budge, try gently applying some lubricant, such as petroleum jelly or soap, to loosen it. Be careful not to damage the fabric.
Will Removing a Snap Button Ruin My Garment?
If done properly, removing a snap button should not ruin your garment. However, if the fabric is too delicate, take extra care when removing the snap to prevent tearing.
How Do I Reattach a Snap Button After Removal?
To reattach a snap button, sew it securely in place, ensuring the two parts align properly. You can also use a snap fastener tool to make the process quicker and more professional.
Can Snap Buttons Be Reused?
Yes, snap buttons can often be reused if they are in good condition. Just make sure to remove any rust or dirt before reattaching.
Conclusion
Removing a snap button may seem tricky at first, but with the right tools and technique, it’s a straightforward process. Whether you’re repairing a damaged snap, updating your garment, or customizing your design, this guide has provided you with everything you need to know. By following the steps carefully and using the right tools, you can ensure that your fabric remains undamaged and your snap button removal is smooth and hassle-free.

