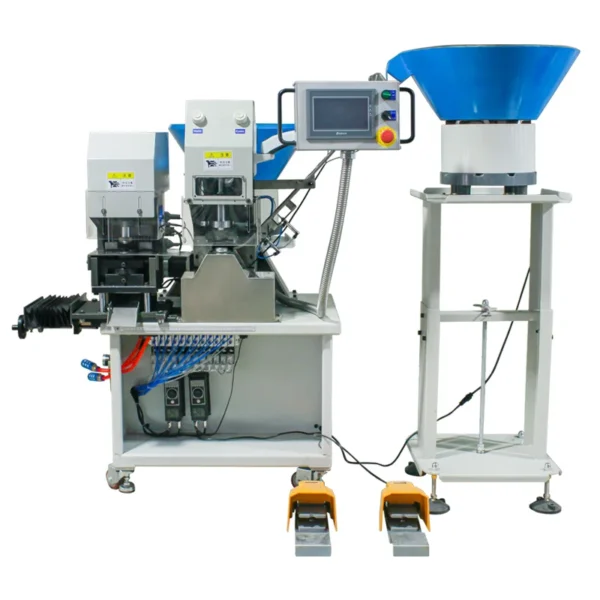
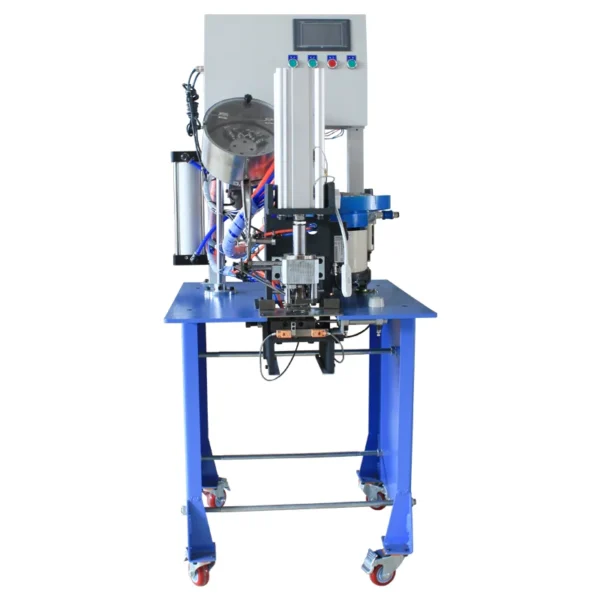
How to use metal eyelets, to maximize their value, in addition to manual tools, now automatic eyelets machine is also a good choice.
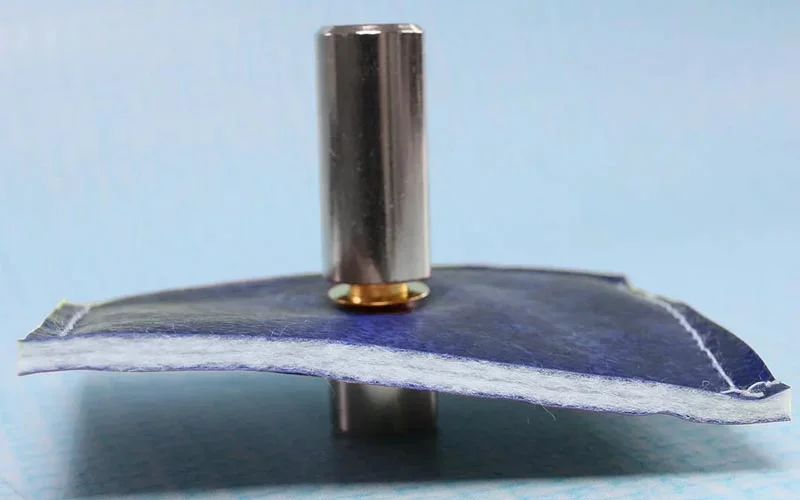
What Are Metal Eyelets?
Metal eyelets are small, often circular rings used to reinforce holes in fabric, leather, or other materials. They are essential in various applications, providing strength, durability, and a polished finish to projects ranging from clothing to industrial materials.
Importance and Applications of Metal Eyelets
Metal eyelets play a crucial role in multiple industries, from fashion to manufacturing. Their primary function is to prevent fraying and tearing around holes, ensuring the longevity and quality of the material. They also serve decorative purposes, adding a professional touch to garments, shoes, eyelet curtain material, and accessories.
This article provides a comprehensive guide to using metal eyelets, covering everything from the different types and tools needed to detailed installation steps and best practices. Whether you’re a DIY enthusiast or a professional, this guide will help you master the use of metal eyelets in various projects.
Types of Metal Eyelets
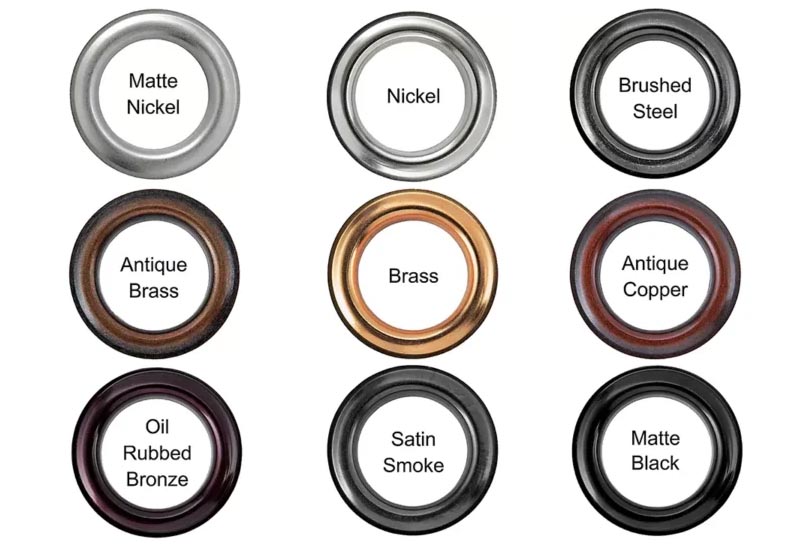
Different Materials Used in Eyelets
Eyelet Material: Metal eyelets are typically made from materials such as brass, stainless steel, and aluminum. Brass is commonly used due to its corrosion resistance and aesthetic appeal, while stainless steel offers exceptional strength and durability. Aluminum, being lightweight, is ideal for applications where weight is a consideration.
Sizes and Shapes of Metal Eyelets
Eyelets come in various sizes and shapes, catering to different needs. Standard sizes range from 1/8 inch to 1 inch in diameter, with variations in shape including round, oval, and square. The choice of size and shape depends on the material being used and the specific application.
| Eyelet Size | Inner Diameter (mm) | Outer Diameter (mm) | Height (mm) | Shape | Common Applications |
| 2.5 mm | 2.5 | 6 | 4 | Round | Small fabric projects |
| 3.0 mm | 3 | 7 | 4.5 | Round | Lightweight bags |
| 4.0 mm | 4 | 8.5 | 5 | Round | Canvas and leather products |
| 5.0 mm | 5 | 10 | 6 | Round | Heavy fabrics and curtains |
| 6.0 mm | 6 | 12 | 7 | Round | Shoes and clothing accessories |
| 8.0 mm | 8 | 14 | 8 | Round | Industrial applications |
| 10 mm | 10 | 16 | 9 | Round | Tents and awnings |
| 3.0 mm | 3 | 8 | 6 | Oval | Decorative purposes |
| 4.5 mm | 4.5 | 9.5 | 5.5 | Oval | Belts and bags |
| 6.5 mm | 6.5 | 12.5 | 7.5 | Oval | Seat covers and upholstery |
Comparing Metal Eyelets with Plastic Eyelets
While plastic eyelets are lighter and less expensive, metal eyelets offer superior strength, durability, and a more refined appearance. Metal eyelets are preferred for projects requiring long-term use and exposure to environmental elements, making them ideal for outdoor gear, heavy-duty bags, and footwear.
Tools and Materials Needed
Essential Tools for Installing Metal Eyelets
To install metal eyelets, you’ll need tools such as a hole punch, eyelet setter, and a hammer. A cutting mat and ruler are also essential for precise measurements and hole placement. These tools ensure a clean and secure installation, preventing damage to the material.
Recommended Materials
In addition to the eyelets themselves, you’ll need materials like fabric, leather, or canvas. The choice of material affects the type of eyelet used, as heavier materials require stronger eyelets. It’s also important to have a sturdy work surface to avoid any mishaps during installation.
Safety Precautions
When working with metal eyelets, safety should be a priority. Always wear protective gloves and eyewear to prevent injury from sharp tools or metal fragments. Ensure that your workspace is well-lit and free from distractions to avoid accidents.
How to Use Metal Eyelets: Step-by-Step Guide to Using Metal Eyelets
Preparing the Fabric or Material
Before installing eyelets, prepare the material by ironing it flat and ensuring it’s clean. This step is crucial for a smooth installation process, as wrinkles or debris can interfere with the placement and securing of the eyelets.
Marking the Eyelet Placement
Use a ruler and fabric marker to measure and mark the exact placement of each eyelet. Accuracy is key, especially when installing multiple eyelets, as uneven spacing can affect the overall look and function of the project.
Punching Holes for the Eyelets
Using a hole punch tool, create holes at the marked spots. The size of the punch should match the diameter of the eyelet being used. Ensure that the holes are cleanly cut, with no frayed edges, as this will impact the strength of the eyelet.
Inserting the Metal Eyelets
Insert the eyelet through the hole, with the flange side facing up. Make sure the eyelet fits snugly in the hole without too much force. If the eyelet is loose, it may not stay secure during the setting process.
Securing the Eyelets
Place the material on a firm surface, then position the eyelet setter over the eyelet. Use a hammer to gently tap the setter, crimping the eyelet and securing it in place. Repeat this process for each eyelet, ensuring they are all evenly secured.
Finishing Touches
Once all the eyelets are installed, inspect the material for any loose or uneven eyelets. Make any necessary adjustments, then clean the material to remove any marks or debris from the installation process.
How to Use Metal Eyelets: Step-by-Step Guide to Install Eyelets Using an Automatic Eyelet Punching Machine
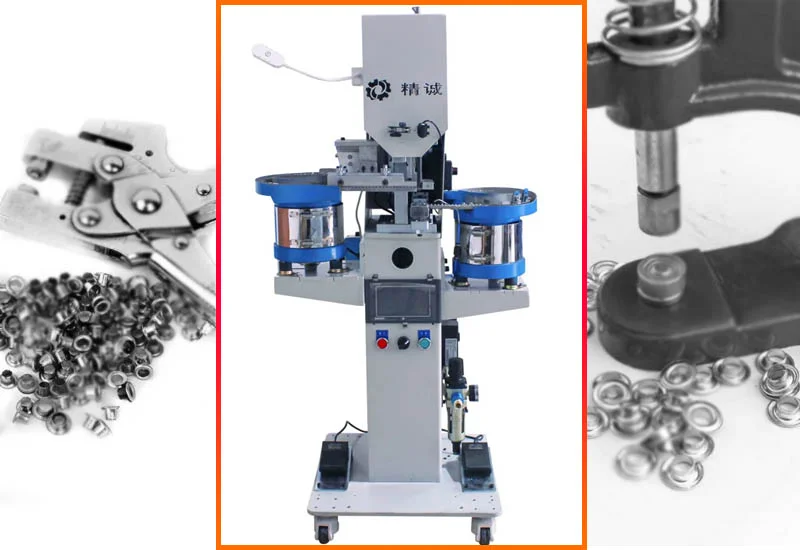
Gather your fabric or material where you will install the eyelets.
Choose the appropriate size and type of eyelets for your project.
Set Up the Machine:
Ensure the eyelet punching machine is properly set up and powered on.
Adjust the machine settings according to the specifications for the eyelets you will be using (size, pressure, etc.).
Position the Material:
Place the fabric or material on the machine platform.
Ensure that the area where you want to install the eyelet is centered and aligned with the machine’s eyelet die.
Insert the Eyelet:
Load an eyelet into the machine’s feeder or holding area, depending on your machine’s design.
Make sure the eyelet is seated properly and will be positioned correctly during the punching process.
Select the Punching Cycle:
Depending on the design of your machine, you may need to select the appropriate cycle for punching and setting the eyelet.
Confirm the settings again to avoid any errors during the process.
Activate the Machine:
Engage the machine to begin the punching process. This is often done by pressing a button or using a foot pedal.
Observe the operation to ensure that the machine performs as expected without any jams or issues.
Inspect the Installation:
After the machine finishes punching the eyelet, inspect the installation to ensure that it has been set properly and securely.
Ensure there are no rough edges or distortions around the eyelet.
Repeat as Necessary:
If you need to install multiple eyelets, repeat the process for each location, maintaining even spacing and alignment as required for your project.
Clean Up:
After you have finished installing all the eyelets, clean any debris or scraps from the machine and workspace.
Applications of Metal Eyelets
In Fashion and Apparel
Metal eyelets are widely used in fashion for items like corsets, belts, and shoes. They add a functional and decorative element, allowing for laces or cords to be threaded through while also reinforcing the fabric.
In Home Decor
In home decor, metal eyelets are used in curtains, cushions, and other textiles. They provide a durable solution for hanging or securing materials, especially in high-stress areas.
In Industrial Uses
In industrial settings, metal eyelets are used in tarps, sails, and heavy-duty bags. Their strength and durability make them ideal for products that must withstand harsh conditions and repeated use.
FAQs
What are metal eyelets?
Metal eyelets are small rings made of metal that reinforce holes in materials to prevent tearing. They are often used in applications like binders, curtains, leather goods, and crafts.
What materials are suitable for eyelets?
Eyelets can be used on various materials, including fabric, leather, paper, cardboard, and vinyl. Ensure that the material is compatible with metal eyelets and the punch tool you’re using.
How do I choose the right size eyelet?
Select an eyelet based on the thickness of the material and the intended use. For example, thicker materials may require larger eyelets, while lighter materials may work well with smaller ones.
Do I need special tools to install eyelets?
While some people can use manual tools for installations, having an eyelet punching machine can save time and ensure a cleaner result, especially for larger projects or repeated use.
Conclusion
Using metal eyelets can significantly enhance the durability and aesthetic appeal of your projects, whether you’re working with fabrics, paper, or other materials. By following the proper steps for installation and ensuring that you use the right tools, you can achieve professional-looking results with ease. Remember to choose the correct size eyelet and material compatibility, and give careful attention to the placement for optimal functionality.

