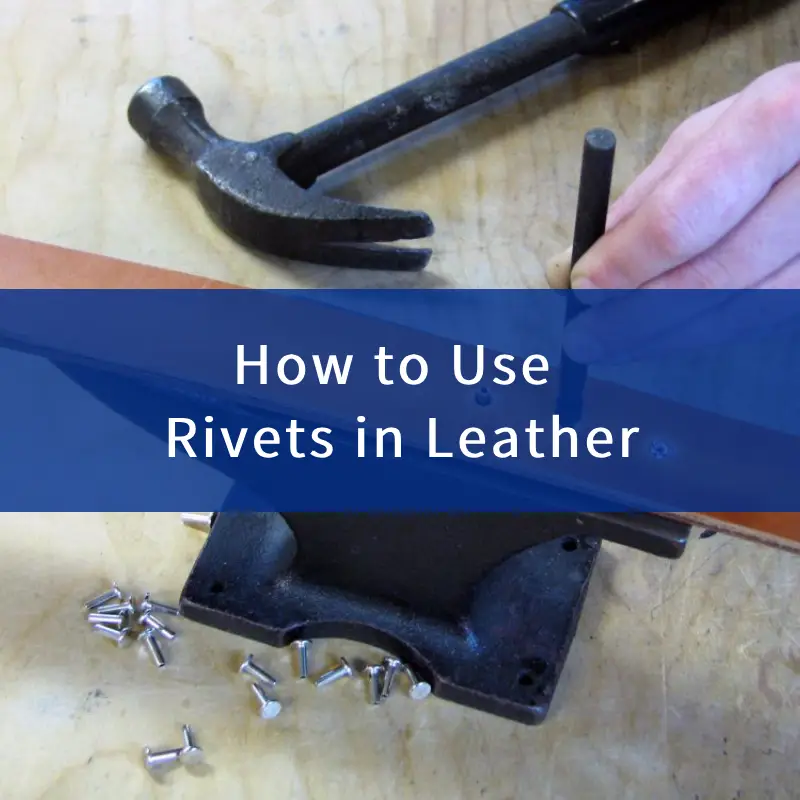
Rivets are a fantastic way to add both functionality and style to leather crafting projects. how to use rivets in leather?
Tool
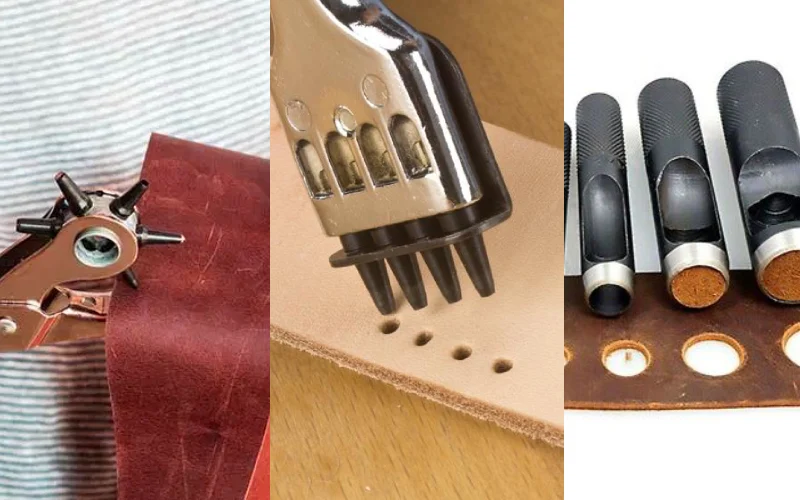
There are usually two ways hole punching tool used on leather, use a leather hole punchin small quantities, no need for large-scale mass production, choosing a leather punch tool is basically enough, but the labor cost is high and it is not suitable for modern production. Even need to have a different size hole puncher.
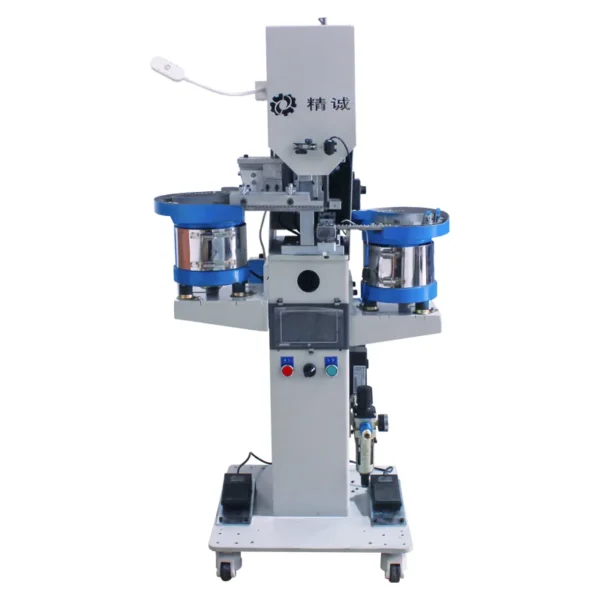
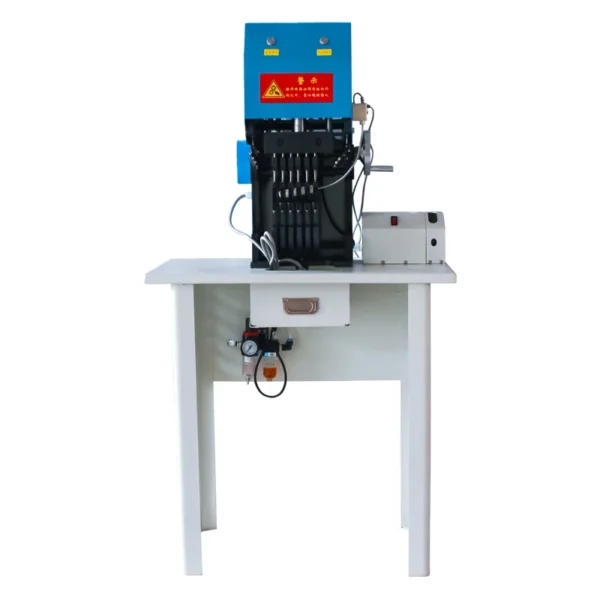
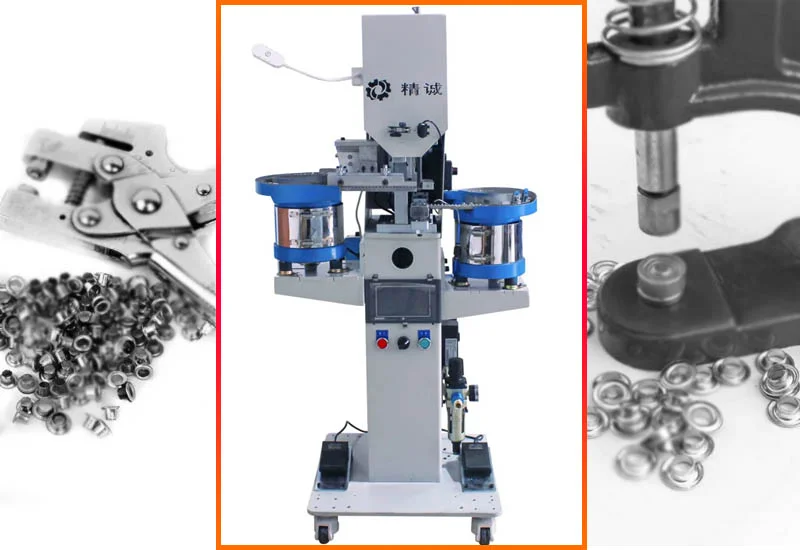
There is also a fast Automatic Leather Hole Puncher Machine suitable for large-scale production and can be used in conjunction with production lines.
They offer durability and can withstand a lot of wear and tear, making them ideal for items like belts, bags, and straps. This comprehensive guide will walk you through everything you need to know about using rivets in leather.
What Are Rivets?
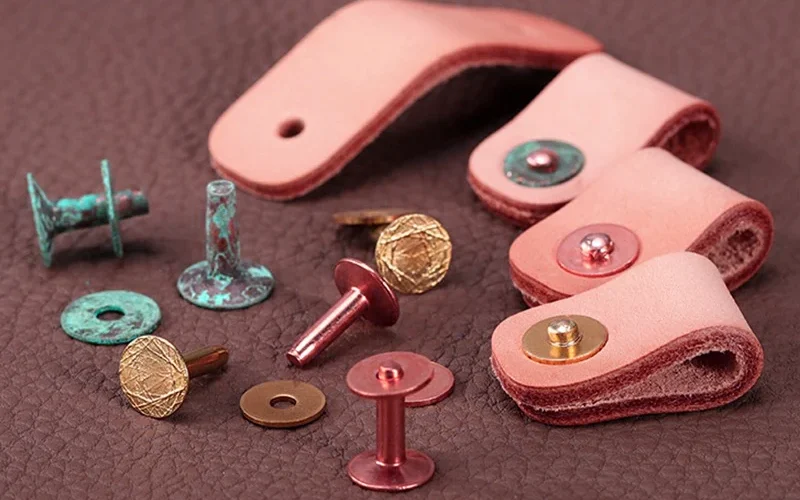
Rivets are small metal fasteners used to join two pieces of material, typically leather in crafting projects. They consist of two parts: the rivet post and the cap, which are pressed together to create a strong bond.
Different Types of Rivets for Leather
There are several types of rivets you can use in leather crafting, but the most common are tubular and solid rivets. Each has its specific uses depending on the project.
Tubular Rivets vs. Solid Rivets
Tubular rivets have a hollow post, making them easier to set with simple tools. Solid rivets, on the other hand, are sturdier and better suited for projects that require extra durability.
Choosing the Right Rivet Size
Selecting the correct rivet size is essential. The post length should match the thickness of your leather to ensure a secure fit without damaging the material.
Essential Tools for Using Rivets in Leather
Rivet Setting Tools
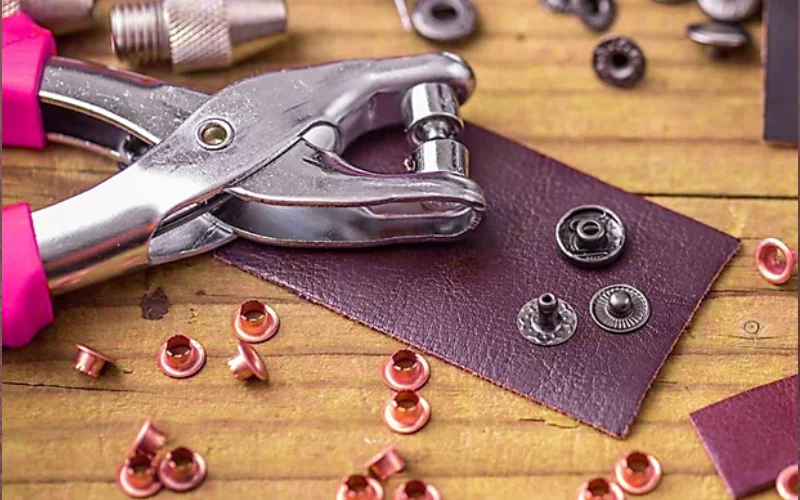
To install rivets, you’ll need a rivet setter, which is a small tool used to compress the rivet cap onto the post.
Best Leather Hole Punch
Before setting rivets, you’ll need to punch holes in the leather. Leather punching tools come in various sizes to accommodate different rivet post diameters.
Rivet Backings and Caps
Rivet caps come in different finishes and shapes, so you can choose ones that complement your project’s aesthetic. Backings ensure that the rivet stays securely fastened.
How to Use Rivets in Leather: Step-by-Step Guide to Riveting Leather
Preparing Your Leather
Start by ensuring your leather is clean and properly conditioned before installing rivets. This helps prevent any potential cracking or weakening during the riveting process.
Measuring and Marking the Leather
Accurate measurement is crucial. Mark the spots where you want to place your rivets to ensure even spacing and alignment.
Punching Holes for Rivets
Using your leather punching tool, carefully punch holes at the marked spots. Ensure the holes are slightly smaller than the rivet post to guarantee a snug fit.
Inserting and Securing the Rivet
Place the rivet post through the punched hole, then position the cap on the opposite side. Use the rivet setter to press the two parts together until they’re tightly secured.
Automatic Leather Hole Puncher Machine: Step-by-Step Guide to Riveting Leather
Step1: Prepare Your Materials
You will need:
Automatic leather hole puncher machine
Leather material
Rivets (correct size for your project)
Rivet setter (if not integrated with the machine)
Mallet (optional, if rivets are manually set)
Marking tools (pencil, ruler, etc.)
Step 2: Set Up the Automatic Leather Hole Puncher Machine
Turn on the machine: Ensure it’s plugged in or powered correctly if it’s electric.
Adjust the machine settings: Most machines allow you to adjust the size and spacing of the holes. Choose the correct hole diameter based on your rivet size.
Position your leather: Place the leather flat on the machine’s punching area. Make sure the area where you want to punch is directly under the punch head.
Step 3: Mark the Holes on the Leather
Use a ruler or other measuring tools to mark the exact spots where you want the rivets.
Mark the spots using a pencil or a light marking tool so it’s easy to follow during the punching process.
Step 4: Punch Holes in the Leather
Align the marked spots with the machine’s punch head.
Press the punch button or pedal (depending on the type of machine). The automatic puncher will create clean, precise holes in the leather.
Repeat this process for all marked spots where you plan to place rivets.
Step 5: Prepare the Rivets
Select the correct rivets for the leather thickness.
Rivets typically come with two parts: a cap and a post. Ensure they match your leather’s thickness for a firm fit.
Step 6: Insert the Rivets
Insert the post of the rivet through the hole you just punched in the leather.
Place the cap on the other side of the hole. Ensure it’s properly aligned with the post.
Step 7: Secure the Rivets
There are two common methods to secure rivets:
Manual Method: Use a rivet setter tool and a mallet to firmly press the cap and post together. Make sure to hit the setter evenly to avoid bending the rivet.
Automatic Riveting (if your machine has this feature): Some automatic leather machines combine punching and riveting. Follow the machine’s specific instructions for inserting the rivet and let the machine secure it for you.
Step 8: Inspect the Rivets
After securing, check the rivets to ensure they’re tight and flush with the leather. The rivets should be firmly attached and not loose.
This problem can be solved manually or by machine: how to use a punching machine.
Applications of Rivets in Leather Crafting
Leather Bags and Wallets
Rivets provide additional support at stress points, such as bag straps and wallet corners, preventing the leather from stretching or tearing over time.
Belts, Straps, and Accessories
Rivets are frequently used in belts and straps where strength is critical. Decorative rivets can also be used to enhance the visual appeal of leather accessories.
Leather Armor and Historical Applications
Historically, rivets were used in leather armor for extra reinforcement. Today, they still play a role in recreations and costumes for their authenticity and durability.
FAQs
How to Use a Punch Tool
To use a punch tool effectively, select the appropriate type (hole punch, center punch, or punching die) for your material. Mark the spot, secure the material, and align the punch. Apply firm pressure with your hand or a hammer. Always wear safety gear, keep your workspace organized, and check your work for accuracy after punching.
How Do I Choose the Right Rivet for My Project?
Consider the thickness of your leather and the function of the item. For lightweight projects, tubular rivets are a good choice. For heavy-duty applications, opt for solid rivets.
Can I Use Rivets on Thin Leather?
Yes, but be sure to use smaller, shorter rivets. Thin leather can easily tear if the rivet post is too long or wide.
What Tools Do I Need to Set Rivets in Leather?
At a minimum, you’ll need a rivet setter, a leather punch, and a mallet. For larger projects, consider investing in a rivet press for faster, more consistent results.
Conclusion
Rivets are essential fasteners in leather crafting, consisting of a post and a cap for strong bonds. Common types include tubular and solid rivets, suited for various applications. Correct sizing ensures a secure fit. Key tools include rivet setters and leather hole punches. The process involves preparing leather, marking hole locations, and inserting rivets.
Automatic punching machines streamline this for large-scale projects. Rivets enhance the durability of leather items like bags, belts, and historical replicas, providing both functionality and aesthetic appeal.

