Metal grommets are widely used in sewing and crafting projects, adding durability and a polished appearance to fabrics. Whether you’re making curtains, banners, bags, or upholstery, understanding how to install grommets correctly is essential.
This guide will walk you through the entire process, offering tips and best practices along the way.
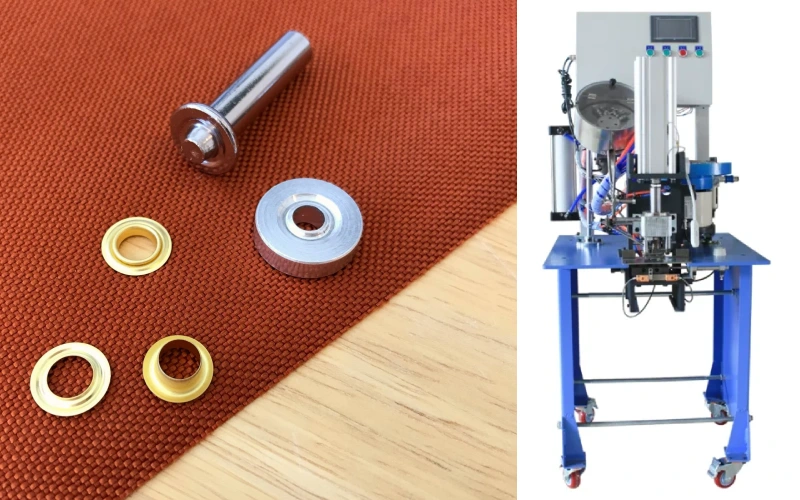
What are Metal Grommets?
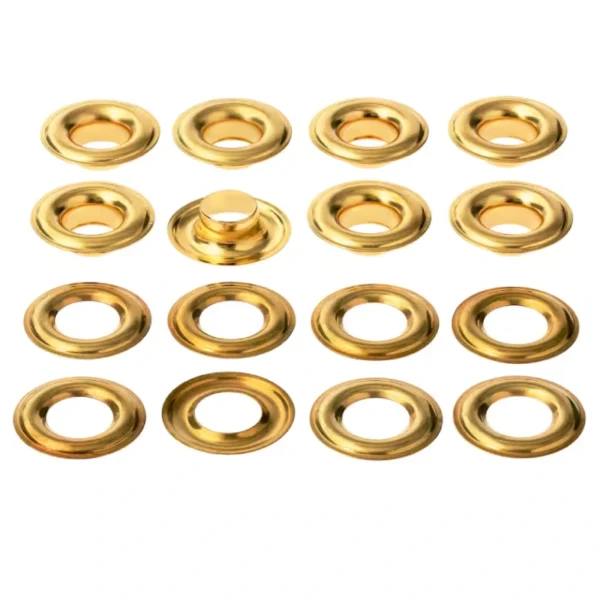
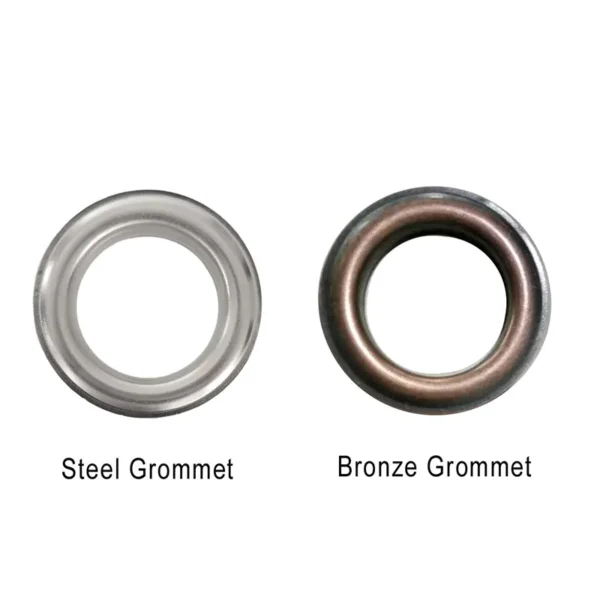
Metal grommets are circular eyelets made from durable materials such as brass, aluminum, or stainless steel. They serve several purposes:
- Reinforcement: They prevent fabric from fraying and tearing around holes.
- Aesthetic Appeal: They provide a finished look to handmade items.
- Functional Uses: They can serve as fastening points for laces, cords, or hardware.
Tools and Materials Needed
Before starting your project, gather the following:
- Metal Grommets: Ensure you select the right size and type.
- Grommet Tool Kit: This usually includes:
- Punch tool
- Grommet setter (anvil and setter)
- Hammer or Mallet: For driving the setter.
- Cutting Mat or Scrap Board: To protect your work surface.
- Ruler or Measuring Tape: For accurate measurements.
- Chalk or Fabric Marker: For marking.
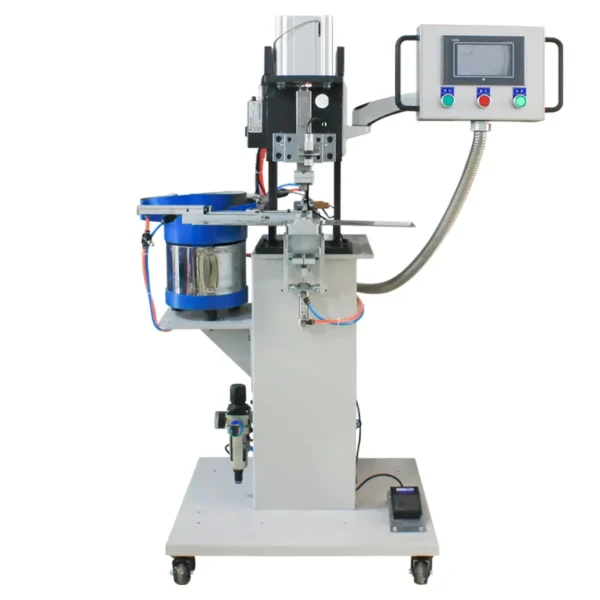
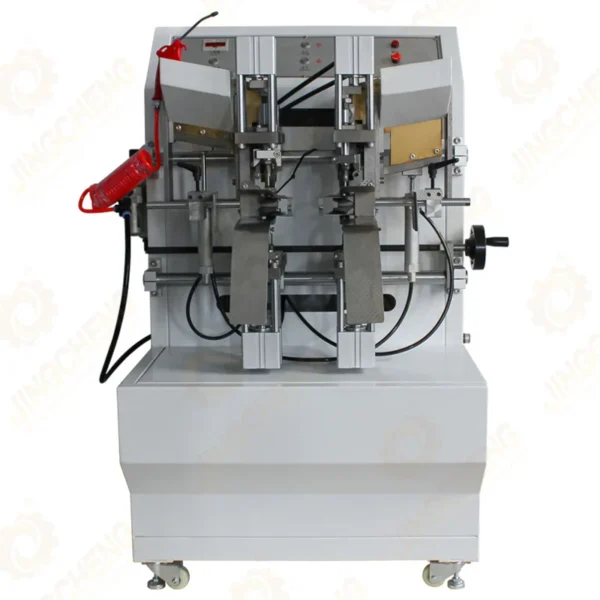
Automatic Grommets Machine Install Metal Grommets Steps
- Prepare the Fabric:
- Lay your fabric flat on a sturdy surface.
- If needed, use a cutting tool to make a hole where the grommet will go. The hole size should correspond to the size of the grommet.
- Mark the Grommet Locations:
- Use a straight edge and marking pen to mark where each grommet will be placed.
- Ensure that the marks are evenly spaced for a consistent look.
- Position the Fabric:
- Place the fabric under the automatic grommet machine’s die correctly. Ensure the marked hole aligns with the grommet die.
- Insert the Grommet:
- Take a grommet and place it through the hole from the back of the fabric. The grommet should have a flared side and a flat side.
- Set Up the Machine:
- Ensure that the machine is set to the correct die size and type of grommet.
- Make any necessary adjustments to the machine settings for pressure or depth.
- Activate the Machine:
- Engage the machine to apply pressure to the grommet. The automatic grommet machine will typically use a foot pedal or button.
- Hold the fabric steady if needed until the grommet is fully set.
- Check Installation:
- Once the machine has completed the process, check that the grommet is securely attached. The flared side should be flush against the fabric.
- Repeat as Needed:
- Move to the next marked location and repeat the process for additional grommets.
- Final Inspection:
- After all grommets are installed, inspect each one to ensure they are properly set and securely attached.
- Clean Up:
- Remove any fabric scraps or debris from the work area, and store the grommet machine and materials properly.
Preparing Your Fabric
Start by preparing the fabric where grommets will be installed. Ensure the fabric is clean and free from wrinkles. If you’re working with multiple layers, make sure they are all aligned properly.
Steps to Prepare:
- Wash and iron your fabric if necessary.
- Cut the fabric to the desired size for your project.
Marking the Grommet Placement
Proper placement of grommets is crucial for both the functionality and aesthetic of your project.
Steps for Marking:
- Determine Placement: Decide where you want the grommets (e.g., top of curtains, corners of a banner).
- Measure Evenly: Use a ruler to ensure equal spacing between grommets.
- Mark with Chalk: Lightly mark the placement with chalk or a fabric marker.
Cutting the Fabric
After you’ve marked where the grommets will go, it’s time to cut the fabric to create holes.
Steps for Cutting:
- Select the Right Tool: Use a hole punch or the grommet punch tool that usually comes with the grommet kit.
- Align the Tool: Place the punch tool over the marked spot.
- Punch the Hole: Firmly press down or tap with a hammer until the hole is created. Be careful to maintain a clean cut.
Installing the Grommets
This is the crucial step where the grommets are actually installed.
Steps for Installation:
- Insert the Grommet: Take the grommet, which consists of two parts: a ring and a washer. Insert the grommet from the back of the fabric to the front through the hole you just punched.
- Add the Washer: On the front side, place the washer over the grommet, ensuring it sits flush against the fabric.
- Position the Setter: Place the large, flat side of the setter against the washer, with the pointed side facing the grommet.
- Hammer Down: Using a hammer or mallet, strike the setter firmly several times. This will crush the grommet into place, securing it against the fabric. Make sure to apply even pressure.
Finalizing the Project
Once all the grommets are installed, check for any loose ends or unkempt edges.
Steps to Finalize:
- Inspect Each Grommet: Ensure all grommets are securely attached.
- Clean Up: Remove any chalk marks and tidy up the fabric edges.
- Common Mistakes to Avoid
- Incorrect Measurement: Always double-check your measurements before cutting.
- Using the Wrong Tool: Make sure to use the correct setting tool for the grommet size to avoid damaging them.
- Not Securing Grommets Properly: Ensure the setter is hitting evenly; uneven strikes can cause grommets to be loose or misshapen.
FAQ
What is the purpose of metal grommets?
Metal grommets are used to reinforce holes in fabric, preventing fraying and tearing. They can also serve as decorative elements and functional anchor points for cords, laces, or other closures.
How do I choose the right size grommet for my project?
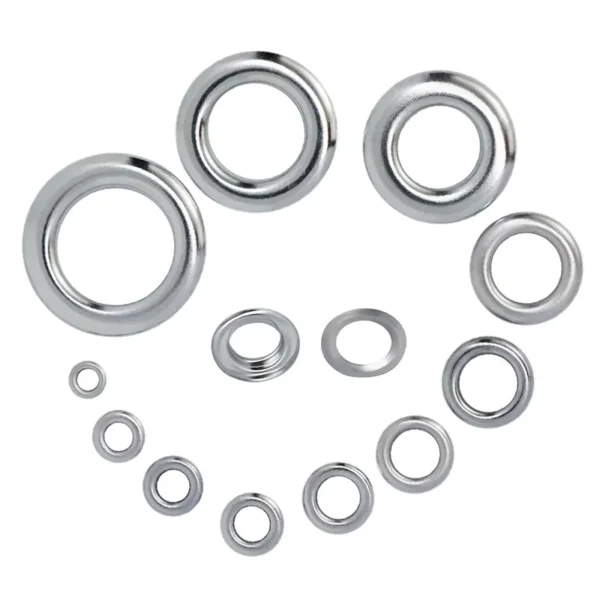
Select a grommet size based on the thickness of your fabric and the intended use. For thicker materials, choose larger grommets, while lighter fabrics can use smaller ones. Always check the manufacturer’s recommendations for sizing.
Can I install grommets in different types of fabric?
Yes, grommets can be installed in various fabrics, including cotton, denim, vinyl, and canvas. However, ensure that the fabric is sturdy enough to support the grommet’s weight and stress.
What tools do I need to install grommets?
You will typically need a grommet kit that includes a punch tool, a grommet setter (anvil and setter), a hammer or mallet, a ruler or measuring tape, and chalk or a fabric marker for marking placements.
What is the best way to prevent fabric from fraying around the grommet?
To prevent fraying, you can apply a fabric stabilizer or interfacing around the hole before installing the grommet. Additionally, using a zigzag stitch around the hole can provide extra reinforcement.
How do I remove a grommet if I need to replace it?
To remove a grommet, use a pair of pliers to gently pull it out or cut around the grommet with scissors if it’s stubborn. Be cautious not to damage the surrounding fabric.
Are there any special care instructions for grommeted items?
While most metal grommets are durable, avoid exposing them to harsh chemicals, and clean them with a damp cloth as needed. For items like curtains, machine wash according to the fabric’s care instructions, as most grommets can withstand regular washing.
Conclusion
Installing metal grommets is a straightforward process that can significantly enhance your fabric projects. By taking the time to measure accurately, prepare your fabric, and follow the installation steps carefully, you can achieve professional-looking results. With practice, you’ll become more comfortable with the process, allowing your creativity to flourish in sewing, crafting, and DIY projects.
Whether you’re making practical items or decorative pieces, grommets can add both utility and style. So gather your materials, follow these steps, and start creating!


