
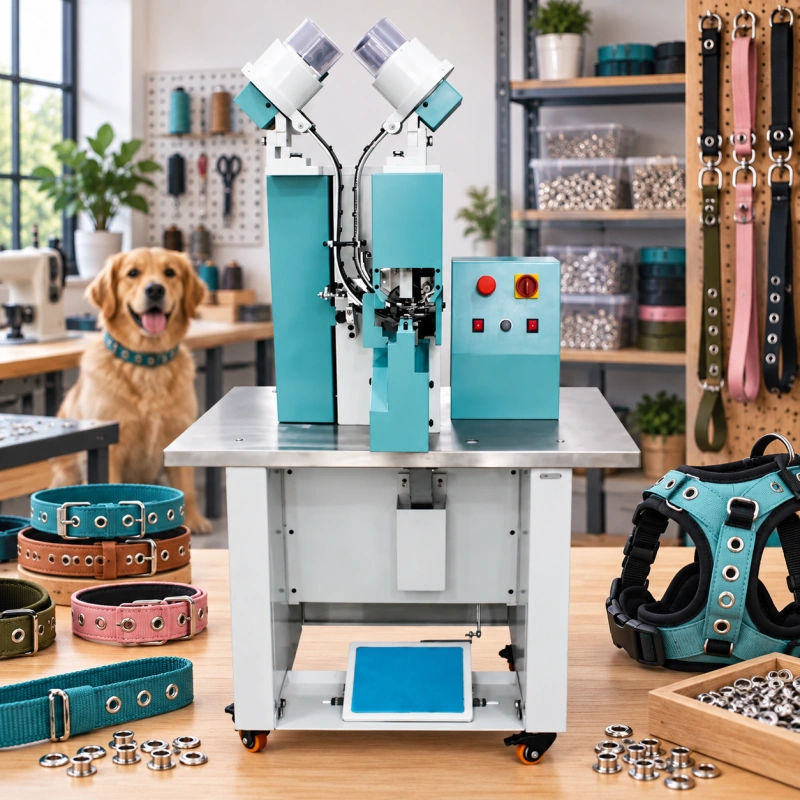
An eyelet on a pet collar may be only a few millimeters across, but its setting quality affects how the whole product feels and works. A buckle tongue has to enter cleanly. The rolled side must not leave a sharp edge against fur, skin or a handler’s hand. The flange must sit neatly on a visible strap, and the surrounding material must survive repeated bending, pulling, moisture and abrasion.
That is why you should not choose an eyelet machine from a loose leather swatch or a catalog eyelet number. You should specify the process based on the complete collar, harness or accessory you intend to sell. Your material stack, hole position, hardware finish, presentation method and inspection standard all influence the machine, tooling and fixture you need.
This guide focuses on those pet-product decisions. If you need a broad comparison of machine categories or general leather-punching guidance, use the related QC Machinery guides linked later rather than applying assumptions from shoe or bag production to this application.
The Quick Answer
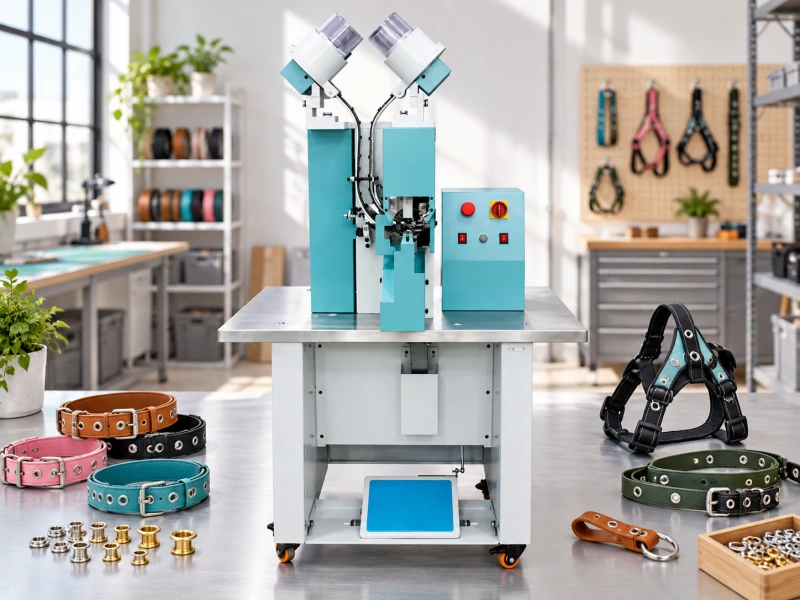
For most pet collar and harness projects, the right eyelet machine is the one that can present a narrow or shaped strap safely, set your exact eyelet and washer combination without marking the face, and produce a smooth underside across every approved material stack.
A hand-fed powered or semi-automatic system often suits mixed designs, short runs and frequent color changes. More automation becomes useful when the eyelet, washer, strap construction and hole pattern stay stable long enough to justify dedicated feeding and positioning.
Do not judge the process by cycle speed alone. Your useful output is the number of accepted collars, harnesses or accessories per hour after loading, alignment, hardware changes, inspection and rework are included.
Where Eyelets Fit in Pet Products?
You may use eyelets to reinforce buckle adjustment holes, finish decorative perforations, guide lacing or cords, or protect an opening that receives repeated contact. On a leather collar, the eyelet can also become a visible design detail, so the finish, flange profile and color consistency matter as much as retention.
A harness creates a different problem. Its straps may approach the tooling at several angles, and padding, binding, folded webbing or a lining can turn a flat component into a bulky assembly. An eyelet location that is easy to reach on a cut blank may become impossible to support after stitching and hardware assembly.
Be careful with load-bearing decisions. An eyelet reinforces an opening, but it does not automatically replace a rivet, stitch pattern, bar tack or other structural joint. If the opening is part of a restraint system, you must validate the complete product under the standards, customer requirements and foreseeable use conditions that apply to your market.
There is no single pull-force value that can be responsibly applied to every pet collar or harness.
| Product | What makes the eyelet job different | What you should verify |
| Collars | Narrow curved straps, repeated buckle-tongue contact and a highly visible outer face. | Hole alignment, tongue clearance, smooth pet-side roll, edge distance and flex around the buckle zone. |
| Harnesses | Multiple strap angles, padded or laminated zones, bindings and three-dimensional finished assemblies. | Tool access, support under the setting point, fixture clearance, layer compression and the intended load path. |
| Leashes and leads | Long flexible parts that can twist during presentation and may combine leather, webbing and reinforcement. | Orientation control, operator reach, surface protection and whether the eyelet is decorative or functional. |
| Small leather accessories | Short runs, many colors and styles, small parts and frequent hardware changes. | Fast repeatable changeover, compact stops, finish protection and approved settings for each construction. |
Start with the Finished Material Stack
Your machine supplier needs more than the words leather collar or nylon harness. Prepare a construction sheet for every style family. Record the face material, lining, reinforcement, padding, adhesive, folded edge, and any local overlap at the eyelet position. Measure the minimum and maximum finished thickness rather than quoting only the nominal thickness of one layer.
Compressibility matters too. Two stacks with the same caliper can behave differently under the die. A firm vegetable-tanned strap may resist cutting and hold its shape, while a padded synthetic assembly may compress, spread, or recover after setting. Coated webbing may show whitening or edge damage even when the eyelet is mechanically tight. You need approved samples from the actual supply chain to see these differences.
Include the thinnest and thickest acceptable parts, not just the average. If a collar has a keeper overlap or a folded section close to the hole, send that geometry as well. A setting developed on an open, flat strip may not transfer to the finished product.
Specify the Eyelet as a Complete System
Do not order tooling from a trade size or hole diameter alone. Confirm the eyelet barrel outside diameter, barrel length, flange diameter and profile, material, wall behavior and finish. If you use a washer, confirm its inside diameter, outside diameter, thickness, and orientation. Small differences between supplier lots can change feeding and rolling behavior.
The barrel length has to suit the compressed stack and the required roll. Too little material may leave weak engagement; too much may split, buckle, or create an uncomfortable projection. The correct relationship should be validated on the actual set assembly, not by a generic size chart. For the measurement sequence, refer to QC Machinery’s eyelet washer and die matching guide.
For pet products, also define the finish requirement. Consider moisture, cleaning chemicals, salt exposure, color rubbing and skin-contact expectations where relevant. Ask your hardware supplier for the appropriate material and finish documentation. The machine can form the component, but it cannot correct an unsuitable plating system or certify the finished pet product for you.
Decide When the Hole Is Made
Some applications can pierce and set in one operation. Others need a controlled pre-punched hole, especially when a layered stack stretches, frays, delaminates or shifts during piercing. Neither route is automatically better. You should compare both on the full construction and inspect the cut edge after flexing.
A pre-punched hole adds an operation but gives you direct control of hole diameter and cleanliness. A combined operation reduces handling but asks more of the punch, material support and alignment. If your material range includes woven webbing, coated layers or padding, test the worst combinations rather than approving the process from one easy sample.
QC Machinery’s pre-punching decision guide covers the general decision in more detail.
Design Access Before Choosing Automation
A machine can have enough setting force and still be wrong for your product because the strap cannot reach the tooling. Map the eyelet position from every nearby obstruction: buckle frame, D-ring, keeper, padded panel, seam, folded edge and finished product boundary. Then check throat depth, lower-tool support, guard clearance and the space your operator needs to hold the part.
Decide whether you will set the eyelet before or after stitching and hardware assembly. Setting on a flat blank usually simplifies access and positioning, but later folding, edge finishing or sewing may mark or distort the hardware. Setting late in the process protects the final location relationship, but the assembled product may be harder to support. Run both sequences if the answer is not obvious.
This sequence decision is especially important on a harness. A flat panel may feed cleanly through an automatic station, while the finished harness can catch on guides and pull the setting point off center. Design the production flow before you purchase dedicated feeding or multi-position equipment.
Use Fixtures Made for Narrow Straps
Your operator should not have to judge every hole by eye. A simple application-specific fixture often improves finished-product quality more than a faster machine. For a collar, you may need an adjustable side guide to center the strap, an end stop to establish the first hole, and an indexing stop or template for the adjustment-hole pattern.
The support surface should protect grain, embossing, printed logos, and coated webbing. It should also hold the part without crushing padding or forcing a curved strap flat. If several strap widths share one station, make the guide adjustment positive and readable so the operator can return to an approved position after changeover.
Useful pet-product fixture features include the following
- A narrow-channel guide that controls side movement without rubbing the finished edge
- A length stop or hole-pattern index that references a stable product feature
- A replaceable non-marking support pad for light colors and soft faces
- Clearance for buckles, D-rings, keepers, padding and folded webbing
- A support shape that keeps the setting point level on curved or contoured parts
- A view or check point that lets you confirm the underside before releasing the piece
Choose the Level of Machine Assistance
You do not need the same machine architecture for every pet accessory line. Match assistance to product stability, not to an abstract production-volume label.
Hand-Fed Powered and Semi-Automatic Systems
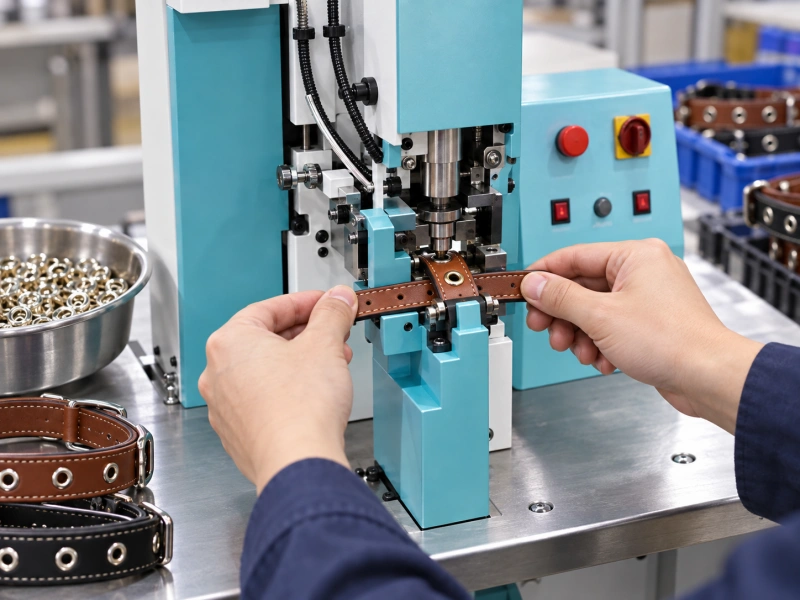
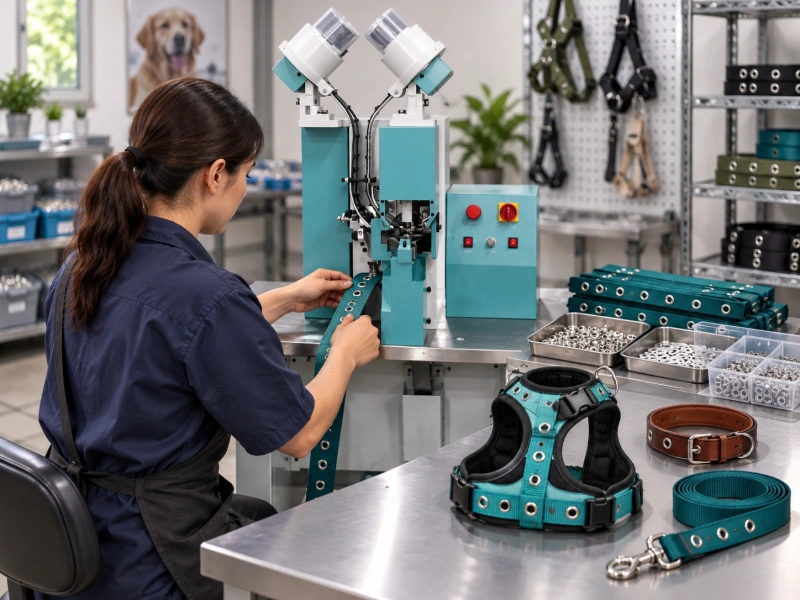
These systems are often practical when you change strap widths, eyelet finishes or styles frequently. The operator presents the product while the machine provides controlled settings, and an automatic eyelet feed may remove one small-component handling step. You retain flexibility for curved collars, completed harness sections, and mixed accessory work.
Automatic and Dedicated Systems
More automation can help when the same construction runs for long periods, the hardware feeds reliably, and the part can be located the same way every cycle. The business case should include feeder change parts, fixtures, setup time, rejected pieces, and the labor needed to untangle or reorient flexible straps. An automatic eyelet feed does not automatically position the collar or inspect the pet-side roll.
Single and Multiple Setting Positions
A single setting position gives you freedom to handle different hole counts and spacing. Multiple fixed positions may suit a stable, repeated pattern, but only after you confirm pitch tolerance, strap stretch, and changeover needs.
Do not lock a seasonal range into fixed tooling before the design is finalized and supplier tolerances are confirmed. For a broad architecture comparison, use the manual, semi-automatic and automatic eyelet machine guide.
Set a Pet-Side Quality Standard
A visually acceptable front flange is not enough. Your inspection must include the rolled side that faces the pet or sits against another strap. Define an approved sample and describe what your team should feel and see.
- The front flange sits flat and does not dent, scorch, scratch or discolor the visible face
- The rolled side is even, smooth and free from splits, burrs, sharp petals or excessive projection
- The eyelet does not spin, rock or pull away under the product-specific checks you have approved
- The surrounding layers do not separate, fray, whiten, crack or squeeze out
- The hole remains within the drawing tolerance for centerline, pitch and edge distance
- A buckle tongue, cord or mating part passes freely without catching or opening the roll
Use a tactile check as well as a visual one, while protecting inspectors from sharp defects. On restraint products, add flex, cyclic loading, corrosion or pull testing based on your design risk and applicable requirements. Record the test method, sample condition and acceptance limit. Do not copy a force value from an unrelated collar, harness or material.
Run a Sample Trial That Represents Production
A good trial shows whether the process is stable across your approved range. Send enough parts to set up, adjust, challenge, and repeat the result. Testing loose eyelets without actual product samples does not provide a meaningful evaluation of machine performance.
| Trial sample | Why you include it | What you inspect |
| Thinnest approved stack | Reveals excess barrel length, loose setting and marking risk. | Roll height, tightness, flange contact, and pet-side projection. |
| Thickest approved stack | Reveals short engagement, high forming demand and layer squeeze-out. | Full roll, cracks, layer damage and recovery after setting. |
| Softest or most padded style | Challenges support, compression and position control. | Denting, distortion, delamination and hole center. |
| Firmest or densest style | Challenges piercing and forming without relying on a generic force claim. | Clean hole, complete roll and surface marking. |
| Lightest and most visible finish | Makes scratches, oil transfer and tooling marks easier to find. | Cosmetic face, coating integrity and handling marks. |
| Finished assembly with nearby hardware | Proves real access and operator presentation. | Clearance, support, repeatability and safe hand position. |
Use eyelets and washers from the production supplier and include different approved lots if dimensional variation is known. Provide a drawing or marked sample showing the eyelet orientation, centerline, edge distance and acceptable cosmetic zone. State the expected style mix and shift output, but ask the supplier to report output in accepted finished pieces rather than machine cycles alone.
During the trial, preserve the approved settings, die identification, feeder change parts, guide positions and sample photographs. These become the starting point for installation and changeover control. If one setting cannot cover the full material range, create separate recipes or tooling groups instead of forcing a compromise.
Plan Changeovers for Colors and Collections
Pet accessory production often has more variety than one catalog photo suggests. You may change plating colors, strap widths, lining stacks and seasonal trims within the same shift. Each change can affect feeding, die contact and appearance.
Build a small controlled kit for every approved hardware family. Label the upper and lower dies, eyelet and washer feed parts, guide setting, support pad and reference sample. Keep the hardware specification with the kit so a similar-looking eyelet is not loaded by mistake. After a changeover, set and inspect first-off samples before releasing the batch.
If you run many eyelet sizes, the die selection guide helps you define the matching tooling information without repeating it here.
Information to Send with Your Inquiry
You will get a more useful recommendation when you send the application as a production package. Include the following
1. Finished collars, harness sections or accessories covering the full approved material range
2. Loose material layers and a construction drawing showing overlaps at each eyelet location
3. Production eyelets and washers with dimensional drawings, material, finish and supplier details
4. Strap widths, finished thickness range, hole count, pitch, edge distance and acceptable position tolerance
5. The operation sequence, including punching, stitching, edge finishing and nearby hardware assembly
6. Your style mix, batch size, shift demand, change frequency and target number of accepted products
7. Your cosmetic standard, pet-side smoothness requirement and product-specific mechanical test method
8. Available power and air supply, operator arrangement and space or guarding constraints
Buying Checklist
- The trial uses complete production assemblies, not only flat leather coupons
- The exact eyelet, washer and die set are identified and controlled
- The machine reaches every eyelet location without interference from finished hardware
- The fixture centers each strap width and supports padded or curved constructions
- The pet-side roll is smooth on the thinnest, thickest, softest and firmest approved stacks
- The front face remains free from unacceptable tool marks on every color and finish
- The feeding system handles normal component-lot variation without frequent jams or misorientation
- Change parts, tooling storage and setup records cover every approved hardware family
- The quoted output reflects loading, positioning, inspection and changeover, not only machine cycles
- Installation, operator training, spare parts and after-sales support are defined in the quotation
- Your team is responsible for finished-product safety validation and applicable compliance review
- The purchase decision includes landed and operating cost, not only the machine price
For the commercial side of the decision, use QC Machinery’s eyelet machine total landed cost guide.
Common Mistakes to Avoid
Testing Only One Easy Material
An average leather strip can hide problems that appear on padded, folded, coated or very firm constructions. Approve a range matrix and preserve the worst-case samples.
Selecting from Maximum Force
More force does not guarantee a better collar. Controlled motion, matched tooling, stable support and repeatable positioning determine whether the eyelet forms cleanly without damaging the product.
Ignoring the Underside
The rolled side may contact the animal, the lining or another moving strap. Treat smoothness and projection as explicit acceptance criteria, not as a final cosmetic check.
Using an Eyelet as an Unverified Structural Joint
A neat setting can still be wrong for the load path. Validate the complete restraint product and do not assume the eyelet replaces stitching or other joining hardware.
Automating Before the Product Is Stable
Dedicated feeders and fixed fixtures work best with controlled components and repeatable geometry. If your style, supplier or hole pattern is still changing, preserve adjustment and access until the product family settles.
Counting Cycles Instead of Accepted Products
Flexible straps take time to pick up, orient, support and inspect. Compare systems using a timed run that includes normal handling, refills, checks and representative changeovers.
FAQ
Can One Eyelet Machine Handle Collars, Harnesses and Leather Accessories?
It can if the machine has enough access and the correct changeable tooling and fixtures for each approved construction. You still need separate settings or recipes when thickness, compressibility, eyelet size or finish changes. Ask for a trial across the complete product family before treating one setup as universal.
Do Pet Collars Always Need Washers?
No. The answer depends on the eyelet design, material stack, appearance, load path and required performance. A washer can spread contact and change the finished roll, but it also adds a component and may affect pet-side projection. Test both the specified hardware system and the finished product.
Is an Automatic Eyelet Machine Worth It for Pet Accessories?
It may be when your eyelet, washer, strap geometry and run length are stable. If you produce many colors, frequent style changes and short production runs, a flexible hand-fed or semi-automatic arrangement may deliver more accepted products after changeovers are counted. Use a representative timed trial to compare the options.
Can an Eyelet Replace a Rivet or Stitch Pattern?
Not by assumption. Eyelets reinforce and finish openings; rivets and stitches perform different joining functions. If the eyelet location is load-bearing, your engineering and quality teams must validate the complete construction for its intended use.
How Do You Avoid Scratching Coated or Light-Colored Straps?
Start with clean, polished, correctly matched tooling and a non-marking support surface. Control how the part enters the guide, remove metal chips or oil promptly, and include the most visible finish in setup approval. A fixture should locate the strap without rubbing its finished edges.
What Samples Should You Send to the Machine Supplier?
Send complete finished or production-stage parts covering the thinnest, thickest, softest and firmest stacks, plus the lightest cosmetic finish and any assembly with nearby hardware that restricts access. Include production eyelets and washers, drawings, inspection criteria, expected style mix and the operation sequence.
Build the Machine Specification from the Pet Product
Choose eyelet machines for pet collars and harnesses by working backward from the finished product. Define the stack, exact hardware, location and pet-side quality standard. Validate the tooling, access and fixture on real assemblies, then decide how much feeding and positioning assistance improves accepted output.
Send QC Machinery your samples, drawings, material range and production target so you can evaluate a repeatable application instead of relying on a generic machine specification.