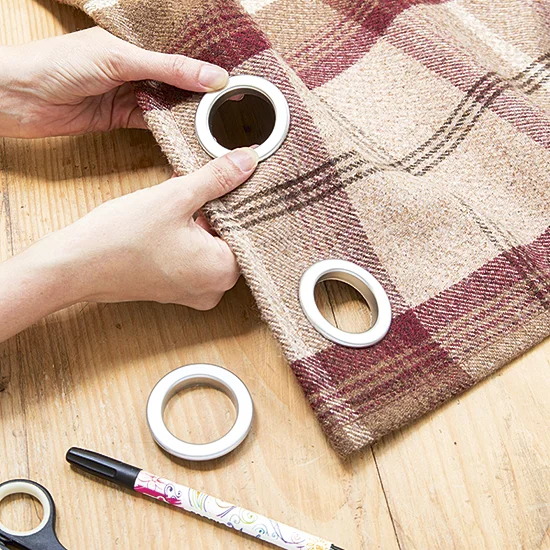
How to Add Grommets to Vinyl Banner,Whether you are a professional or not, it is necessary to be familiar with this process, and there will be a day to use it

What is a Banner?
A banner is a sign or display that typically consists of durable fabric, vinyl, or other materials, often used for advertising, promotions, events, or decorative purposes. Banners can be hung, mounted, or displayed in various environments, both indoors and outdoors. They serve as an effective way to convey messages, announce events, or promote businesses due to their visibility and versatility. Banners come in different shapes, sizes, and styles, which can include:
- Horizontal or Vertical Banners: Depending on the layout, they can be displayed horizontally or vertically.
- Pop-Up Banners: These are portable and can be easily setup or dismantled, often used at trade shows or conferences.
- Backlit Banners: These banners have lighting options behind them for enhanced visibility, particularly in low-light settings.
- Retractable Banners: These are rolled up into a base for easy transport and setup, popular for events and exhibitions.
Banners can be printed with various techniques, including digital printing, screen printing, or dye sublimation, allowing for high-quality graphics and vivid colors.
Adding grommets to a vinyl banner is an essential skill whether you are creating signage for your business, promoting an event, or crafting custom banners for any occasion. Grommets strengthen the material, allowing you to attach the banner easily with ropes, hooks, or clips. In this comprehensive guide, you will learn how to install grommets using both manual methods and an automatic grommet machine, giving you the flexibility to choose the best technique for your project.
Material for Banners
what material is used for banners
| Material | Characteristics | Uses |
|---|---|---|
| Vinyl Banner | Durable, weather-resistant, and able to withstand outdoor elements. | Outdoor signs, promotional banners, and trade show displays. |
| Fabric Banners | Lightweight, soft, and often more aesthetically pleasing; can be printed using dye sublimation for vibrant colors. | Indoor displays, event backdrops, and decorative banners. |
| Mesh Banner | Made from durable vinyl with tiny perforations to allow wind to pass through, reducing the risk of tearing. | Outdoor advertising in windy areas, such as fence banners and building wraps. |
| Paper Banner | Cost-effective, available in various weights and finishes; less durable and typically not waterproof. | Indoor banners, short-term promotions, or events. |
| Canvas Banner | Heavy, high-quality fabric that offers a more premium look; can be printed with vibrant colors but may require special inks. | Art displays, trade show backdrops, and indoor signs. |
| Polyester Banner | A synthetic fabric that is lightweight, durable, and wrinkle-resistant, often used in indoor applications. | Flags, table covers, and soft signage displays. |
Understanding Grommets
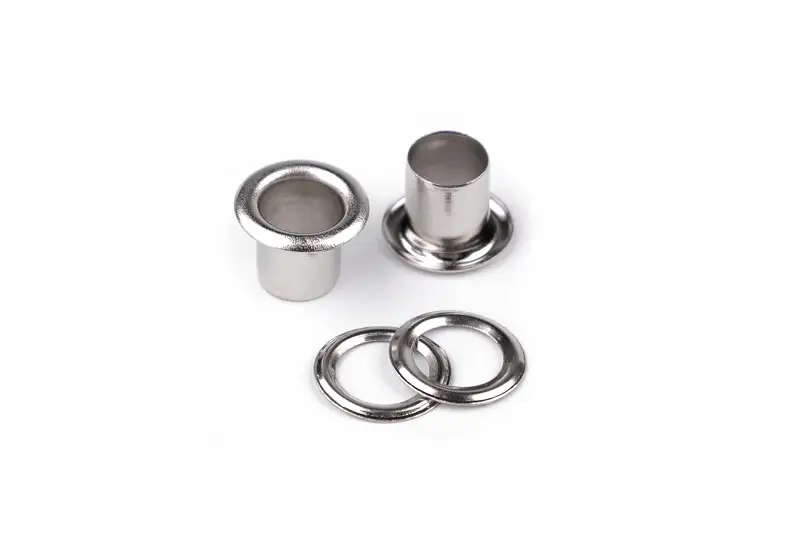
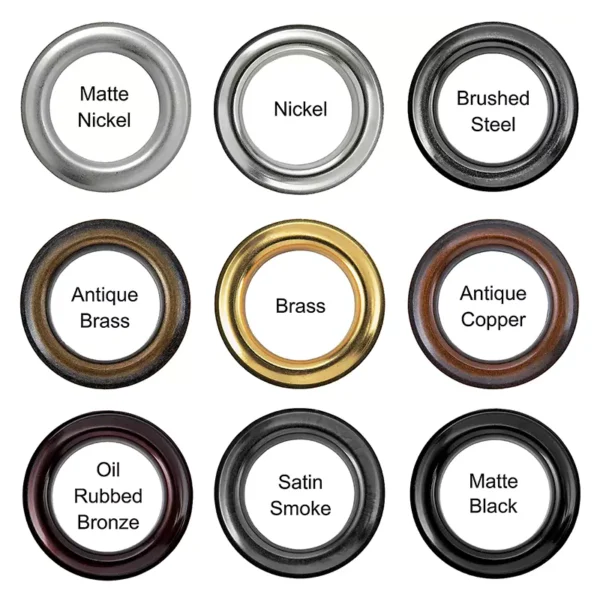
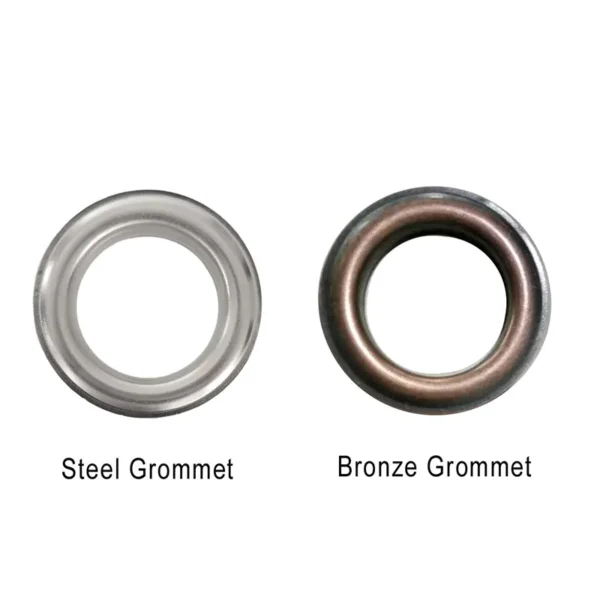
Before getting into the installation process, it’s important to understand what grommets are and why they are used. Grommets are circular rings made from metal, plastic, or rubber that are inserted into holes in fabrics or materials. Their primary function is to reinforce a hole in the banner, preventing fraying and tearing while providing a sturdy place for attachment.
Using grommets on vinyl banners also enhances their durability, allowing them to withstand outdoor elements without significant wear.
Materials and Tools You Will Need
Before you start, gather the following materials and tools:
Materials:
- Vinyl Banner: Choose a high-quality vinyl material that suits your project needs.
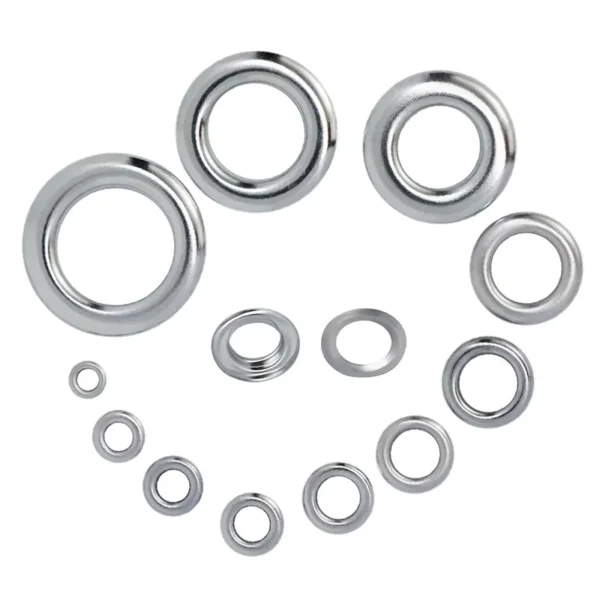
- Grommets: Select grommets appropriate for your banner size and material thickness.
- Grommet Kit: This typically includes grommets and corresponding washers.
Tools:
- Grommet Installation Tool: Depending on your method, you may need either a manual hand tool or an automatic grommet machine.
- Awl or Hole Punch: To create holes for grommet insertion.
- Measuring Tape: For accurate spacing.
- Marker or Fabric Pencil: To mark where to place the grommets.
- Cutting Mat or Board: To protect your working surface.
- Weights or Clamps: To keep your banner steady during installation.
- Safety Glasses: To protect your eyes while working.
Installing Grommets by Hand
Step 1: Prepare Your Vinyl Banner
- Determine Grommet Locations: Decide where you want to place the grommets on your banner. A common approach is to place them in each corner and additional points along the edges, depending on your banner’s dimensions and use.
- Measure and Mark: Using your measuring tape, mark the spots for the grommets with the marker. Typically, placing grommets about 2-3 inches from the edge provides adequate support.
- Cut Holes: Using an awl or a hole punch, carefully create holes at each marked location. Ensure your holes are slightly larger than the grommet itself, allowing for easy insertion.
Step 2: Prepare the Grommet
- Insert the Grommet: Take one part of the grommet and insert it from the backside of the banner through the hole you created. The flared side should sit against the banner while the spiked side is exposed.
- Add the Washer: From the front side of the banner, place the washer over the exposed spikes of the grommet. The washer secures the grommet in place and prevents it from pulling through the material.
Step 3: Secure the Grommet
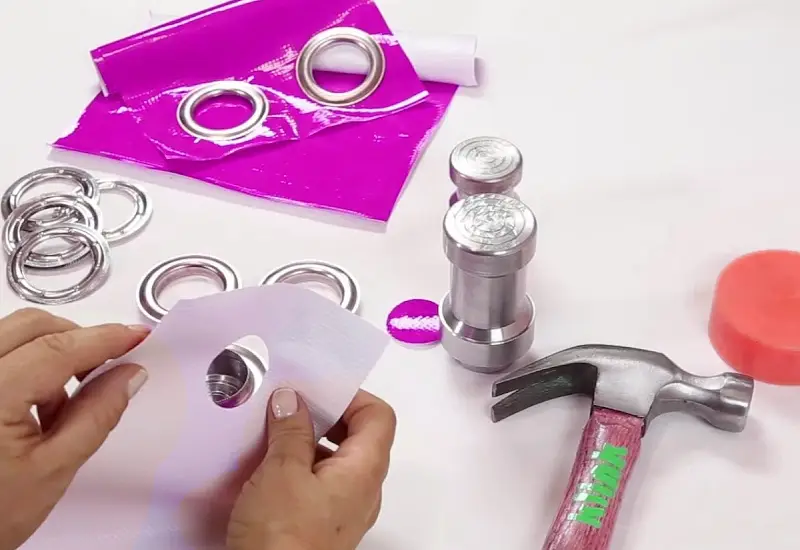
- Position the Setter Tool: Place the grommet tool over the washer, ensuring it is correctly centered.
- Strike with a Hammer: Firmly strike the top of the setter tool with a hammer. Start lightly and increase your force gradually. The tool should crimp the spikes of the grommet against the washer, forming a secure hold.
- Check Your Work: After a few strikes, check the grommet to ensure it is firmly in place. It should not wobble, and the edges should be tightly pushed against the vinyl.
Step 4: Repeat for Additional Grommets
- Continue Installing: Move to the next marked location and repeat the same process for each grommet until all are installed. Maintain consistent spacing between grommets for a uniform appearance.
Tips for Hand Installation
- Use a Clean Surface: Work on a flat, clean surface to avoid mistakes when marking and punching holes.
- Keep Grommets Aligned: Ensure that the grommet holes are straight and align well with the edge of the banner to maintain a neat appearance.
- Practice First: If you’ve never installed grommets before, consider testing the process on a scrap piece of vinyl to gain confidence.
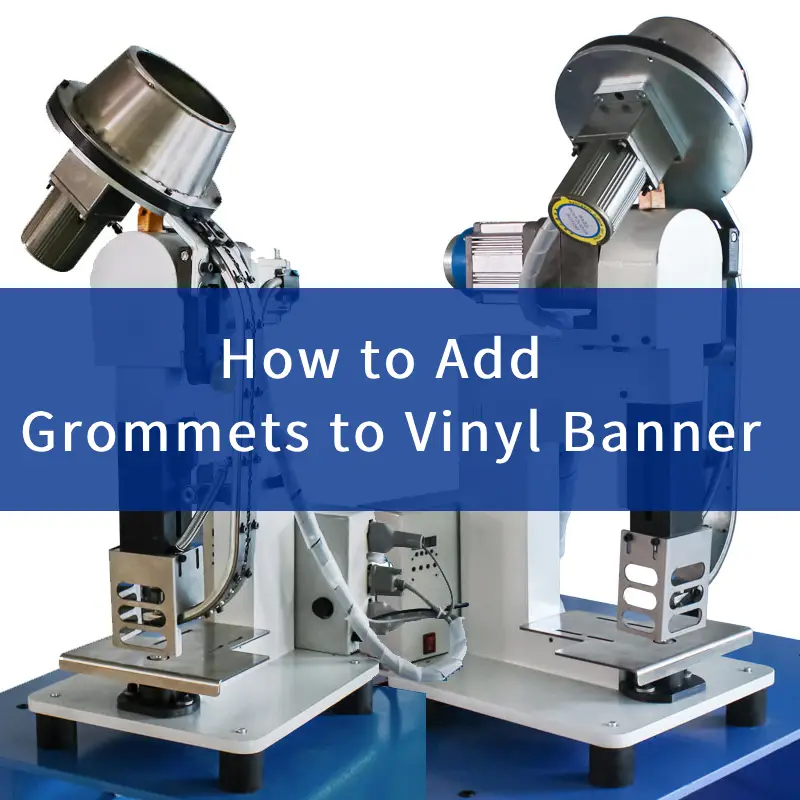
Installing Grommets Using an Automatic Grommet Machine

Using an automatic grommet machine can significantly speed up the installation process, especially for larger banners or multiple installations. Here’s how to use an automatic machine successfully.
Step 1: Set Up Your Grommet Machine
- Choose Your Location: Find a stable, flat work surface to set up the grommet machine. Ensure you have plenty of space around it for maneuvering the banner.
- Load Grommets: Depending on your machine, load the appropriate size grommets into it. Check the manual for specific instructions on loading and adjusting for different grommet sizes.
Step 2: Prepare the Vinyl Banner
- Lay Out the Banner: Spread your vinyl banner flat on a cutting mat or work surface. Use weights or clamps to keep it in place during grommet installation.
- Measure and Mark Grommet Locations: As before, mark the points where you plan to insert the grommets. Measure carefully to ensure symmetry and even spacing.
- Create Holes: Use an awl or a hole punch to create holes at your marked locations. Make sure the holes match the size of the grommets.
Step 3: Position and Insert the Grommet
- Align the Banner: Place the banner under the grommet machine, aligning the hole with the insertion point of the machine.
- Load the Grommet into the Machine: Insert a grommet into the machine’s holder, following the design of your model.
Step 4: Activate the Machine
- Press the Button or Pull the Lever: Engage the machine according to its specific function. The machine will automatically punch the hole and set the grommet in a single motion.
- Verify the Installation: Once the machine finishes, check the grommet to ensure it has been installed correctly. The edges should be tight against the vinyl with no gaps.
Step 5: Continue with Additional Grommets
- Repeat the Process: Move to the next marked spot on your banner, load a new grommet, and repeat. Properly secure each grommet to create a professional finish.
Tips for Machine Installation
- Regular Maintenance: Keep your grommet machine clean and well-maintained for optimal performance. Remove any debris after each use.
- Test Settings: Conduct a test on a scrap piece of vinyl to check grommet size and machine settings before fully operating on your banner.
- Keep It Steady: Ensure the banner remains flat and steady during the installation process to avoid misalignment.
Troubleshooting Common Issues
- Loose Grommets: If a grommet appears loose after installation, you might need to adjust the hammering force when using the hand tool or ensure the correct size is loaded in the machine.
- Misaligned Holes: If your holes are misaligned, re-evaluate your measuring process and make sure you position the banner accurately beneath the machine.
- Material Damage: Avoid excessive force when hammering to prevent damaging the vinyl. If you notice tears or excessive pressure marks, consider using a different tool or adjusting your technique.
FAQs
How to Add Grommets to Vinyl Banner
Use a Grommet Tool: If you have a grommet tool, follow the manufacturer’s instructions. Typically, you’ll place the tool over your marked spot and press down to create a hole.
Cutting Method: If using a cutting tool, carefully cut a hole where you’ve marked, ensuring it’s the right size for the grommet.
How do I insert the grommets?
Insert the Grommet: Place the grommet through the hole from the back side of the banner, with the flange facing outward.
Add the Washer: Place the washer over the grommet from the front side.
Can I reinforce the holes?
Yes, you can apply a small amount of clear vinyl adhesive around the hole before inserting the grommet for added strength.
Conclusion
Adding grommets to a vinyl banner enhances its functionality and durability, making it suitable for various applications, including advertising, events, and personal projects. By following the steps outlined in this guide—whether by hand or using an automatic grommet machine—you can achieve a polished and professional look.
Remember to take your time when measuring and installing to ensure everything aligns perfectly. With practice, the process will become second nature, allowing you to create stunning vinyl banners that stand the test of time. Now, gather your materials and get started on your banner project! Happy crafting!

