Learning how to use an eyelet machine can significantly enhance any crafting or DIY project, providing a professional and polished finish. In this comprehensive tutorial, readers will discover the essential steps and techniques for effectively operating an eyelet machine. Whether a beginner or someone looking to refine their skills, this guide offers detailed instructions and expert tips to ensure perfect eyelet installation every time.
With clear explanations and practical advice, this article aims to make the process of using an eyelet machine straightforward and accessible, empowering crafters to achieve high-quality results with confidence.
What Is An Eyelet Machine?
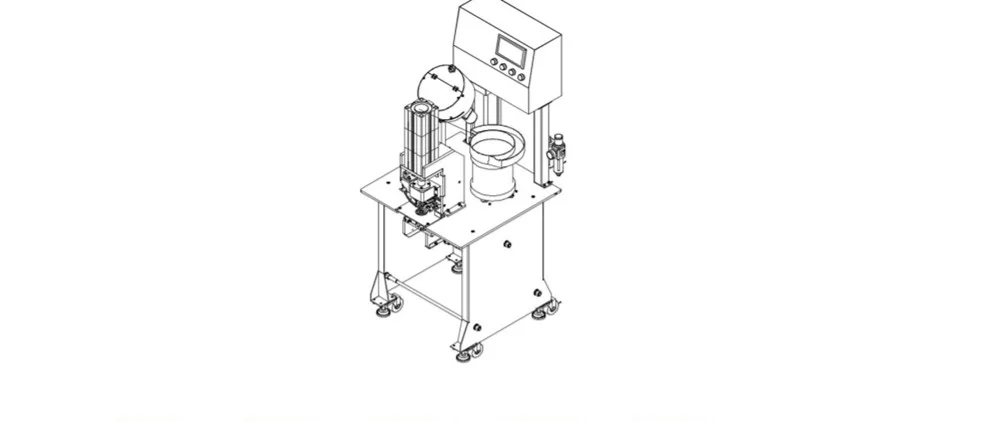
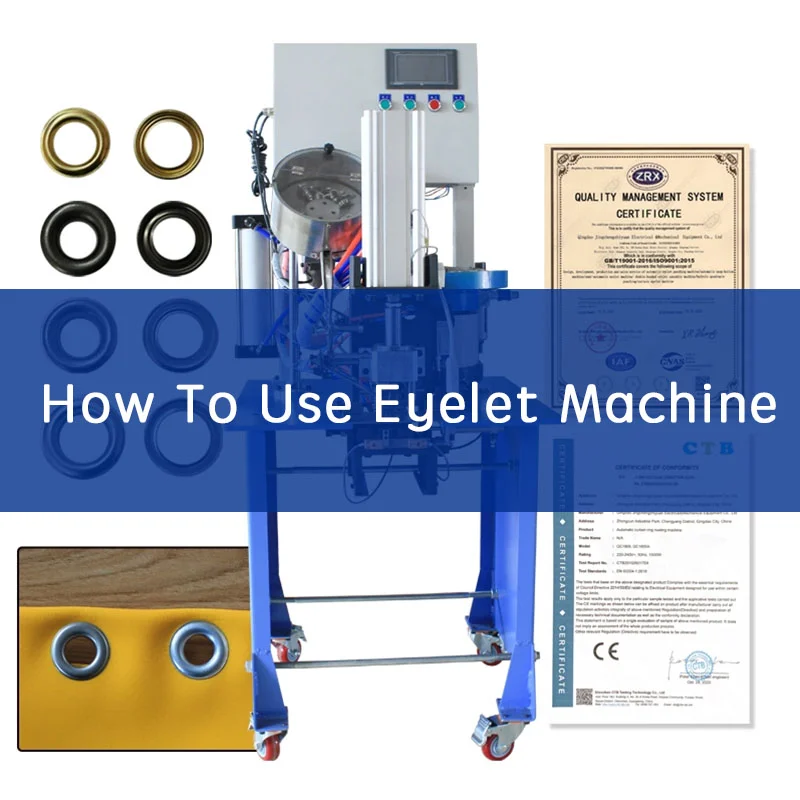
An eyelet machine installs eyelets into materials like fabric, leather, or paper. You use it to reinforce holes. First, choose the right machine type. Manual machines work for small tasks. Semi-automatic machines suit moderate use. Automatic machines handle high-volume work.
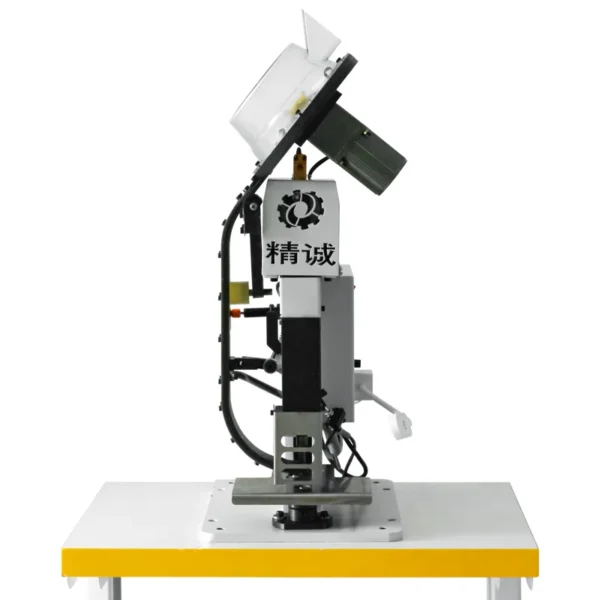
Next, understand the machine’s components. The die sets shape and secures the eyelet. The eyelet feeder supplies eyelets. The base plate holds your material. Adjustment mechanisms ensure proper pressure and depth. Prepare your materials and tools. Select the correct eyelet size. Gather necessary supplies like eyelets and marking tools. Set up your eyelet machine. Install the die sets. Adjust settings for your material.
Position the material under the machine. Mark and punch the hole. Load the eyelet into the machine. Operate the machine accordingly. Inspect the eyelet to ensure proper installation. Troubleshoot common issues. Fix misaligned eyelets by adjusting settings. Correct incomplete settings by checking the pressure. Avoid material damage by using appropriate settings.
Maintain your machine regularly. Clean and lubricate it. Replace worn parts. Store it safely. Practice and experiment to master your eyelet machine. Enjoy the benefits of reinforced materials.
Types Of Eyelet Machines
Manual Eyelet Machines
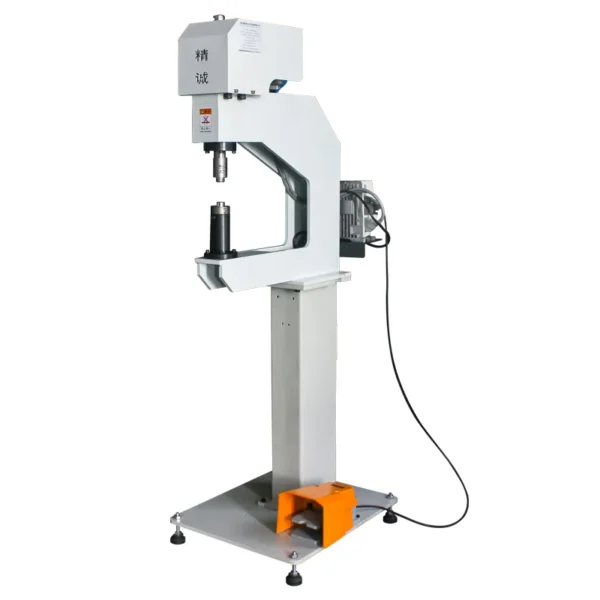
Manual eyelet machines give you precise control. You ensure each eyelet is perfectly placed every time. Hand lever models are simple and effective. You can easily handle them for occasional or small-scale use. Pedal-operated machines boost your efficiency. You keep your hands free for positioning the material, enhancing workflow.
Pneumatic cylinder models offer more power. You use compressed air to quickly and efficiently set eyelets. Electric motor-driven models provide ultimate convenience. You let the motor handle the work, speeding up your tasks. You can quickly switch die sets. This feature lets you handle different eyelet sizes and types with ease.
Manual machines adapt to various materials. You can use them on textiles, leather, canvas, and more. These machines excel in detailed work. You achieve high precision and quality with every operation. You control every step of the process. This ensures consistent, reliable results tailored to your needs.
Semi-automatic Eyelet Machines
Semi-automatic eyelet machines blend manual control with automation. You benefit from increased efficiency and precision. You load materials manually, ensuring accurate placement. The machine then assists with setting the eyelets, reducing your workload. Foot pedal models allow hands-free operation. You can focus on positioning while the machine handles the eyelet setting.
Lever-operated machines offer ease of use. You pull the lever to activate the automatic setting mechanism, speeding up the process. Semi-automatic machines work well for medium-scale production. You maintain control while enjoying faster output. You can adjust settings for different materials. This flexibility ensures optimal performance with various fabrics, leather, or paper.
With semi-automatic machines, you save time. The automated features reduce the effort needed for each eyelet, increasing your productivity. You experience consistent results. The machine ensures each eyelet is set with the same pressure and alignment. These machines improve your workflow. You handle more projects in less time without sacrificing quality.
You find semi-automatic eyelet machines reliable. Their design supports repeated use, making them suitable for frequent tasks. You can easily switch die sets. This allows you to accommodate different eyelet sizes and types quickly. Semi-automatic machines enhance your capabilities. You tackle more complex projects with greater efficiency and precision.
Automatic Eyelet Machines
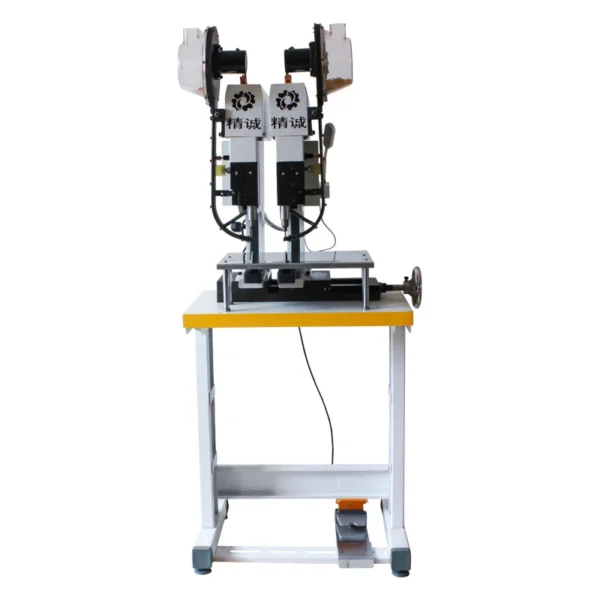
Automatic eyelet machines offer complete automation. You benefit from high efficiency and reduced manual effort. You simply load materials into the machine. It automatically feeds and sets the eyelets, saving you time and energy. These machines are ideal for high-volume production. You can handle large quantities of eyelet installations with ease.
You experience consistent results with minimal intervention. The machine ensures precise and uniform eyelet placement every time. Automatic machines are efficient. You can set numerous eyelets quickly, increasing your overall productivity.
They are suitable for various materials. You can use them on fabrics, leather, paper, and more without compromising quality. With automatic machines, you save labor costs. The machine handles repetitive tasks, allowing your workforce to focus on other responsibilities. You enjoy improved safety features. Automatic machines incorporate advanced systems to protect operators during operation.
These machines optimize your production line. You achieve faster turnaround times and meet tight deadlines effortlessly. You can customize settings for different projects. This flexibility allows you to adapt the machine to suit your specific needs. Automatic eyelet machines are reliable investments. They offer consistent performance and contribute to the overall efficiency of your operation.
How To Use Eyelet Machine?
Learn how to use an eyelet machine with our comprehensive guide. From unboxing and setup to operating the machine efficiently, we’ll walk you through every step to ensure a smooth and precise eyelet application.
Installation Instruction
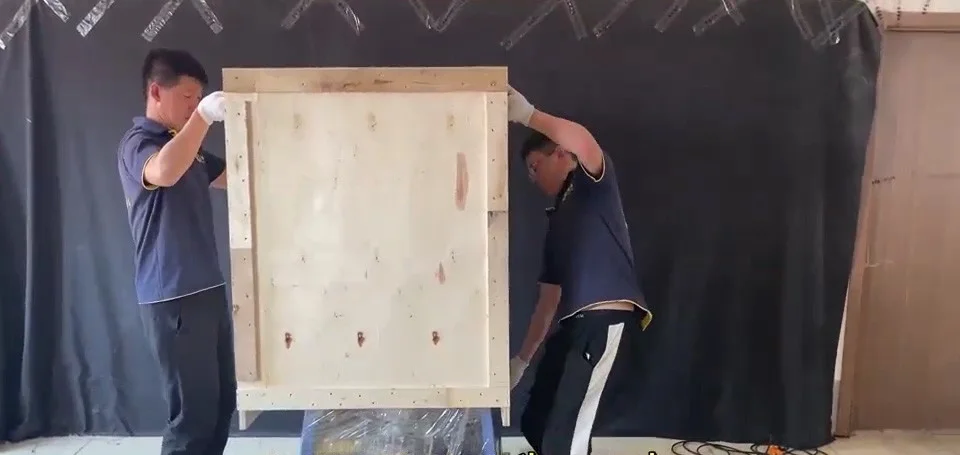
To assemble your machine, first, remove the staples on the four sides at the bottom of the wooden crate so you can open it.
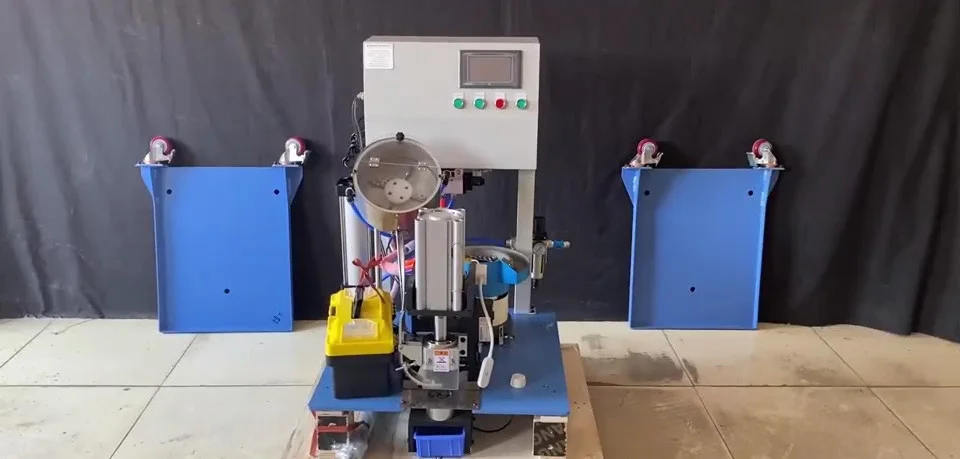
Then, remove the outer wrapping film and unfasten the ropes to take out the machine stand.
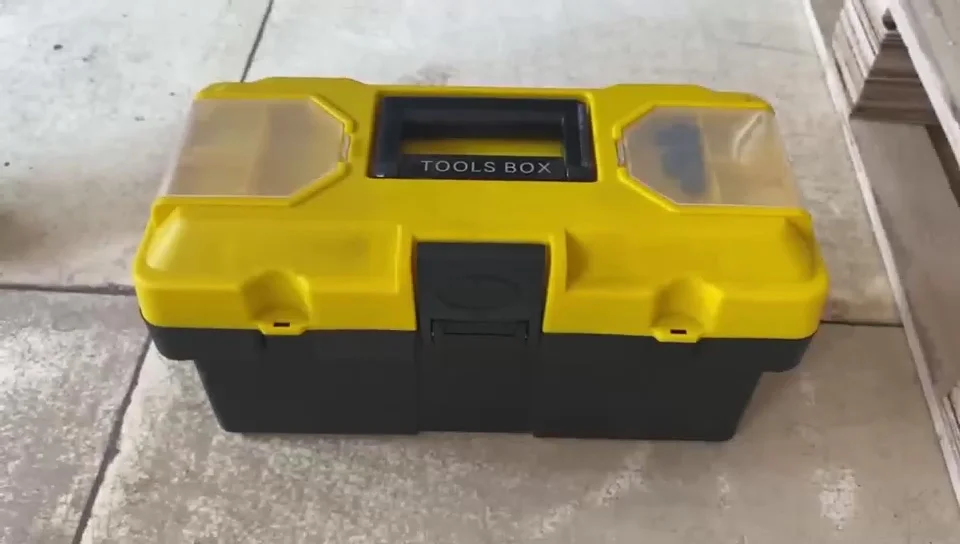
After that, remove the wrapping film around the machine itself, unfasten the ropes, and take out the fixing screws and toolbox.
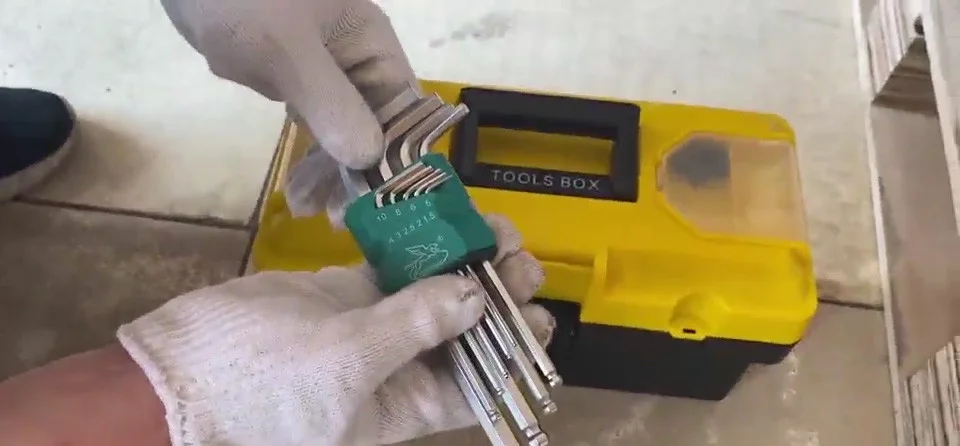
Next, use the six-millimeter wrench from the toolbox to remove the four fixing screws on the table.
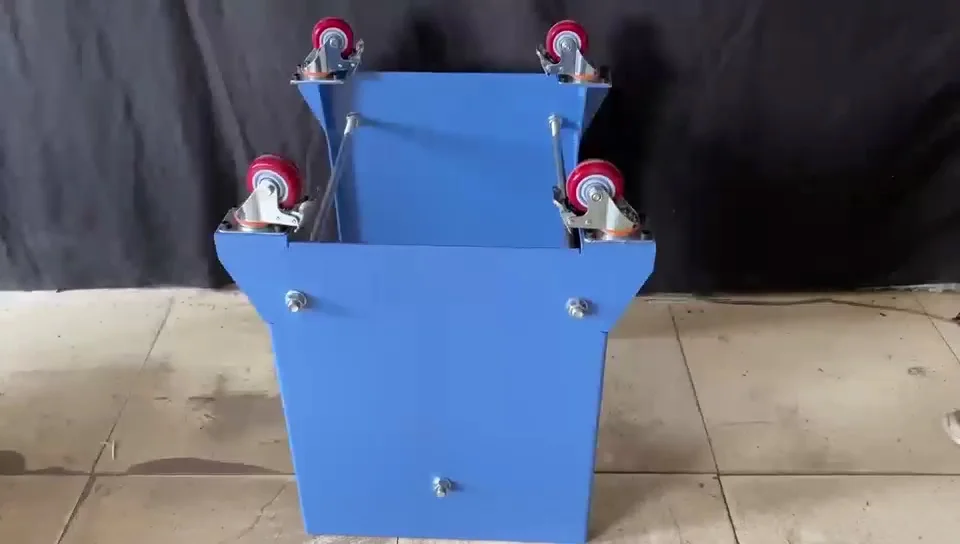
Proceed by taking out the screw levers and fastening three of them onto the machine frame separately.
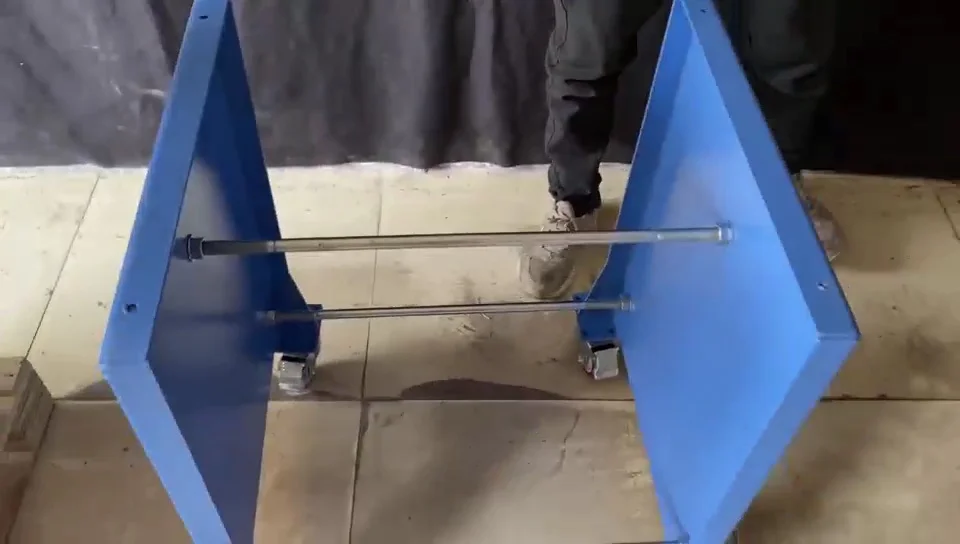
Slightly adjust the screw nuts to set the machine frame’s width to about fifty-nine-point-five centimeters, then place the operating table on it.
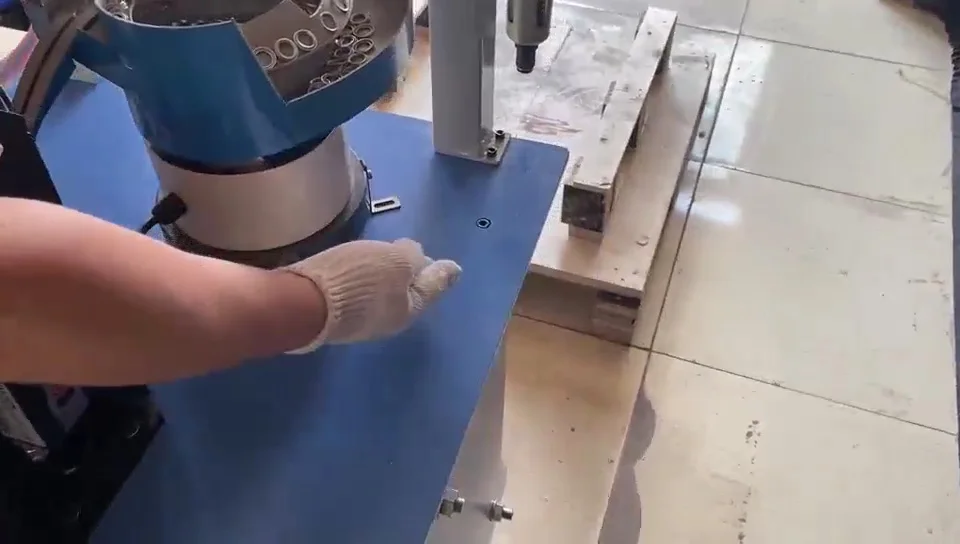
Retrieve the four screws from the toolbox, align the hole positions, and lock the operating table and machine stand using the six-millimeter wrench.
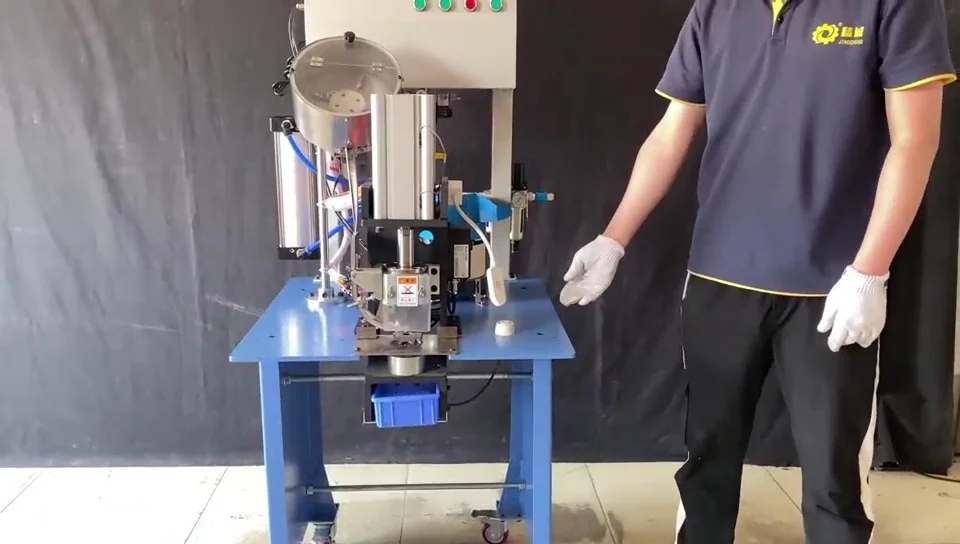
Finally, fasten all the screws on the stand with the number twenty-four wrench to secure the stand.
Operating Procedures
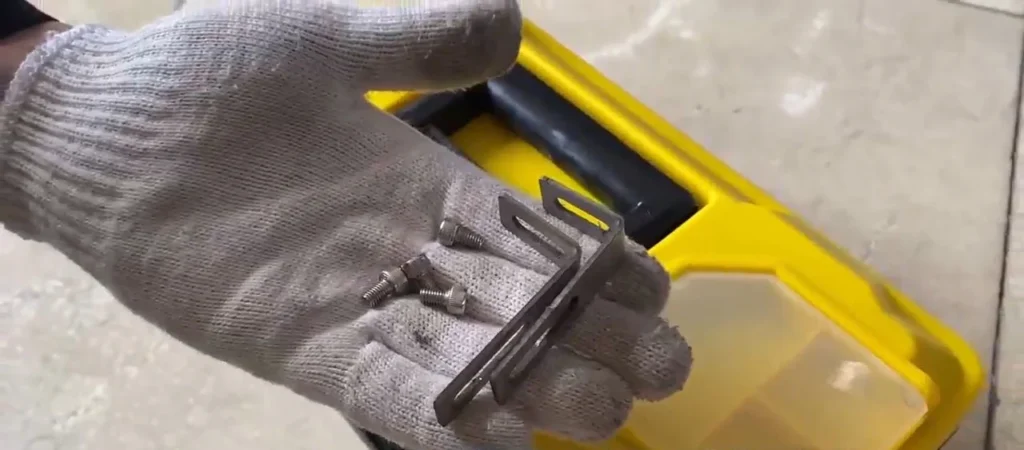
To start, remove the mounting brackets of the two vibrating trays with a four-millimeter hexagon wrench.
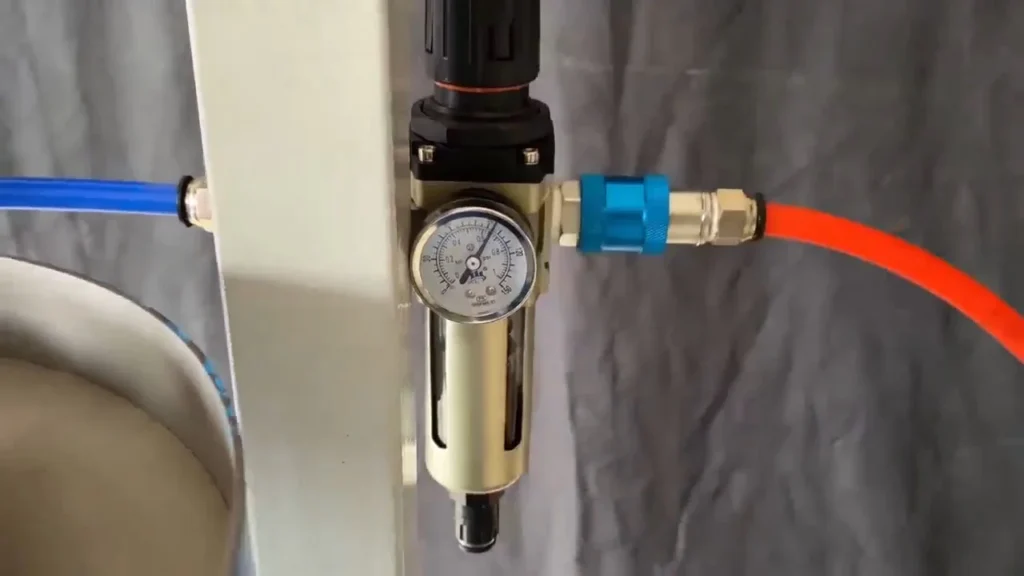
Then, plug in the electric power, connect to an air compressor, and open the hand valve so you can see the air pressure change.
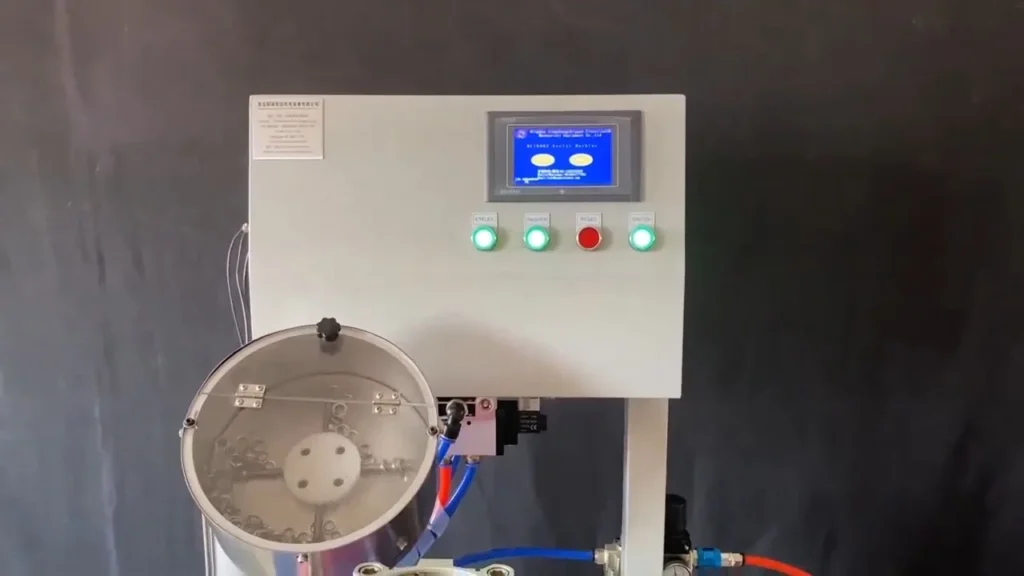
Next, pour in the eyelets and washers, and open the switch. Adjust the speed of the vibrating tray so the eyelets fill in the raceway.
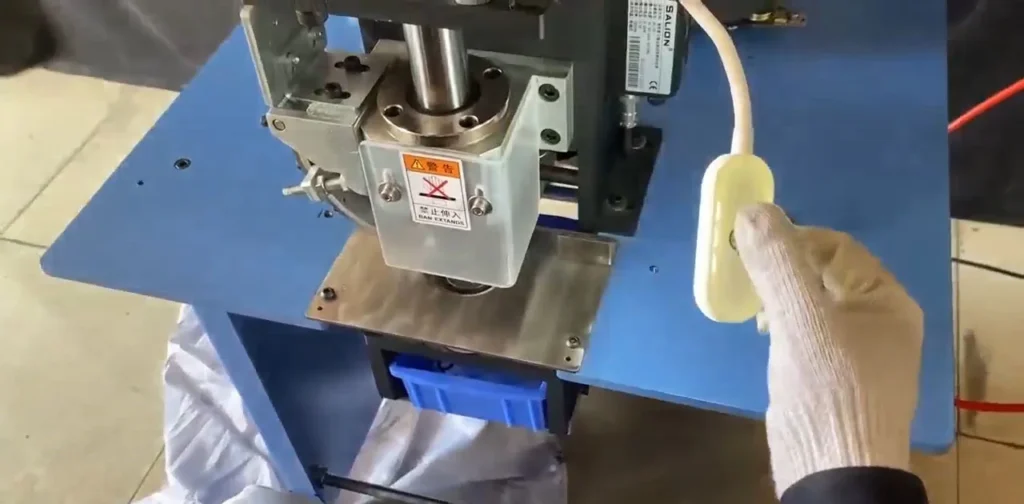
Before operating, turn on the light, and change the aviation plugs to switch to foot pedal mode.
Tips For Effective Eyelet Application
Ensuring Proper Alignment: Always ensure the material and eyelet are aligned correctly before applying pressure to achieve a professional finish. Misalignment can lead to uneven application and weaken the overall hold of the eyelet. Use guides and markers on your machine to maintain consistent placement.
Applying Consistent Pressure: Applying even and consistent pressure during the eyelet setting process is crucial. Inconsistent pressure can cause the eyelet to be set improperly, leading to potential failure in the application. Practice a few test runs to get a feel for the pressure needed for your specific material and eyelet size.
Checking for Secure Fastening: After setting the eyelet, always check that it is securely fastened. A properly set eyelet should not wobble or come loose under gentle pressure. Inspect both the front and back of the eyelet to ensure it is firmly in place and has a clean finish.
Troubleshooting Common Issues: Misalignment: If you notice your eyelets are not aligned correctly, double-check your machine settings and material placement. Adjust your guides and make sure the eyelet is seated correctly in the machine before applying pressure.
Incomplete Setting: If the eyelet is not fully set, it may indicate that you are not applying enough pressure or that the material thickness exceeds the machine’s capacity. Increase the pressure gradually and ensure the machine is suitable for your material’s thickness.
Machine Jams: Machine jams can occur due to debris or improper eyelet size. Regularly clean your machine and use the recommended eyelet sizes to prevent jams. If a jam occurs, turn off the machine and carefully remove the obstruction before resuming operation.
Maintenance And Care Of Eyelet Machines
Regular Cleaning and Lubrication:
Keep your eyelet machine in top condition by regularly cleaning it. Remove any debris, dust, or leftover material from the machine after each use. Pay special attention to the moving parts, as dirt buildup can hinder performance. Lubricate the machine’s moving parts with a light machine oil to ensure smooth operation and prevent rust. Follow the manufacturer’s guidelines for lubrication frequency and recommended lubricants.
Inspecting and Replacing Worn Parts:
Regularly inspect your eyelet machine for any signs of wear and tear. Check components such as dies, punches, and levers for damage or excessive wear. Worn parts can affect the accuracy and efficiency of your machine. Replace any damaged or worn parts immediately to maintain optimal performance. Keep a stock of commonly used spare parts to minimize downtime.
Proper Storage When Not in Use:
When your eyelet machine is not in use, store it properly to extend its lifespan. Keep the machine in a clean, dry environment to prevent rust and corrosion. Cover the machine with a dust cover to protect it from dirt and debris.
If you have a portable model, store it in a sturdy case to prevent damage during transport. Ensure the machine is turned off and unplugged before storing it away. Regular maintenance and proper storage will help keep your eyelet machine in excellent working condition for years to come.
Conclusion
Mastering how to use an eyelet machine opens up a world of possibilities for both amateur and professional projects. This comprehensive tutorial has walked through every essential step, from initial setup to the nuances of proper maintenance. By following these guidelines, users can ensure precise and efficient eyelet application, enhancing the quality and durability of their work.
Troubleshooting tips and maintenance advice also equip users to handle common issues and extend the life of their machines. With this knowledge, anyone can confidently incorporate eyelet machines into their toolkit, achieving professional-grade results with ease.

