Eyelets are small, metal rings often used in paper crafting to reinforce holes, add decorative elements, and create functional features like binding or closures. If you’re new to paper crafts, you might wonder how to use eyelets on paper effectively.
This comprehensive guide will walk you through the essential steps, tools, and creative techniques to incorporate eyelets into your projects, whether you’re making scrapbook pages, greeting cards, or unique paper crafts.
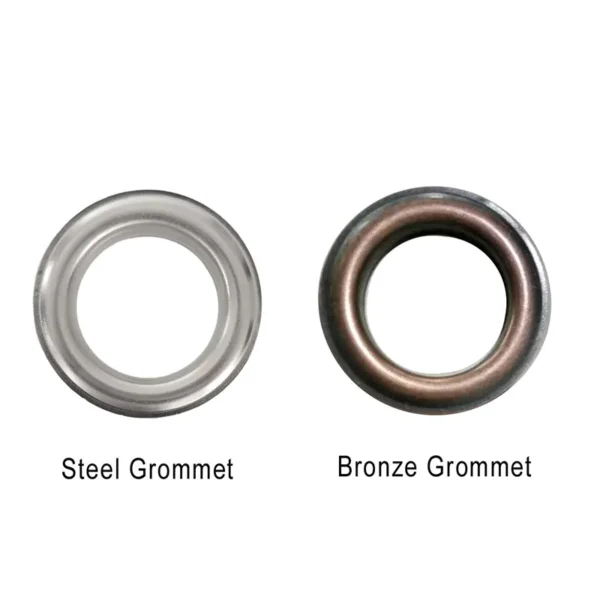
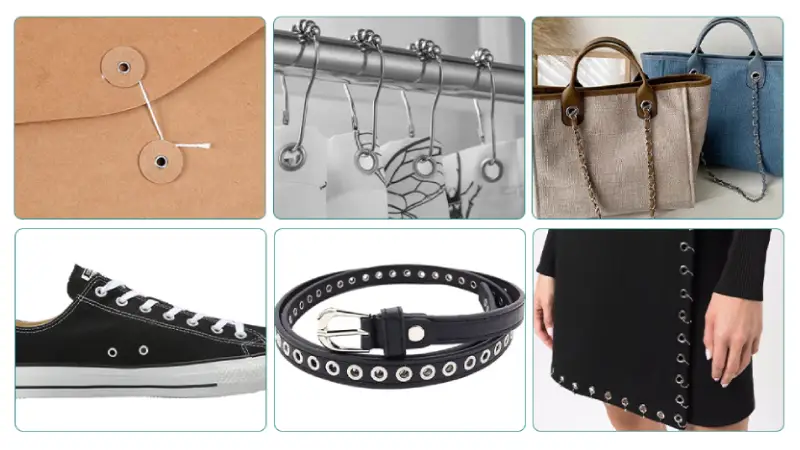
What Are Eyelets?
Eyelets are tiny metal rings that reinforce holes in paper or fabric. Typically used in paper crafting, they help to create durable holes that can accommodate ribbons, strings, or other materials, making them ideal for scrapbooking, card making, and even DIY projects like album binding.
Types of Eyelets for Paper Crafts
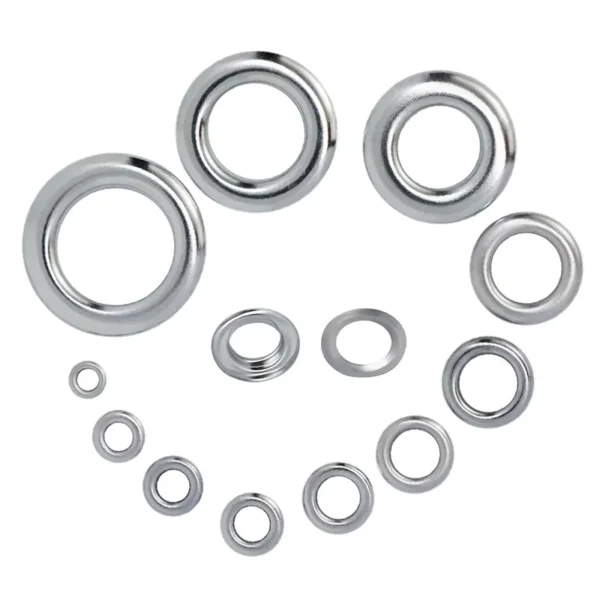
There are various types of eyelets to choose from, each offering different looks and functionality. The most common types include:
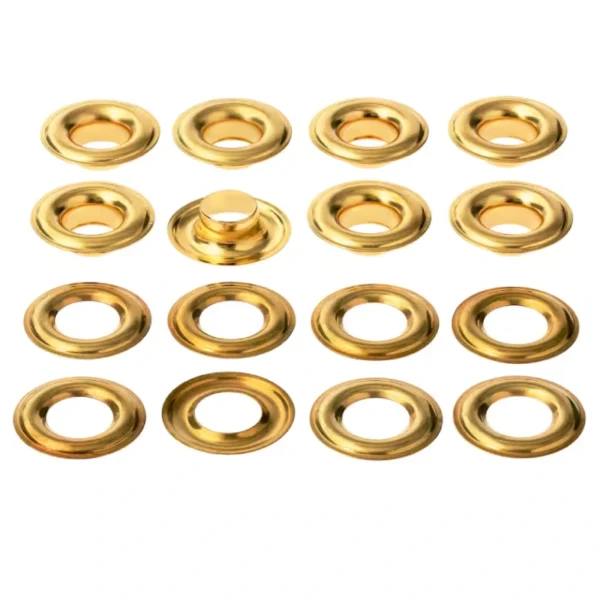
- Standard Eyelets: These are the most widely used and come in a variety of sizes and colors.
- Decorative Eyelets: Often more intricate, these add a decorative touch to projects.
- Mini Eyelets: These smaller eyelets are perfect for delicate or intricate designs.
Essential Tools for Installing Eyelets on Paper
Using eyelets requires more than just the eyelets themselves. You’ll need a few essential tools to get the job done correctly.
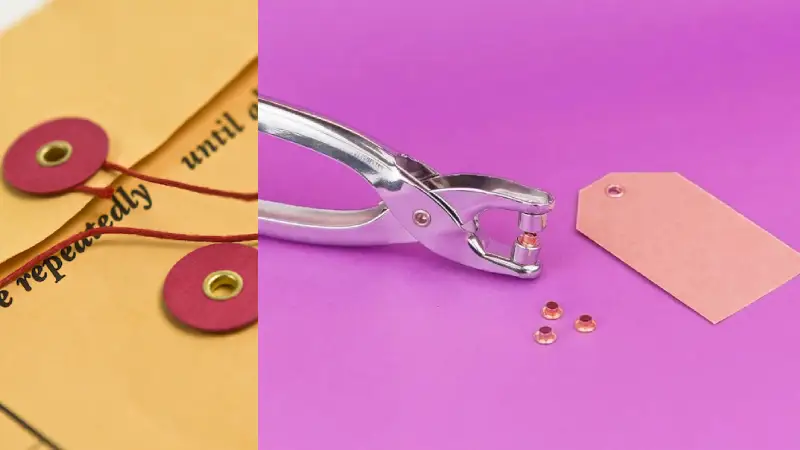
Eyelet Punches
An eyelet punch is a tool that creates holes in your paper. These punches typically have different hole sizes, and some even come with adjustable guides to ensure precision.
Eyelet Setter Tools
An eyelet setter tool is used to crimp or flatten the eyelet around the hole in your paper, securing it in place. This tool often comes with different sizes to match various eyelet types.
Hammer and Other Tools
A small hammer is essential for setting the eyelet. You’ll also need a solid surface, such as a craft mat, to protect your workspace.
Materials Needed to Use Eyelets on Paper
You don’t need many materials to use eyelets on paper, but the right ones make a significant difference in the quality of your project.
Different Types of Paper for Eyelet Use
Almost any type of paper can be used for eyelets, but thicker papers (such as cardstock) work best as they provide extra durability and support. If you’re working with thinner paper, consider using a backing or reinforcing the area around the hole with an extra layer.
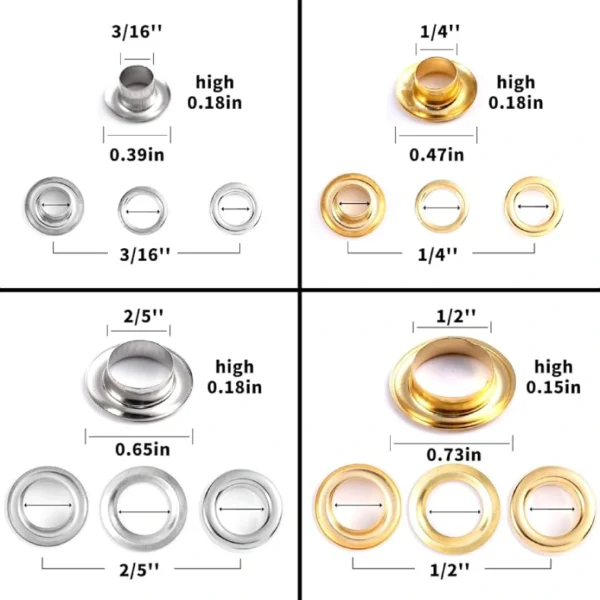
Eyelet Types and Sizes
Eyelets come in a variety of sizes and finishes. For most projects, you’ll need standard-size eyelets, but for more intricate designs, mini eyelets can be a great option. When choosing the size of your eyelet, be sure it complements the thickness of your paper.
How to Choose the Right Eyelet for Your Paper Project
Choosing the right eyelet is crucial for both the functionality and aesthetics of your project.
Eyelet Size and Thickness
Consider the thickness of your paper and the size of the hole you’re punching. Larger eyelets are better for thicker papers, while smaller eyelets work well with lighter materials.
Matching Eyelets with Paper Type
Matching the finish of the eyelet with your paper’s color or texture enhances the overall look. For example, silver or gold eyelets can be a great match for elegant or vintage designs, while brightly colored eyelets might be perfect for fun, casual projects.
Preparing Your Paper for Eyelet Installation
Before installing eyelets, you need to prepare the paper carefully.
Marking the Correct Placement
Ensure your eyelet will be placed precisely by marking its spot with a pencil. Use a ruler or template to make sure the eyelet holes are evenly spaced.
Using a Template for Precision
If you’re working on a project that requires several eyelets (like a mini album), using a template can help ensure consistent placement of each eyelet hole.
Step-by-Step Guide on How to Use Eyelets on Paper
Now, let’s break down the process of how to use eyelets on paper with a step-by-step approach.
Step 1: Mark Your Paper for the Eyelet
Use a pencil to mark where you want the eyelet to go. Ensure the mark is accurate and well-spaced if you’re doing multiple eyelets.
Step 2: Punch the Hole for the Eyelet
Using your eyelet punch, create a hole in the marked area. Make sure to punch through the entire thickness of the paper.
Step 3: Insert the Eyelet into the Hole
Take the eyelet and insert it through the hole you just created. Be sure the “front” side of the eyelet faces outward.
Step 4: Secure the Eyelet with the Setter Tool
Place the eyelet setter over the eyelet, and use a hammer to gently tap the setter. This will crimp the edges of the eyelet, securing it firmly in place.
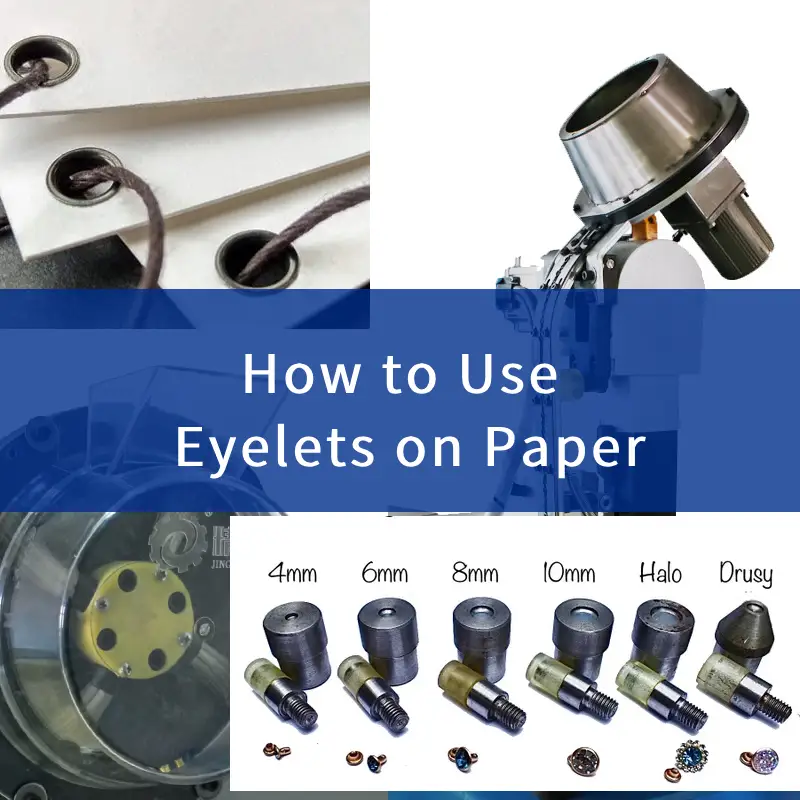
How to install Eyelets on Paper using the automatic eyelet machine
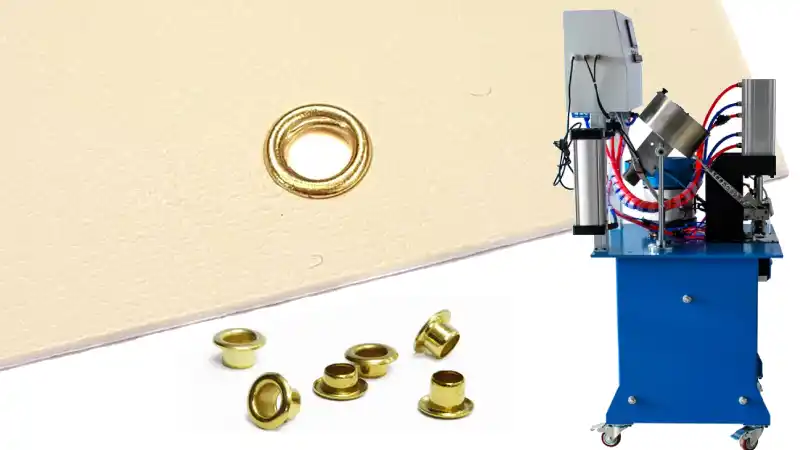
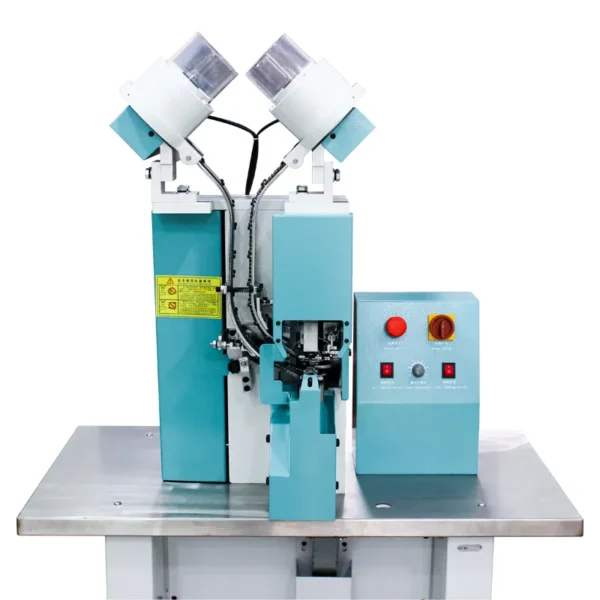
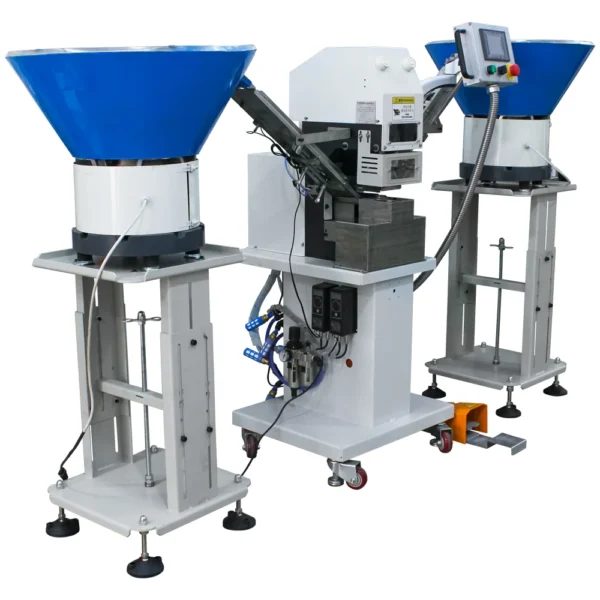
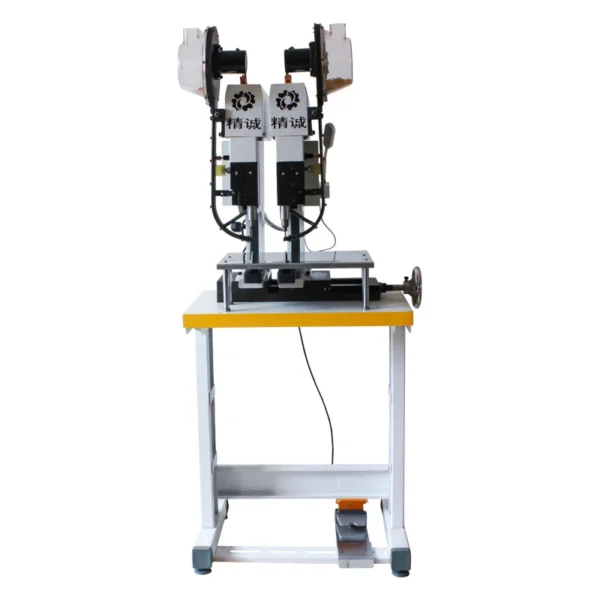
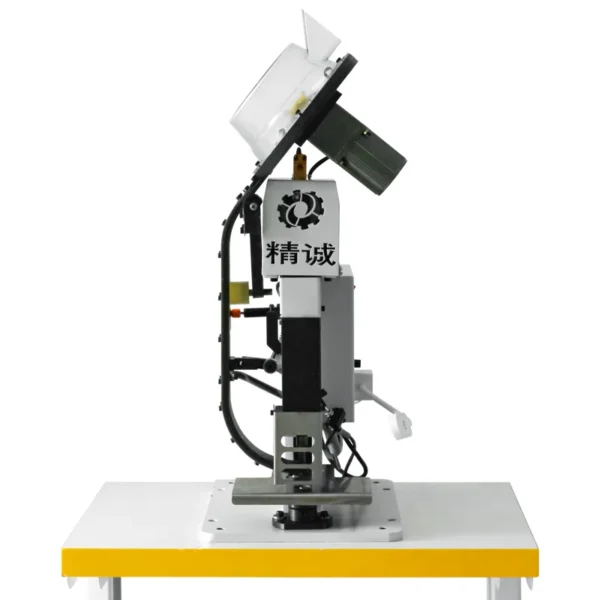
Prepare Your Materials
Gather the paper, eyelets, and the automatic eyelet machine. Ensure the paper is of suitable thickness and the eyelets are the correct size for your project.
Set Up the Machine
Power on the automatic eyelet machine and select the appropriate settings for your eyelets. Most machines have size options to adjust the pressure based on the thickness of the paper.
Position the Paper
Place the paper in the machine’s holder, ensuring it is aligned correctly with the eyelet position. Mark the spots where you want to insert the eyelets to ensure accurate placement.
Insert the Eyelet
Load an eyelet into the machine’s insertion chamber. The machine should automatically feed the eyelet into the paper hole once it’s aligned.
Activate the Machine
Press the button or lever to activate the machine. The machine will punch a hole in the paper and set the eyelet in place simultaneously. You may need to adjust the pressure if the machine doesn’t set the eyelet correctly.
Troubleshooting Common Issues When Installing Eyelets
Even the most experienced crafters encounter issues when using eyelets. Here’s how to resolve some common problems:
Misaligned Holes
If your holes are misaligned, simply re-punch the hole in the correct spot. You may want to use a template to avoid future errors.
Damaging the Paper During Installation
If your paper tears or crumples while setting the eyelet, use a stronger paper or a piece of cardstock as a backing. Always work slowly and carefully to prevent this from happening.
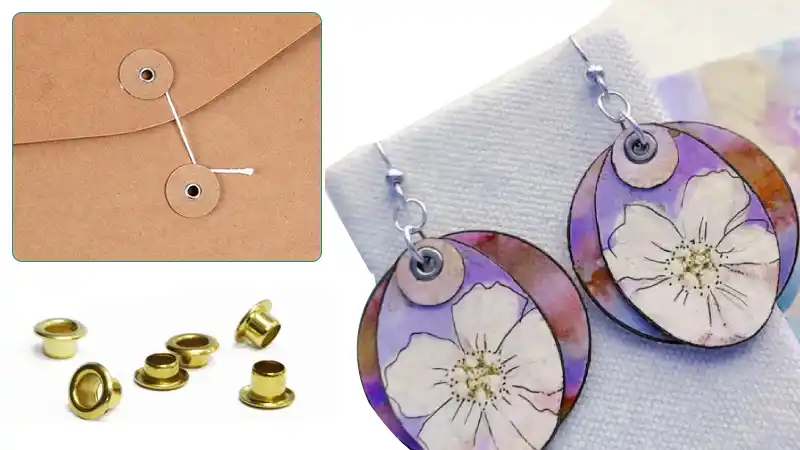
Creative Ways to Use Eyelets on Paper
Eyelets are not just for reinforcement; they can also be used creatively to enhance your projects.
Adding Decorative Elements with Eyelets
Use colorful or patterned eyelets as decorative elements. Try mixing and matching eyelets of different sizes or colors to create interesting visual effects.
Using Eyelets for Binding and Albums
Eyelets are great for binding projects like mini albums or journals. Simply punch holes along the edge of your pages and insert eyelets to secure them together with ribbon, string, or metal rings.
The Benefits of Using Eyelets on Paper
Eyelets offer numerous benefits that elevate the quality of your paper projects.
Durability and Strength
Eyelets reinforce holes in paper, making them much more durable and capable of withstanding wear and tear. This is especially useful for projects that will be handled frequently, like scrapbook albums or handmade cards.
Aesthetic Value in Crafting Projects
Eyelets can enhance the overall appearance of your project. They provide a metallic shine and add texture, giving your paper crafts a more professional, polished look.
How to Incorporate Eyelets into Scrapbooking Projects
Scrapbookers love using eyelets for their ability to add both functional and decorative features.
Using Eyelets for Embellishments
Add eyelets to your scrapbook pages as embellishments. Use them to frame photos or journaling blocks, or create a border along the edge of a page.
Binding and Securing Pages with Eyelets
Use eyelets to bind scrapbook pages together or create interactive elements like flip pages or pockets.
Eyelets in Card Making: A Stylish Touch
Eyelets make an excellent addition to greeting cards, invitations, and announcements.
Enhancing Greeting Cards with Eyelets
Add a few well-placed eyelets to greeting cards to draw attention to key design elements. You can also use them to secure ribbon or tags.
Using Eyelets in Invitations and Announcements
Add a touch of elegance to invitations or event announcements by using eyelets to attach decorative elements or to secure RSVP cards.
Common Mistakes to Avoid When Using Eyelets on Paper
While working with eyelets, avoid these common mistakes to ensure a flawless result:
Over-Punching the Paper
Be careful not to punch a hole that’s too large for the eyelet. This can cause the eyelet to slip out or create an unattractive look.
Choosing the Wrong Size Eyelet
Choosing the wrong size eyelet can ruin your project. Make sure the eyelet matches the size of the hole and complements the thickness of your paper.
Where to Buy Eyelets and Related Tools
Finding the right materials is key to successful eyelet installation.
Online Craft Stores
Many online retailers offer a wide selection of eyelets and tools, often at competitive prices.
Local Crafting Shops
Local craft stores often carry a variety of eyelets, punches, and setters, allowing you to get hands-on with your selection before purchase.
How to Care for Eyelet-Embellished Paper Projects
After completing your eyelet project, proper care is essential to maintain its appearance.
Storing Eyelet-Embellished Paper
Store projects with eyelets in a cool, dry place to avoid rusting or degradation. Use acid-free materials to protect your paper.
Preventing Rust and Wear on Eyelets
Ensure your eyelets remain in good condition by keeping them free from moisture. Rust-resistant eyelets are also available for extra durability.
FAQs
1. Can I use eyelets on thin paper? Yes, but you may need to reinforce the paper with cardstock or use mini eyelets to prevent tearing.
2. How do I fix a bent or misaligned eyelet? You can use a pliers tool to straighten a bent eyelet. If misaligned, you can carefully remove it and re-punch the hole.
3. Are there alternatives to using eyelets? Yes, you can use brads, grommets, or washers, but eyelets offer a more secure and durable option.
4. How do I clean eyelets on my paper projects? To clean eyelets, gently wipe them with a soft cloth. Avoid using abrasive cleaners that could scratch the metal.
5. Can I use eyelets for bookbinding? Absolutely! Eyelets are commonly used to bind scrapbook pages, journals, and mini albums.
6. What is the difference between an eyelet punch and a hole punch? An eyelet punch creates a hole specifically designed to fit an eyelet, while a regular hole punch may not provide the same reinforcement or size.
Conclusion
Eyelets are a versatile and durable tool in paper crafting. Whether you’re creating custom cards, scrapbooks, or binding albums, understanding how to use eyelets on paper opens up endless creative possibilities. By following the steps outlined in this guide, you can easily add both function and flair to your paper projects.