What Are Eyelets on a Shirt?
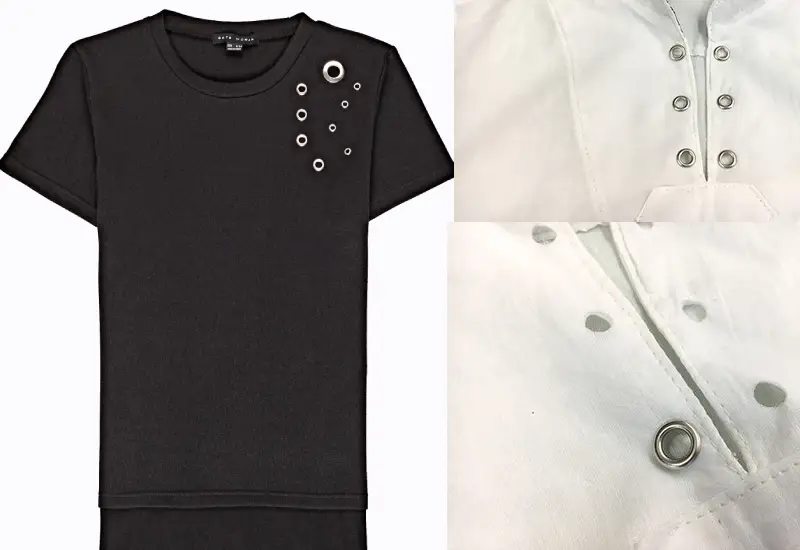
Eyelets are small holes or openings, typically reinforced with a ring, found in various types of fabric, including shirts. They serve both functional and decorative purposes. Understanding eyelets can enhance your appreciation of garment design and functionality.
Contact us to get a free sample
Definition of Eyelets
What Are Eyelets?
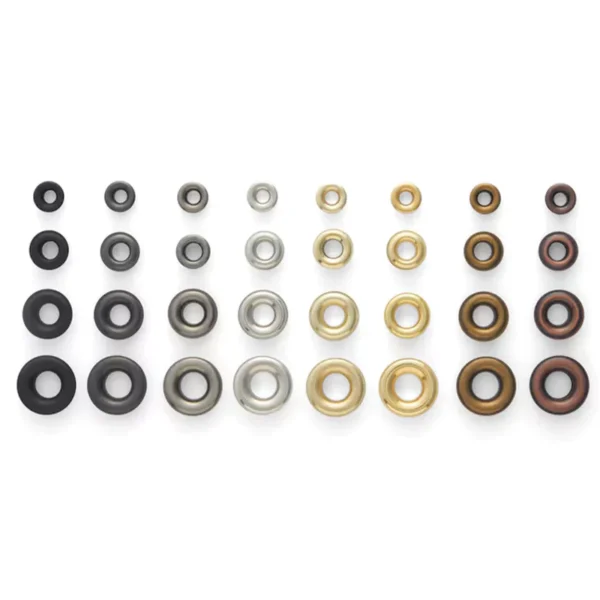
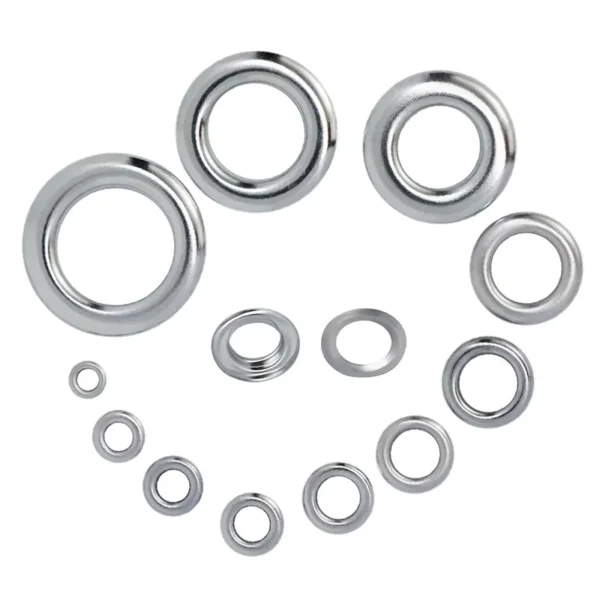
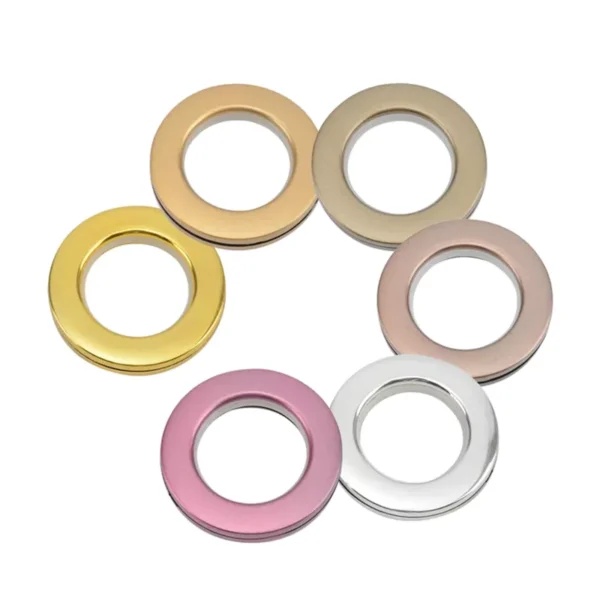
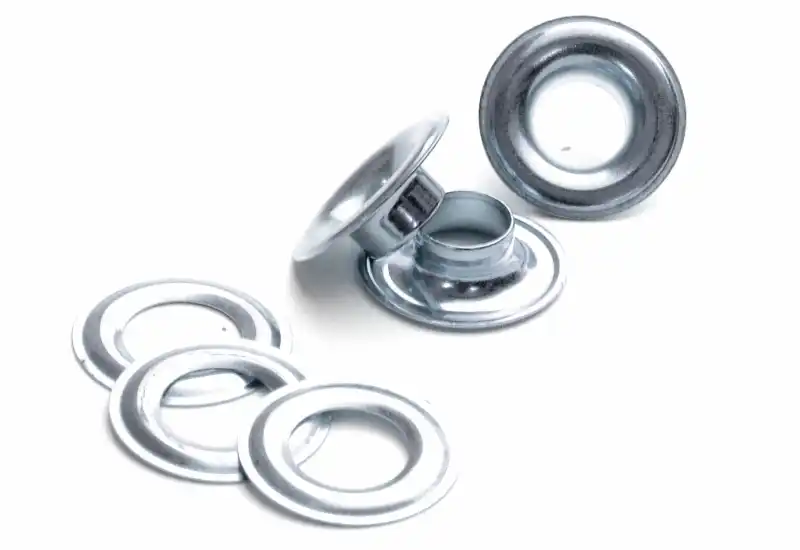
Eyelets are circular openings that are usually made of metal or plastic and sewn into fabric. They allow for laces, cords, or ties to be threaded through, providing not only a decorative touch but also practical uses, such as adjusting fit.
Types of Eyelets
There are two primary types of eyelets: metal and plastic. Metal eyelets are durable and often used in more rugged clothing, while plastic eyelets are lightweight and common in casual apparel.
Purpose of Eyelets on Shirts
Functional Uses
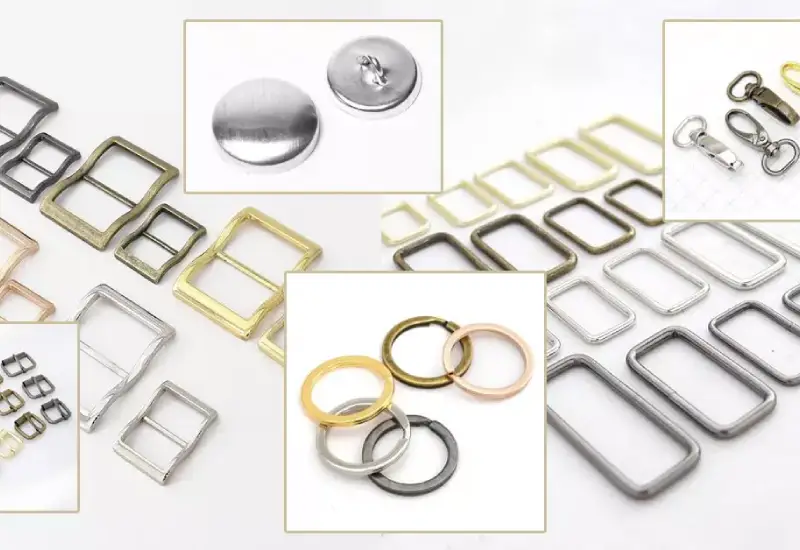
Eyelets are essential for various functionalities in shirts. They allow for ventilation, can help with lacing mechanisms, and provide structural integrity around openings.
Aesthetic Appeal
Beyond their practical applications, eyelets add a unique aesthetic to garments. They can enhance the design, giving shirts a stylish edge that can appeal to fashion-conscious individuals.
Materials Used for Eyelets
Metal Eyelets
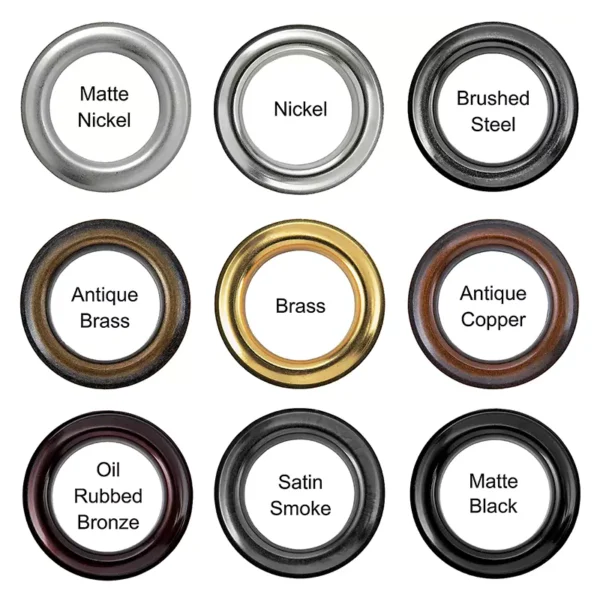
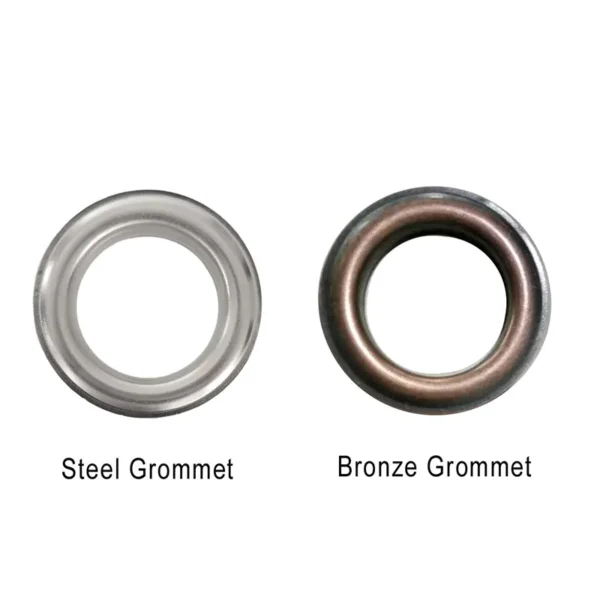
Metal eyelets are often made from materials like brass or aluminum. They are sturdy and resistant to wear and tear, making them ideal for shirts intended for outdoor or strenuous activities.
Plastic Eyelets
Plastic eyelets are lighter and more flexible. They come in various colors, allowing designers to match them with fabric, adding a splash of color or contrast.
Eyelet Placement on Shirts
Common Locations
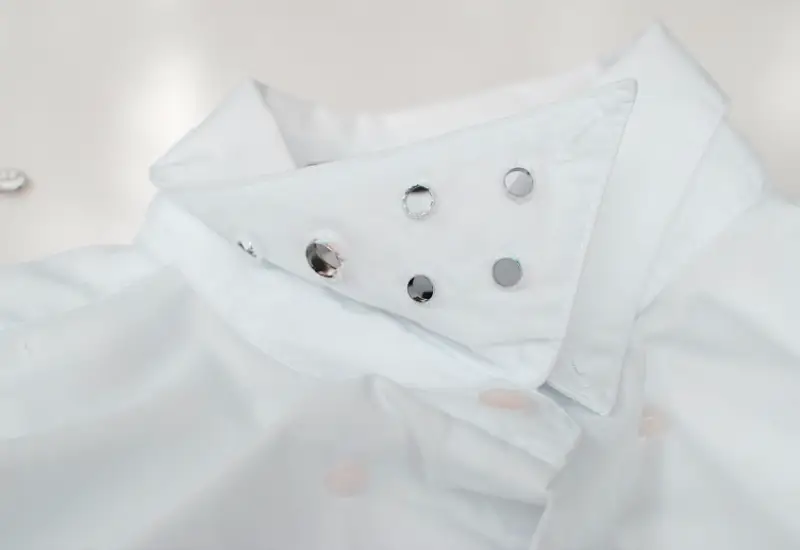
Eyelets are often found in areas such as the collar, cuffs, or hem of a shirt. Their placement can significantly affect the shirt’s overall design and functionality.
Design Variations
Designers utilize eyelets in creative ways, incorporating them into patterns or using them to create unique lacing designs. This versatility makes them a popular choice in fashion.
How to Put Eyelet on Shirts
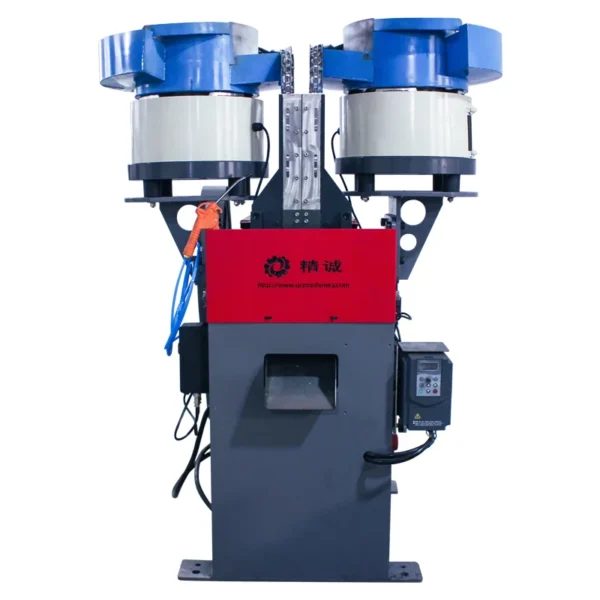
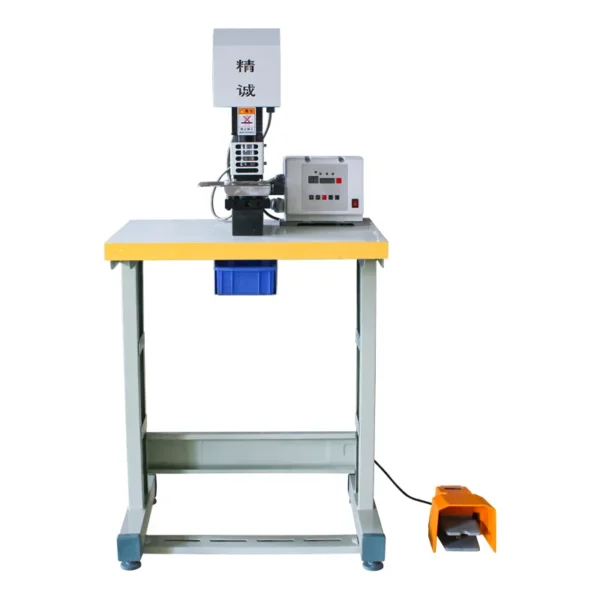
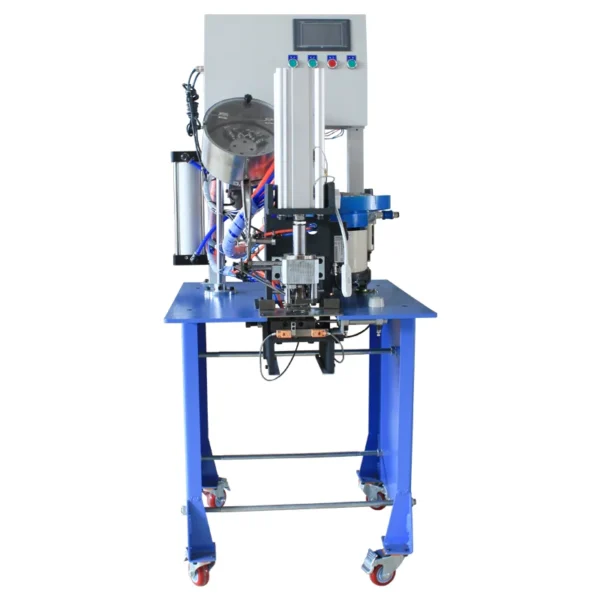
Installing eyelets on shirts using an auto eyelet machine involves a series of steps to ensure precision and quality. Here’s a guide on how to perform this task effectively:
Materials Needed:
Auto eyelet machine
Eyelets (appropriate size for the application)
Shirts (fabric where eyelets will be installed)
Marker or chalk (for marking positions)
Measuring tape or ruler
Steps to Install Eyelets:
1.Prepare the Work Area:
Set up your auto eyelet machine according to the manufacturer’s instructions.
Ensure your workspace is clean and organized to avoid any accidents or loss of materials.
- Mark the Position for Eyelets:
Determine where you want the eyelets to be placed on the shirt (e.g., collars, cuffs).
Use a measuring tape or ruler to measure and mark the exact spots with a fabric marker or chalk. This step is crucial for uniformity and precision.
3.Prepare the Fabric:
If necessary, reinforce the fabric where the eyelet will be installed to prevent tearing. This can be done using interfacing or extra fabric patches on the reverse side.
- Set Up the Auto Eyelet Machine:
Ensure the machine is properly threaded and configured for the size of eyelets you’re using.
Refer to the machine’s manual for specific setup instructions, including adjusting pressure settings if needed. - Position the Fabric:
Place the shirt under the eyelet machine, aligning the marked points with the machine’s eyelet insertion head.
Secure the fabric in place to prevent movement during the installation process. - Install the Eyelets:
Activate the auto eyelet machine to insert the eyelets into the marked positions.
The machine will punch a hole and set the eyelet in one smooth motion. Make sure to monitor the process to ensure each eyelet is being set correctly. - Inspect the Eyelets:
Once all eyelets are installed, carefully examine each one to ensure they are securely fastened and correctly positioned.
Check for any fraying or damage to the fabric around the eyelets. - Finish and Clean Up:
Remove any marking from the fabric that may still be visible.
Clean the machine according to the manufacturer’s instructions to maintain its performance.
Store any leftover materials properly.
Manually install eyelet to Shirts
Installing eyelets (also known as grommets) on shirts can be a great way to add decorative or functional features, such as lace-up details. Here’s a step-by-step guide on how to do it manually:
Materials Needed
- Eyelets and eyelet tool (or grommets and grommet tool)
- Fabric scissors
- Fabric marker or chalk
- Hammer or mallet (if using a grommet tool)
- Cutting mat or a sturdy work surface
- Needle and thread (optional for securing fabric)
- Fabric stabilizer (optional)
Steps to Manually Install Eyelets
- Choose Your Location:
- Decide where you want to place the eyelet on the shirt. This could be along the neckline, sleeve, or hem.
- Mark the Position:
- Use a fabric marker or chalk to mark the spot where the eyelet will go. Make sure the spacing is even if you’re installing multiple eyelets.
- Cut the Fabric:
- Use fabric scissors to make a small hole at the marked point. If using a cutting mat, place the shirt on it to protect your surface. The hole should be slightly smaller than the inner diameter of the eyelet.
- Prepare the Eyelet:
- Ensure that the eyelet fits the hole. You might want to test it before proceeding.
- Insert the Eyelet:
- Push the eyelet through the hole from the underside of the fabric, ensuring it is aligned properly.
- Secure the Eyelet:
- If using an eyelet tool:
- Place the eyelet on the tool and position the fabric so the eyelet is secured.
- Strike the tool with a hammer or mallet to secure the eyelet in place.
- If using a grommet tool:
- Follow the tool’s instructions, which usually involve placing the grommet top on the fabric, lining it with the grommet backing, and hitting the grommet with a hammer to secure it.
- If using an eyelet tool:
- Finish Up:
- After securing the eyelet, check to make sure it’s firmly attached.
- If desired, you can sew around the edge of the eyelet to provide extra security or embellishment, especially if the fabric is thin.
- Test the Eyelet:
- Pull gently on the eyelet to ensure it is secure. It should not easily come out.
Tips
- Use Fabric Stabilizer: If your fabric is lightweight or prone to fraying, consider using a fabric stabilizer behind the area where the eyelet will be installed for added support.
- Practice on a Scrap Piece: If you’re new to installing eyelets, practice on a scrap piece of fabric first to get a feel for the process.
Additional Tips:
Always do a test run on a scrap piece of fabric before working on the final product to ensure the settings are correct.
Keep safety precautions in mind, especially when operating machinery.
By following these steps, you can successfully install eyelets on shirts using an auto eyelet machine, ensuring a professional finish.
How Eyelets Enhance Shirt Functionality
Breathability
One of the primary benefits of eyelets is their ability to enhance breathability. By allowing air circulation, they help keep the wearer cool, particularly in warmer climates.
Durability
When properly constructed, eyelets can reinforce the fabric around them, reducing the likelihood of tearing or fraying. This durability is especially important in high-stress areas of the shirt.
Care and Maintenance of Eyelets
Cleaning Tips
Keeping eyelets clean is essential for maintaining their appearance. Use a soft cloth and mild detergent to wipe them down, avoiding harsh chemicals that could damage the material.
Repairing Eyelets
If an eyelet becomes loose or damaged, it can often be repaired. Depending on the fabric and type of eyelet, this may involve sewing it back in place or replacing it entirely.
Eyelets in Fashion Trends
Historical Significance
Eyelets have been used in clothing for centuries, tracing back to ancient garments. Their functional and decorative properties have made them a staple in fashion history.
Modern Applications
Today, eyelets are prevalent in casual and formal wear, often seen in trendy shirts. Their ability to blend style with function makes them a favorite among designers.
Common Misconceptions About Eyelets
Eyelets vs. Grommets
Many confuse eyelets with grommets. While both serve similar purposes, eyelets are typically smaller and used in garments, while grommets are larger and used in heavy-duty applications.
FAQs About Eyelets on Shirts
What is the difference between eyelets and grommets?
Eyelets are smaller and typically used in clothing, while grommets are larger, often found in heavy-duty applications like tarps and curtains.
Can eyelets be replaced?
Yes, eyelets can be replaced if they become damaged or worn. It’s often a simple process that can be done at home or by a professional tailor.
Are eyelets necessary on all shirts?
Not all shirts require eyelets. Their necessity depends on the shirt’s design and intended use.
How can I clean eyelets?
Use a soft cloth and mild detergent to gently clean eyelets, avoiding abrasive materials that may scratch them.
What materials are best for eyelets?
The best material for eyelets depends on the shirt’s intended use. Metal is durable, while plastic offers versatility in color.
Do eyelets affect shirt style?
Yes, eyelets can significantly enhance a shirt’s style, adding a unique touch that sets it apart from more traditional designs.
Conclusion
Eyelets are more than just decorative features; they enhance the functionality and style of shirts. Understanding their role can elevate your appreciation for garment design and craftsmanship.

