
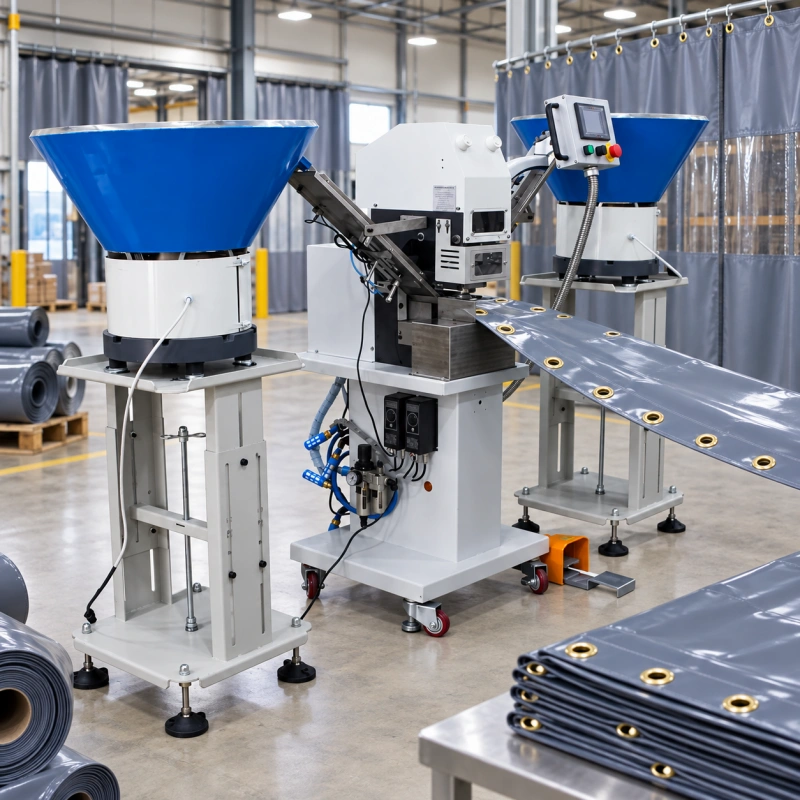
An industrial curtain can look simple on a drawing: one flexible panel, several reinforced edges and a row of metal rings. On the warehouse floor, those rings may carry repeated opening loads, restrain a large divider, connect a panel to a track or frame, or hold a side edge against air movement. If the hole is ragged, the washer is loose or the eyelet sits off-center, the defect is built into the product.
That is why this application should not be treated as another decorative curtain job. The eyelet machine has to work with coated fabric, reinforced hems, webbing, clear PVC windows, mesh sections and long, awkward panels. It must also give your operator a repeatable way to locate each hole while keeping hands away from the point of operation.
Eyeleting equipment is used across curtains, canvas, awnings, footwear and other sectors because the basic process is adaptable. The application still decides the configuration. For industrial curtains and warehouse dividers, durability, handling and process control matter more than a showroom finish or an impressive no-load cycle speed.
First, Confirm That Your Divider Actually Needs Eyelets
Not every product sold as an industrial curtain uses eyelets. Solid PVC-coated fabric panels, insulated curtain walls, mesh partitions, welding curtains and retractable dividers may use grommets along their edges or at suspension points. Free-hanging PVC strip curtains usually hang from clamp plates, hooks or mounting bars instead.
If your product is made from individual strips, an eyelet machine may not belong in the process at all.
Define the attachment system before you request a machine quotation. Mark every top, side and bottom connection on a drawing. Identify which locations use eyelets, which use straps or track hardware, and whether the eyelet is a permanent load point or only a positioning point. This prevents you from buying a general “curtain eyelet machine” for a fastening method that needs different hardware.
Industrial Dividers Are Different From Decorative Curtains
Decorative curtain production often centers on large rings that slide on a rod and create a regular pleat. Industrial divider production centers on restraint, reinforcement and service conditions. The two products can share a word while asking very different things from the press.
| Selection factor | Decorative curtain production | Industrial curtain or warehouse divider |
| Primary job | Create a visible ring for hanging and pleating | Create a reinforced attachment or restraint point |
| Typical material stack | Curtain fabric or curtain tape | PVC-coated fabric, mesh, webbing, folded hem, reinforcement patch or clear-panel seam |
| Main quality concern | Appearance, spacing and smooth travel on a rod | Hole integrity, clamp quality, alignment and resistance to service loads |
| Handling issue | Long but comparatively light fabric | Large, stiff or heavy panels that can pull against the die station |
| Machine priority | Fast ring feeding and clean appearance | Correct tooling, controlled force, stable location and supported material flow |
QC Machinery publishes the QC1805A for window curtains or curtain tape with a 40 mm inner-diameter ring. That specification is useful when you make that product. It should not be used as a default specification for industrial dividers. Your own eyelet diameter, barrel length, washer and tooling must come from the industrial panel design and the required attachment hardware.
Build the Machine Specification From the Curtain Assembly
The safest buying process starts with the product. A supplier can recommend equipment only when you provide the material and fastening system in the same condition that will reach the press. A single layer cut from the center of a roll is not a useful substitute for a folded, welded or sewn edge.
1. Record the complete material stack
Measure the total thickness at every eyelet location. Include the base panel, coating, hem folds, reinforcement tape, webbing, patches and any overlap between sections. Record the minimum and maximum stack, because one curtain can have several different thicknesses. Also note whether the material is soft, springy, slippery or likely to keep a curl from the roll.
For PVC-coated polyester and laminated fabrics, cutting quality matters as much as force. A dull tool can stretch the coating and scrim before it breaks through. The hole may look acceptable at first while fine tears remain around the edge. Those tears can grow after the divider is tensioned or moved repeatedly.
2. Define the exact eyelet and washer
Do not specify hardware by a trade number alone. Provide samples and drawings with the eyelet inner diameter, barrel outside diameter, flange diameter, barrel length, material, finish and washer profile. Supplier size names are not a reliable tooling standard.
The barrel must pass through the thickest production stack and leave enough material to form the intended flare. If it is too short, extra press force will not create missing barrel length. If it is unnecessarily long, it can buckle, split or form poorly. The lower die also has to support the exact washer shape. Review the eyelet, washer and die matching guide before you freeze the hardware.
3. Put the hole pattern on a drawing
Show the eyelet centerline, edge distance, pitch, corner locations and any positions near welded seams or clear windows. Give tolerances that reflect the finished installation. A locating stop can repeat a fixed edge distance; an indexed guide can repeat a pitch; neither can correct a pattern that was never defined.
If two parallel rows or a repeated pair must be installed at a fixed spacing, a double-head solution may reduce handling and improve consistency. If the pattern changes often, two heads can become a changeover burden. Use the actual range of pitches and order quantities when you compare single-head and double-head eyelet machines.
4. Describe the required output honestly
State finished panels per shift, eyelets per panel, available production time, changeovers and expected uptime. The useful capacity is not the press cycles per minute. It is the number of conforming panels you can complete after loading, supporting, locating, cycling, unloading, checking and changing jobs.
A fast automatic feeder cannot recover time lost while two operators drag an unsupported divider across the floor. On a large curtain, a roller table, ball-transfer surface or guided support may increase finished output more than a faster ram.
Choose the Right Level of Automation
Automation should remove a real bottleneck. It should not be selected from the product name or from the highest speed on a data sheet. Use your product mix, hardware consistency and handling time to decide.
Manual press
A manual press can suit development samples, repair work and very low volume. It gives the operator direct control and makes frequent hardware changes simple. It is usually a poor production choice when the material stack needs high force or when repeated strokes create fatigue and inconsistent setting.
Pneumatic or powered press with hand-fed hardware
This is often a practical starting point for industrial dividers with several panel styles or low-to-medium repeat volume. The operator places the eyelet and washer while the machine supplies controlled force. It tolerates more hardware variety than a dedicated feeding system, but the work method must keep fingers out of the die area and must meet the guarding requirements for your location.
Semi-automatic machine
A semi-automatic system may feed one component while the operator loads the washer or positions the product. It can reduce repetitive handling without forcing you into a fully dedicated line. Confirm exactly which component is fed, how a misfeed is detected and whether the operator can clear the track without entering a hazardous area.
Fully automatic feeding
Automatic eyelet and washer feeding makes sense when the hardware is dimensionally consistent, the same combination runs for long batches and material presentation is stable. Large or heavy grommets, burrs, mixed lots and variable finishes can disturb bowl and raceway feeding. Send production hardware from more than one incoming lot for the trial; a feeder tuned to a perfect sample may not represent daily production.
If you are still comparing the basic formats, use the manual, semi-automatic and automatic eyelet machine guide to screen the options, then test the surviving configurations with your divider panel.
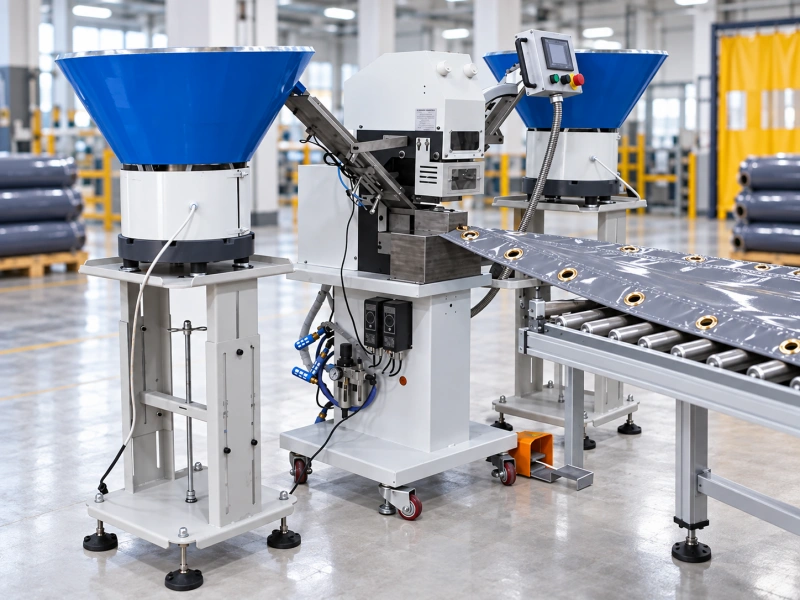
Decide Whether to Pre-Punch or Pierce and Set in One Cycle
Some eyelets and tool sets pierce the material during the setting cycle. Others require a prepared hole. The press force alone does not make a standard eyelet self-piercing. You must confirm that the fastener and tooling are designed for the method.
A separate pre-punching step can give you a cleaner, inspectable hole in thick reinforcement stacks and can keep slugs away from the setting die. It also adds handling and creates a new alignment requirement between the hole and the eyelet.
A combined pierce-and-set process removes that transfer but needs a proven cutting profile and reliable slug control. Use the pre-punching decision chart and approve the process on the worst material stack, not on a thin coupon.
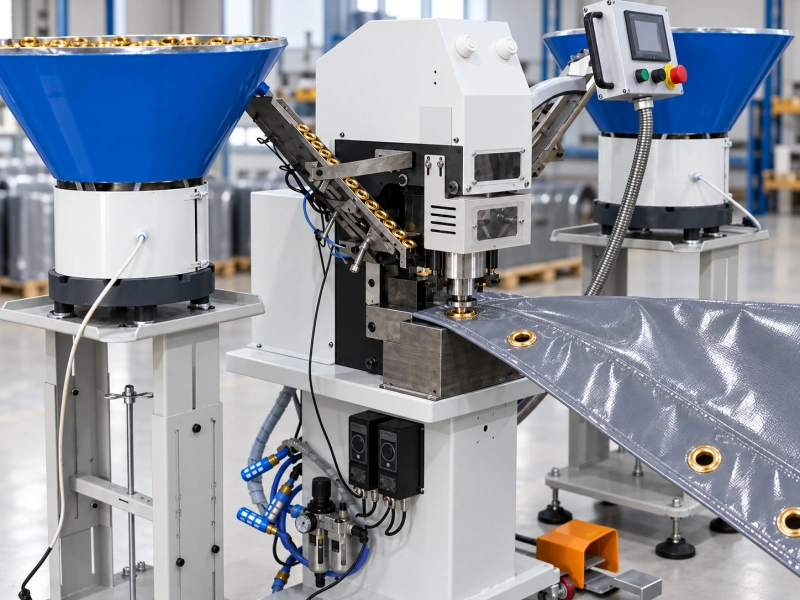
Calculate Throat Depth From Reach, Not Curtain Width
Throat depth is the horizontal distance from the tooling centerline to the rear obstruction of the machine frame. It tells you how far the eyelet center can reach into a workpiece. For an industrial curtain with eyelets only near an accessible perimeter, the required reach may be shallow even when the curtain is several meters wide.
Use this rule: required throat depth is at least the deepest eyelet-center offset from an edge you can actually feed into the machine, plus clearance for the folded hem, guide, clamp and normal movement. Do not divide the overall curtain width by two unless the eyelet is genuinely near the center and the panel can be approached from both sides.
A deeper throat also needs a sufficiently rigid frame. Ask the supplier to run the trial at the farthest required position, because a near-edge test does not prove alignment at full reach. QC Machinery’s guide to eyelet machine throat depth explains the measurement and the clearance check in detail.
Plan Material Handling as Part of the Machine
Large flexible panels behave like a load attached to the eyelet station. If the unsupported curtain drops from the table, it can rotate the marked position, pull the washer out of place or make the operator reach across the machine. Your line layout should keep the local setting area flat and let the rest of the panel move without snagging.
- Support the panel before and after the die station with tables, rollers or low-friction surfaces at the same working height.
- Keep welded seams, hems and clear-window joins from hanging over an edge immediately beside the tooling.
- Use an edge guide, index stop, laser or physical template that matches the tolerance on the drawing.
- Confirm that the operator can rotate or reverse the largest panel without striking the frame, guards, feeder or nearby equipment.
- If folding is part of every cycle, time it during the trial and check that the fold does not mark clear PVC or distort a welded seam.
For oversized assembled curtains, a movable head, portable setting system or different assembly sequence can be better than forcing the whole divider through a fixed C-frame. The correct answer is the simplest method that brings every eyelet position under the tools while keeping the panel controlled.
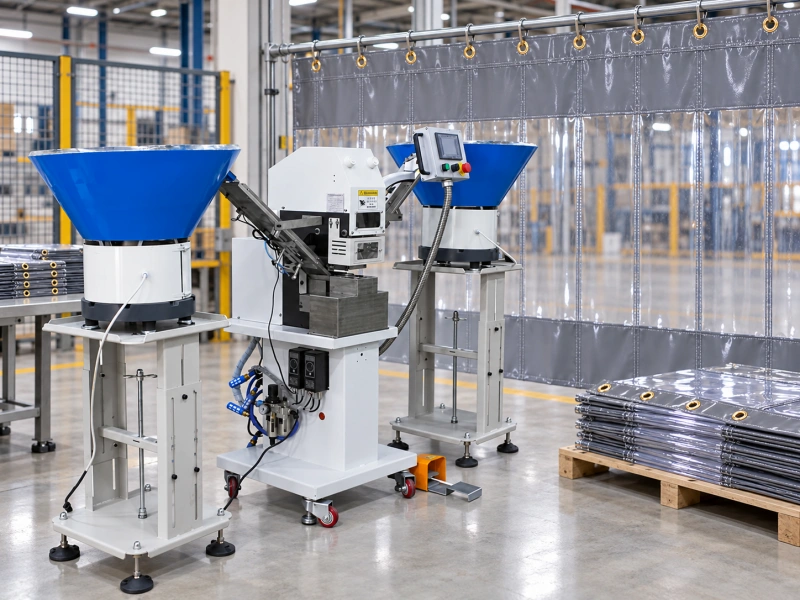
Run a Production-Representative Machine Trial
A video of the machine cycling without your material is not an application test. Send enough samples to cover the normal and worst cases, including the thickest reinforced corner, the thinnest edge, a clear-window seam if present, and the actual eyelet and washer lots you plan to buy. QC Machinery’s machine-trial sample guide lists the information that helps a supplier prepare the correct tooling.
During the trial, require your normal edge distance and pitch. Run a continuous batch long enough to expose feeding, slug-removal and heat or contamination issues. Record setup settings and inspect samples from the beginning, middle and end of the run.
Use a First-Article Acceptance Check
The final acceptance limits should come from your engineering requirements and the curtain installation method. At minimum, your team should verify the following before releasing the job:
- The hole is clean, centered and free from visible tears, whitening, delamination or pulled scrim.
- The flange sits flat without puckering, trapped folds or damage to the PVC coating.
- The backside flare is even and fully engages the washer without cracks, sharp projections or excessive flattening.
- The eyelet and washer do not spin or rock under the approved manual check.
- Edge distance and pitch stay within the product drawing tolerance across the full panel.
- Any pull, peel or service-load test uses a documented fixture, direction, speed and acceptance value defined for the product.
Keep an approved sample at the machine and record the die set, pressure or stroke setting, material construction and hardware lot. A pass/fail sample is more useful to an operator than a setting described only as “tight enough.”
Common Defects and What They Tell You
A loose or spinning eyelet usually points to an incomplete flare, a barrel that is too long for the thin stack, insufficient setting travel or a mismatched die. Increasing force is only one possibility; it is not the universal fix.
Wrinkles around the flange often mean the material shifted, the local stack was not flat or the punch stretched the material before cutting. A crooked eyelet points toward die misalignment, uneven support, a loose holder or frame deflection. Cracks in the coating can indicate a ragged hole, an unsuitable cutting profile or too much deformation.
Stop and separate the causes instead of turning up the pressure until the part looks flat. The common eyelet setting defects guide provides a practical fault-by-fault reference for the production floor.
Safety Requirements Belong in the Purchase Specification
An eyelet press creates a point-of-operation hazard at the punch and die. Automatic feeding does not remove that hazard, and a foot pedal is not a guard. Require a safeguarding method that matches the loading process, the applicable regulations and your risk assessment.
In the United States, OSHA’s general machine-guarding rule requires point-of-operation guarding where machine operation exposes an employee to injury.
- Review guards, interlocks, two-hand controls or presence-sensing devices with your safety team before purchase.
- Make sure the loading fixture does not encourage the operator to hold a washer inside the closing tools.
- Provide a lockout method for die changes, cleaning, jam clearing and maintenance.
- Place emergency stops where the operator can reach them without crossing the hazard.
- Train operators to stop after a misfeed; never reach into the die area to correct a part while the machine remains enabled.
Ask the supplier to demonstrate the normal cycle, a misfeed, a jam-clearing procedure and a die change. Production output is not acceptable if the quoted method depends on bypassing the safeguard.
Maintain Cutting Quality and Feeding Stability
PVC coatings, textile scrim and reinforcement material leave slugs, dust and fibers around the tooling. Establish a cleaning interval from the trial, then shorten it if cut quality or feeding deteriorates. Follow the machine manufacturer’s procedure; compressed air is not suitable for every mechanism or workplace because it can drive debris into components or create an exposure hazard.
- Inspect the punch edge and die alignment at startup and after a tool change.
- Remove slugs and debris before they interfere with seating or sensors.
- Check feeder tracks with the actual eyelet finish and lot, not only a master sample.
- Record tool changes by material and cycle count so wear patterns become visible.
- Quarantine any batch that develops spin, crooked flare, coating cracks or unexplained pitch variation.
A simple daily and weekly routine is easier to sustain than a vague instruction to “maintain regularly.” Use QC Machinery’s eyelet punching machine maintenance checklist as a starting point and adapt the intervals to your material, environment and machine manual.
What to include in your RFQ?
A useful request for quotation lets the manufacturer evaluate the process rather than quote a generic press. Include:
- Finished product drawings with all eyelet centers, accessible edges, pitch and tolerances.
- Material samples representing every layer, hem, weld, reinforcement and clear section at the setting point.
- Minimum and maximum stack thickness, plus panel dimensions and weight.
- Eyelet and washer samples from normal production lots, with drawings and material/finish requirements.
- Required pre-punch or combined pierce-and-set method, including slug handling.
- Panels per shift, eyelets per panel, batch sizes and changeover frequency.
- Available electrical supply, compressed air, floor space and material-flow direction.
- Required safeguards, documentation, spare dies, training and acceptance-test evidence.
- Photos or video of the current process and the largest panel being handled.
Ask for a sample report, a continuous-run video and an approval drawing that identifies the dies, feed method, throat depth, locating method and working height. If the application is unusual, use the general automatic eyelet punching machine page as a starting point, then request a configuration review rather than assuming the standard machine is suitable.
FAQ
Can one curtain eyelet machine handle both decorative curtains and industrial dividers?
Sometimes, but only when the eyelet, washer, material stack, force, reach and tooling are compatible. A machine designed around large decorative curtain rings is not automatically suitable for smaller load-bearing metal grommets in reinforced PVC. Prove both products with separate dies, settings and sample trials.
What is the best eyelet machine for PVC warehouse divider curtains?
There is no single best model. For varied products and moderate volume, a guarded pneumatic or powered press with hand-fed hardware may be practical. For long runs with consistent hardware, semi-automatic or fully automatic feeding may reduce labor. Material handling and tooling often decide the result before maximum speed does.
Do industrial curtain eyelets need washers?
Many load-bearing curtain and divider applications use a two-piece eyelet or grommet with a washer to support the backside and distribute the clamp. The requirement depends on the fastener design and the product specification. Do not add or remove the washer without validating the joint.
How deep should the machine throat be?
Measure the deepest eyelet center from an edge that can enter the machine, then add clearance for the hem, guide, clamp and handling variation. Overall curtain width by itself does not determine throat depth.
Should PVC-coated fabric be pre-punched?
It depends on the eyelet and tooling. Pre-punch when the fastener requires a prepared hole, the setting press does not cut, or the reinforced stack cannot be pierced cleanly in the combined cycle. Approve the method after inspecting holes and finished joints from the thickest and thinnest stacks.
How do you prevent eyelets from pulling out of an industrial curtain?
Start with a reinforced material design, suitable edge distance, the correct barrel length and washer, matched dies, a clean hole and a fully formed flare. Then validate the joint with a repeatable load test that represents how the curtain will be installed and used. More press force cannot compensate for a weak panel design or the wrong hardware.
Choose the process, then choose the machine
The right eyelet machine for an industrial curtain or warehouse divider is the one that produces an approved joint at the required rate while your operator can support, locate and load the panel safely. That decision begins with the finished assembly—not with a generic curtain category.
Define the material stack, hardware, pattern, access and load requirements. Decide how the hole will be made. Prove the throat depth and frame alignment at the farthest position. Then compare manual, pneumatic, semi-automatic and automatic feeding based on real finished-panel output.
Send QC Machinery your drawings, reinforced material samples, eyelets, washers and shift target. We can run a sample trial and recommend a standard or customized setup for the industrial divider you actually manufacture.