
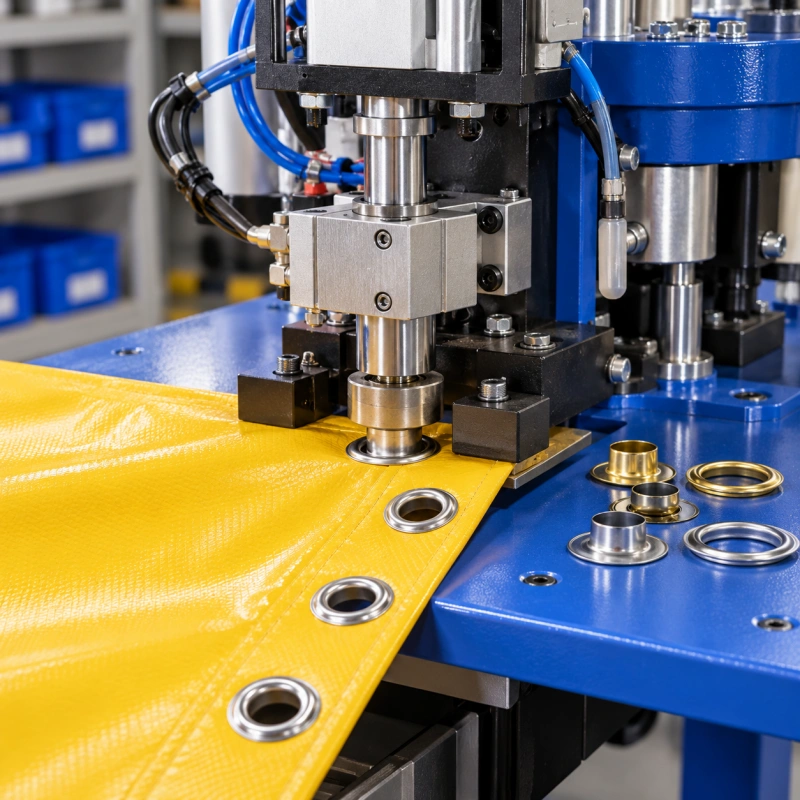
An eyelet can look secure while fine cracks appear in the coating beside its flange. The damage may show up as soon as you punch the hole, after the setting stroke, or only when the finished panel is folded or pulled. When it first appears helps you find the cause.
When you set eyelets in coated fabric, start with the actual material and full layer stack. Check the cut edge, the support under the panel, and the way the eyelet and, where used, the washer grip it. Then run a controlled trial that checks coating appearance and eyelet retention together. Increasing the press setting is not a reliable cure for a cracked surface; it may make the damage worse.
Why Does the Coating Crack Around an Eyelet?
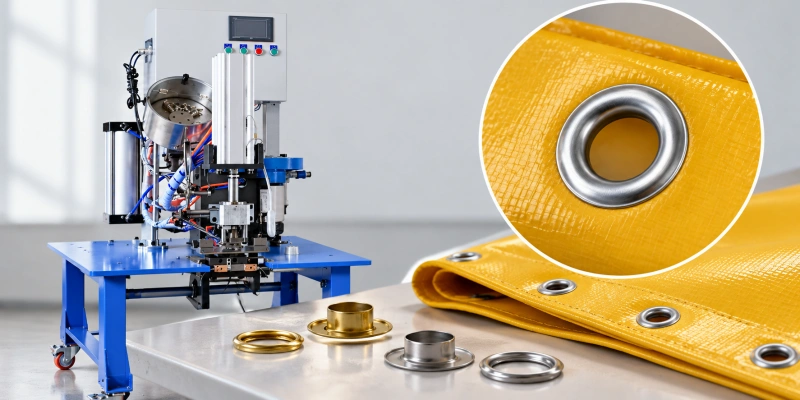
A coated fabric combines a textile base with one or more surface layers. The base helps carry load; the coating can affect appearance, flexibility, or weather protection. Punching cuts through these layers, and setting compresses the area around the opening.
A coating that tolerates a clean cut may still mark when the flange presses against it. It may also look sound immediately after setting and crack during later bending.
“PVC-coated” or “PU-coated” alone does not tell you how a particular roll will behave. The coating formulation and thickness, base fabric, bond between them, finishing, storage condition, and folded or reinforced edge all matter.
Check the material supplier’s data and test the construction that will actually run through your machine. Do not transfer an approved setup from one coated fabric to another on the basis of the coating name.
Before changing the press, identify what has failed:
| What You See | What It May Mean | First Check |
| Fine lines radiating from the cut hole | The coating stretched or split during hole making | Inspect the cut edge before an eyelet is fitted; check punch sharpness and material support |
| A circular white or cracked mark around the flange | The coated face may have been compressed, rubbed, or bent during setting | Compare the surface before and after setting; inspect die alignment and flange contact |
| A lifted surface layer at the hole | Possible coating-to-base separation | Inspect an unworked area and the cut edge; ask the material supplier about adhesion |
| Broken yarns or an enlarging hole | Damage in the textile base, possibly alongside coating damage | Inspect the back and cut edge; test the complete assembly under the intended load |
Whitening is an observable change, not proof of a particular failure mechanism. Photograph the front, back, and cut edge under consistent light. If the coating is already cracked in the unpunched area, stop treating the press as the only possible cause.
Begin With the Actual Material Stack
Cut trial pieces from the same material and construction as the product. Include the coating face orientation, folded hem, backing tape, weld, reinforcement, adhesive, or lining at the eyelet position. A test on one flat layer tells you little about a production eyelet that passes through a folded edge.
Record the minimum and maximum thickness at the eyelet location, as well as where seams or weld transitions pass under the tools. Label rolls or lots if coating feel, thickness, or adhesion varies. Keep some unworked pieces for comparison, and make separate samples for each construction. A setting that works on a flat area may still crack the coating at a thicker or stiffer edge.
Check the coating supplier’s handling recommendations when panels have been stored cold or will be used in cold conditions. Low-temperature flexibility is material specific. ISO 4675 describes a low-temperature bend test for coated fabrics, but a result from that test is not itself approval for an eyelet operation or a guarantee of service life.
Run trials at the temperatures and bending conditions relevant to your product. Do not apply uncontrolled heat to make a stiff panel easier to punch: heat may alter the coating, adhesive, print, or weld.
Make the Hole Without Stretching the Surface
Inspect the hole before setting the eyelet. Place the material on a suitable cutting support and use a sharp, aligned punch that makes a repeatable opening through the complete stack. Remove the slug and check both faces. Drag marks, ragged edges, incomplete cuts, or whitening around the opening tell you to fix the hole-making step before you adjust the setting stroke.
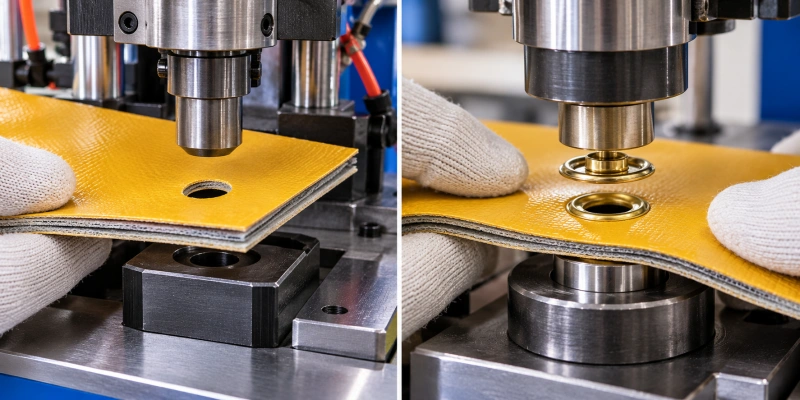
Do you need a separate pre-punch? It depends on the fastener and equipment. A conventional eyelet in a setting-only press needs a prepared opening. A matched self-piercing eyelet and die may cut and set a qualified material in one stroke; an integrated punch-and-set machine can also make a controlled hole during its cycle.
Neither arrangement should be assumed safe for your particular coating and folded edge. Use the pre-punching decision guide for the broader equipment decision, then compare actual cut edges in your trial.
Do not choose the punched-hole diameter from the finished opening alone. Check the fastener and tooling supplier’s hole specification, then confirm the fit in the real stack. If the prepared hole is too small for that combination, insertion may drag or distort the coating. If it is too large, the eyelet may grip poorly even when its face looks neat. A larger flange may hide a torn hole without restoring its strength.
Some processes use heat to cut thermoplastic-coated materials. That is a separate material and process trial, not a default fix for surface cracks. Check whether the cut edge hardens, deforms, discolors, or cracks after the panel is flexed. Also check ventilation and the material supplier’s processing guidance before using heated tools.
Check the Eyelet, Washer, Dies, and Support
Put the actual production hardware beside the sample. Choose the barrel length for the thickness range at the eyelet location, using the fastener supplier’s grip specification where available. Confirm that it forms correctly with its matching die and washer, if the design uses one.
A barrel that is too short for the stack may form an incomplete roll; a mismatched washer or die profile may concentrate contact and mark the coating. Increasing the press setting will not correct mismatched hardware.
Confirm that the upper and lower dies are aligned and undamaged. If the assembly uses a washer, seat it in the orientation specified for that hardware and tooling. Look for burrs, rough contact surfaces, or a die face that touches the coated panel where it should not.
Support the panel so it stays flat without being stretched, wrinkled, or pulled across a sharp edge during the stroke. Keep any backing or protective support clean; trapped debris can emboss the finish.
A suitable washer or backing patch may help distribute load, but neither repairs a split coating, an oversized hole, or an incomplete eyelet roll. If you add reinforcement, include its material, attachment method, and thickness in the trial. The extra layer changes the stack and may require a different barrel length or setting recipe.
Find a Setting That Holds Without Crushing the Coating
Begin with the machine and fastener supplier’s permitted setup. Adjust the control that actually changes your forming result: depending on the press, that may be closed height, die gap, stroke stop, regulated pressure, or a programmed force and position profile. A displayed air pressure is not a transferable eyelet force specification.
Set a few pieces at a conservative, repeatable starting point and inspect the front and back. The barrel should form evenly against the washer, if used, while the coated face stays within your agreed appearance limit. If the eyelet rocks or the washer is loose, check barrel length, hole size, die fit, and alignment before increasing the setting.
If marks or cracks worsen as you increase it, check the contact surfaces and alignment as well as the upper setting limit for that material stack.
Change one variable at a time and keep the same inspection method. Establish an acceptable range that passes both surface and retention checks across the thinnest and thickest approved stacks. The eyelet setting-force window guide explains how to confirm lower and upper boundaries. If a secure setting always damages the coating, pause.
A different eyelet, washer, die shape, hole-making method, reinforcement, or material construction may be needed; do not keep tightening the press to make an unsuitable assembly look secure.
Run a Coating-Focused Sample Trial
Use a short, controlled trial before approving the setup:
- Define the acceptance criteria first. Agree on limits for visible cracking, whitening, lifting, imprint, finished opening, and retention. Include washer seating where relevant. Specify the viewing conditions and the product’s intended pull and flex directions.
- Record the inputs. Note the material lot and stack, fastener and washer if used, punch, dies, machine, support, and material or ambient condition. Label each sample so you can trace a defect to its setup.
- Separate cutting from setting. Inspect and photograph several holes before hardware is fitted. Then set the eyelets and inspect both faces and the formed barrel. This shows whether the damage starts with the hole or the closing stroke.
- Challenge the vulnerable constructions. Include folded edges, weld transitions, printed faces, reinforced areas, and the highest and lowest approved stack thicknesses. If cold handling is part of the product’s life, condition and test samples according to the material and customer requirements.
- Check function after appearance. Run the agreed pull, flex, or use simulation on the complete assembly. Look again for cracks that develop after loading. Define the load, direction, sample count, and pass/fail limit from the customer specification or an approved baseline; there is no universal value for every coated fabric.
- Approve and record the recipe. Keep accepted samples, photos, the inspection criteria, and machine settings together. Repeat the check after a relevant change in coating lot, construction, fastener, die, maintenance, or storage condition.
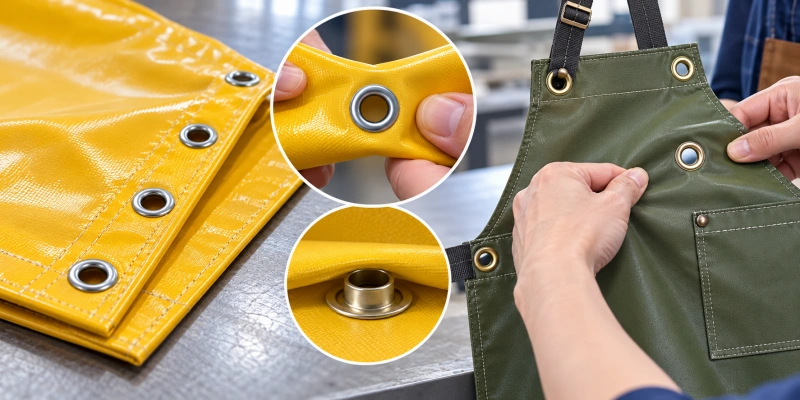
If the surface layer lifts away from the base textile, the problem may involve coating adhesion rather than only the setting operation. Ask the material supplier to assess that failure.
ISO 2411 provides a test method for coating adhesion; it does not set a universal acceptance limit for your eyelet assembly. For general loose fibers at an uncoated edge, see the separate guide to preventing fabric fraying around eyelet holes.
What to Do When the First Samples Fail
The coating is cracked before setting. Check an unworked piece, then the punch edge, cutting support, slug removal, and hole size. Compare a cleanly pre-punched hole with your current method. Changing the setting control cannot remove damage that is already present.
The hole is clean, but the coating marks during setting. Examine the die contact area, alignment, flange and washer fit where applicable, material support, and forming stroke. Any change that reduces contact marks must still leave a properly formed, secure eyelet. A clean-looking but loose eyelet is not a pass.
The sample looks good until it is folded or pulled. Check the exact bend or load path, the reinforced edge, and the material’s condition. A tiny cut-edge defect may grow under use; coating cracks may also appear away from the hole. Test the assembled product under its expected handling and loading, then decide whether the hole, hardware, construction, or coated material must change.
The metal barrel cracks or the washer splits. This points to a fastener or forming problem, which may also damage the adjacent coating. Inspect the hardware and dies separately; do not classify a crack in the metal as a coating failure.
FAQs
Should You Always Pre-Punch Coated Fabric?
No. You need a prepared hole when the eyelet and press do not make one, and it may be the more controllable route when self-piercing damages the coating. A compatible self-piercing system or integrated punch-and-set process can work on a qualified material. Decide from the actual eyelet, dies, and complete coated stack, then inspect the cut edge before approving production.
Will a Larger Washer Prevent Surface Cracking?
It may spread the load over more material, but it can also leave a larger contact mark or change how the barrel forms. Match the washer to the eyelet and die, test its contact with the coated face, and check retention after loading. A washer does not restore coating that was already split during punching.
Can You Use the Same Settings for PVC- and PU-Coated Fabrics?
Do not assume so. Even two rolls described as PVC-coated can differ in base textile, coating formulation, thickness, finish, and handling behavior. Treat a change in coating or construction as a reason to compare samples and confirm the setup. The material and hardware combination, not its short label, determines the useful setting range.
What Should You Send for a Machine Trial?
Send representative coated material from each relevant construction, including the actual hem or reinforcement. Include the eyelets and washers you intend to use, the finished-hole and appearance requirements, photos of any cracks, expected loading, and the production conditions that matter.
That gives the trial a better chance of identifying whether hole preparation, tooling, setting, or material construction needs to change.
Test the Finish and the Hold Together
If you are seeing cracks around eyelets in coated fabric, send QC Machinery your material samples, full layer-stack details, eyelet and washer specifications, and clear photos of the defect. Tell us when the cracks appear—after punching, after setting, or after folding or loading—so the trial can address the right step.
Approve the setup only when the coating appearance and the finished assembly both meet your requirements.