
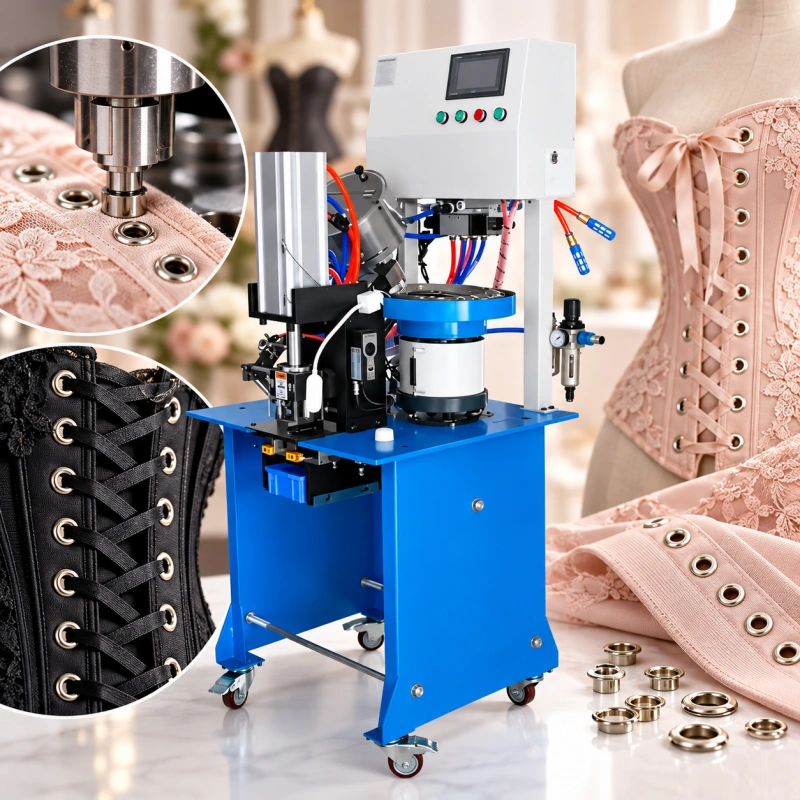
A corset can make a row of eyelets look simple until the garment is laced. Each opening has to sit at the right point on a narrow back edge, survive repeated tightening and look clean from both sides. Fashion garments bring a different problem: a small decorative eyelet that looks fine on a heavy sample may pucker satin, mark coated fabric or sit unevenly on a lightweight panel.
If you are choosing an eyelet machine for corsets, start with the garment construction and the exact fastener, then test the machine on production-ready panels. This guide shows you how to specify the eyelet, support delicate materials, control paired rows and evaluate a setup before you commit to volume. It concerns pressed metal eyelets.
A sewn eyelet or buttonhole uses a different process and is outside the machine selection discussed here.
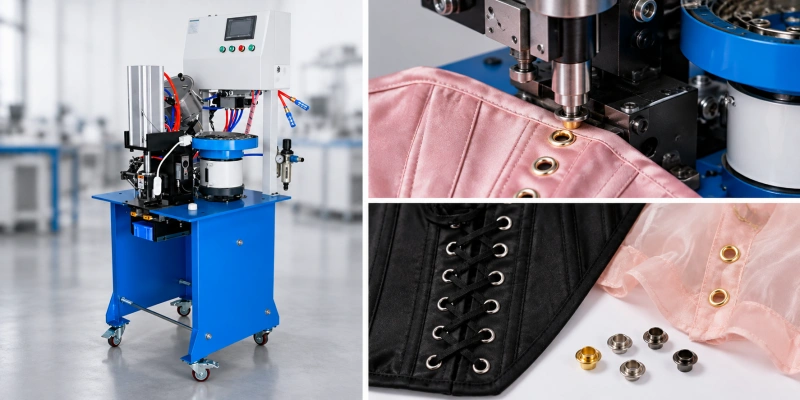
What Changes When the Eyelet Is Part of a Corset?
On a corset, the lacing row is a functional assembly. Lace tension is transferred through the eyelet, the reinforced back edge and the surrounding layers. A neat front flange alone does not tell you whether the eyelet is securely formed or whether the fabric will hold up after use. Your approved sample should be judged after lacing, not just on a flat table.
The working stack may contain an outer fabric, lining, interfacing or another reinforcement. Its thickness can change near seams, binding and boning channels. Map where the eyelet actually sits. Leave the clearance specified by your pattern and construction team from seams, bone channels and the finished edge; there is no universal offset that fits every corset.
You also need the left and right rows to work as a pair. Their spacing, starting point, and alignment affect both appearance and lacing behavior. If one row creeps relative to the other, the defect becomes obvious when the garment is closed. Record locations from a fixed garment datum on your approved pattern rather than stepping from one previously installed eyelet to the next.
Define the Eyelet and Material Stack Before Selecting a Machine
Send the machine supplier a physical eyelet sample or controlled drawing. State the inner opening, flange outside diameter, barrel length, metal and finish, and whether the design uses a washer. Include permitted variation by size and color. “Small eyelet” is not a tooling specification; two nominally similar pieces may feed and form differently.
Build trial panels with the real layers, reinforcement, seam construction, and finishing sequence. Include the thinnest and thickest local stacks that the die will see. If your production line eyelets the panel before final assembly, test it in that state and then inspect the completed garment. If eyeleting occurs after assembly, confirm that the finished shape can lie safely and consistently under the setting head.
For a delicate fashion panel, reinforcement should be part of the design decision. A fusible, extra fabric layer or other backing may improve support, but it can also change drape, show through a sheer material , or shift the stack thickness. Test the actual construction after pressing and any planned care process. Do not expect extra setting force to compensate for an unsupported or torn hole.
Protect Thin and Visible Fabrics During Punching and Setting
Match the Hole to the Eyelet
A hole that is too large removes the material the eyelet is meant to hold; a poorly cut hole can start a tear. A hole that is too small may drag the fabric into the die, distort the edge or prevent the barrel from seating. Match the punch, hole method, and eyelet geometry in a trial. Inspect for displaced yarns, fraying, and the appearance of the visible face after the eyelet is formed.
Some setups punch and set in one operation; others benefit from a separate hole-making stage. Make that choice by testing the fabric and stack rather than assuming one sequence suits every garment. On coated, stretch or loosely woven fabrics, check whether the hole changes after handling.
The site’s pre-punching guide gives the broader process comparison; your corset trial still needs its own acceptance criteria.
Control the Forming Contact
The setting die must form the barrel without cutting the reverse face, crushing the reinforcement or marking the visible finish. Keep the supporting surface clean and inspect it for embedded metal particles and wear. For satin, velvet, coated fabric and other mark-sensitive materials, evaluate the contact face and how the operator supports the panel.
A protective layer may help in a particular setup, but it must be qualified because it can change the effective stack and forming result.
Do not use a universal pressure or force number from another garment. Approve the setting window on your chosen eyelet, die and material range. Inspect the formed back, remaining opening, flange contact, fabric condition and retention together. If a defect appears, change one controlled variable at a time and recheck the complete assembly.
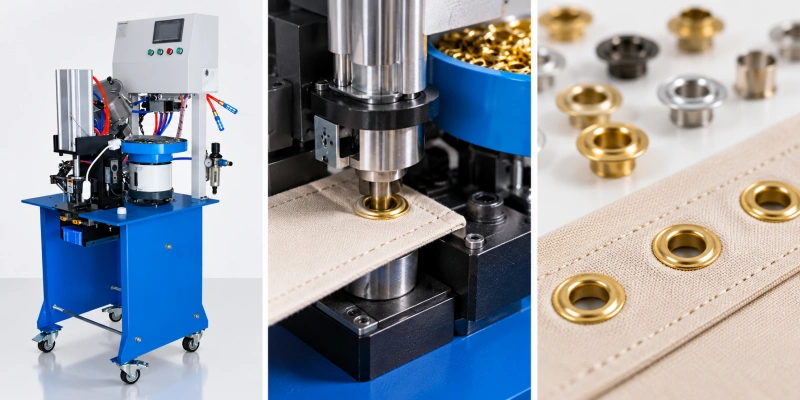
Keep Two Lacing Rows Consistent
Start by marking the first and last eyelet positions on each row from the approved pattern. Then define the intermediate points and allowable position error. A physical edge guide or locating fixture can reduce operator judgment, but it must reference a stable finished edge or construction datum.
A soft, curved corset panel can move as it is presented to the head, so test the fixture with realistic handling, not only on a flat paper template.
Use a left/right first-off sample. Lay the panels in the intended orientation, compare the row start and end points, and lace a representative pair. Check whether the cord feeds freely, whether the edges meet as designed and whether any eyelet contacts a seam or bone channel.
The pattern team should approve intentional design differences; the operator should not correct an asymmetric pattern by changing the machine pitch on the fly.
For decorative garments, define the visible side before production. The face of a metal eyelet may be exposed on a bodice, sleeve, jacket or lace-up panel, while the formed barrel may touch the lining or wearer. The drawing should show orientation, acceptable visible marks and backside sharp-edge limits. An attractive front cannot compensate for a cutting edge against a liner.
Choose the Machine Around the Garment and Order Mix
For short runs, multiple styles and frequent color or size changes, a semi-automatic station can provide direct operator control over panel position. QC Machinery lists its QC54222 semi-automatic eyelet machine for small holes and metal eyelets on thin to medium fabrics with customized dies.
The product page says eyelets are fed automatically, while washers are placed manually if used. That manual step matters when you compare cycle times and operator workload.
For repeat orders with a stable eyelet and washer specification, consider a system that feeds both parts. The QC16002 automatic eyelet punching machine is described by QC Machinery as feeding eyelets and washers automatically and using customized dies.
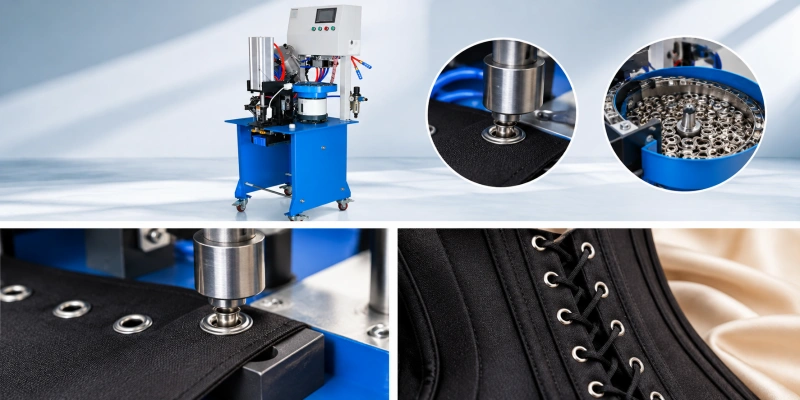
Published dimensions and throat-depth data are starting points for a discussion, not proof that your finished corset panel fits or that your exact small eyelet is compatible. Ask for a trial on your samples and written confirmation of the supplied tooling configuration.
Check the working reach from the garment edge to the eyelet center, then allow for folds, seam bulk, fixtures and how the operator actually presents the panel. Check the approach direction and clearance around the die as well. A machine can have enough nominal throat depth and still be awkward for an assembled bodice.
Compare qualified good pieces per hour, including loading, aligning, washer handling, inspections and changeovers, rather than treating the machine’s mechanical cycle rate as finished-garment output.
If you make more than one size or finish, ask whether each eyelet requires a different die set, feed-track adjustment or separate setup. Do not assume one tooling set handles every nominal size. Keep the detailed die and feeder decisions in a setup sheet for each approved combination, then retain a first-off sample after every change.
Plan Size, Finish and Style Changeovers
A fashion order may switch from a bright metal finish to black, or from a small decorative eyelet to a stronger lacing component. Segregate eyelet and washer lots so leftover pieces cannot enter the next run. Confirm part number, color, face orientation, die identity and feeder path before making saleable garments. Clear the previous batch from the machine and nearby work area.
After a size change, verify hole size, barrel formation and opening clearance on the actual stack. After a finish change, check cosmetic handling and whether the coating chips or scuffs in the feed path. A different supplier or metal condition can also alter the forming result even when the catalog size appears the same.
Record the first-off approval and restart inspection point; do not carry over approval from the last color or style without checking.
If you have several garment sizes, assess whether the eyelet position moves with the graded pattern. A single fixed stop may suit one size but miss the intended construction datum on another. Keep the locating method, pattern size and approved spacing together in the work instruction.
What Should You Inspect on a Finished Garment?
Use an approved sample and written limits for your own eyelet and material stack. Inspect both faces, not only the decorative side. The site’s eyelet setting inspection standard explains how to establish product-specific flare, finished-height, gap and movement criteria. For corsets, add the garment-specific checks below.
- Position: Compare each row with the approved pattern datum and check the two rows together on the intended garment size.
- Fabric condition: Reject unintended tears, visible puckering beyond the approved appearance sample, crushed lining, exposed reinforcement and finish transfer.
- Metal formation: Check that the eyelet and any washer are correctly oriented and formed, with no unintended crack, loose fit or sharp backside projection.
- Lacing function: Pass the intended lace or cord through representative openings and verify that the completed panels behave as the design requires.
- Retention: Use the customer-approved pull or functional test, loading direction and pass criterion for the garment. Do not substitute a casual hand tug for a specified test.
There is no responsible universal pull-out force, spacing tolerance or forming height for all corsets. Set those limits from the product design, buyer requirements and validated samples. Repeat first-off approval after a jam, die intervention, new material lot or adjustment when the event could affect the eyelet result.
Run a Sample Trial Before You Place the Machine Order
Provide the supplier with finished and unfinished panels, the intended eyelet and washer, the graded pattern or placement drawing, and a summary of monthly volume by style. Include your thinnest and thickest stacks and at least one mark-sensitive fabric. Tell them whether the panel will be eyeleted before or after sewing and which side must face up at the machine.
Ask the trial to produce a left/right pair at the intended pitch. Review the first pieces and a longer representative run for position drift, feed interruptions, marks and rejects. Time the complete workflow, including loading and checks. If you have several finishes or sizes, request a witnessed changeover and a new first-off sample rather than evaluating only the easiest combination.
Before approving the machine, agree on die set identifiers, supplied accessories, operator training, safety controls, the sample acceptance record and what counts as a good part. When the supplier proposes an alternate eyelet or backing, have your garment team approve the design change first. The machine trial should confirm your product specification, not quietly replace it.
Common Questions
Can One Eyelet Machine Handle Both Corsets and Decorative Garments?
Possibly, if the machine’s working reach, tooling and feed configuration can be qualified for every eyelet and material stack. You should test the most delicate fabric and the most demanding lacing construction separately. Shared machine ownership does not mean shared settings.
Do You Always Need a Washer Behind a Corset Eyelet?
No single rule covers every design. The specified eyelet, reinforcement, stack and loading determine whether a washer is required. Validate the proposed construction with the buyer or garment engineer and run the required functional test. If a washer is specified, qualify its orientation and feed method.
Is a Corset Eyelet Machine the Same as a Buttonhole Sewing Machine?
No. The machines in this guide punch or use a prepared hole and mechanically form a metal eyelet. A buttonhole sewing machine stitches a thread-reinforced opening. If your tech pack calls for sewn eyelets or stitched buttonholes, specify that process separately.
Send the Right Samples for a Useful Recommendation
The fastest way to narrow the choice is to send your corset or garment panel, a placement drawing, and the actual metal eyelet and washer. State the material layers, planned order quantity, changeover frequency and your required appearance and retention checks. QC Machinery can then discuss a suitable eyelet machine for fabric and trial the relevant tooling against the garment you intend to produce.