Yard signs are a common sight in various communities, They can be powerful tools for conveying messages and attracting attention. One key component that enhances the performance of yard signs is the grommet.
In this article, we will explore what yard signs are, delve into the concept of grommets, explain their significance in yard signs, and outline the installation process for signs featuring grommets.
What is a Yard Sign?
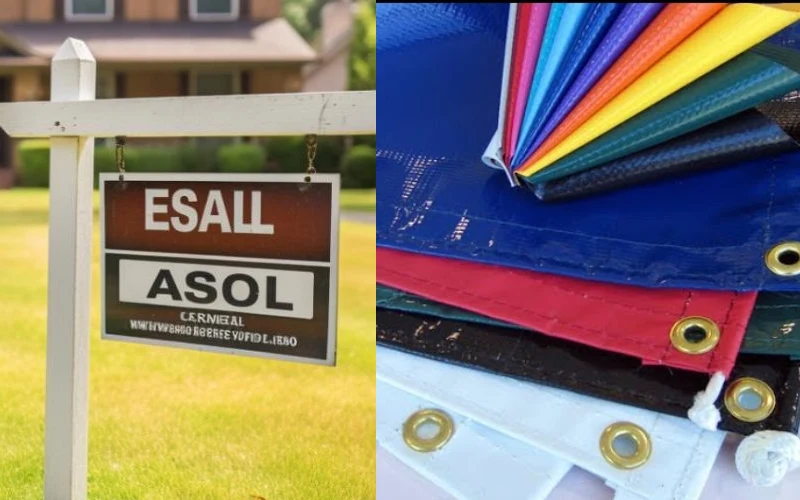
A yard sign is a type of signage that is typically displayed on a lawn or in a yard. Made from a variety of materials—most commonly corrugated plastic, vinyl, or metal—these signs are often used to promote a business, convey political messages, advertise real estate listings, or celebrate events like birthdays or graduations. Their primary purpose is to capture attention and communicate messages effectively to passersby.
Yard signs can vary greatly in size, style, and design elements, often tailored to the specific message they aim to deliver. Their physical characteristics allow for easy installation and removal, which is particularly advantageous in settings like political campaigns where signs need to be frequently updated or relocated.
What is a Grommet?
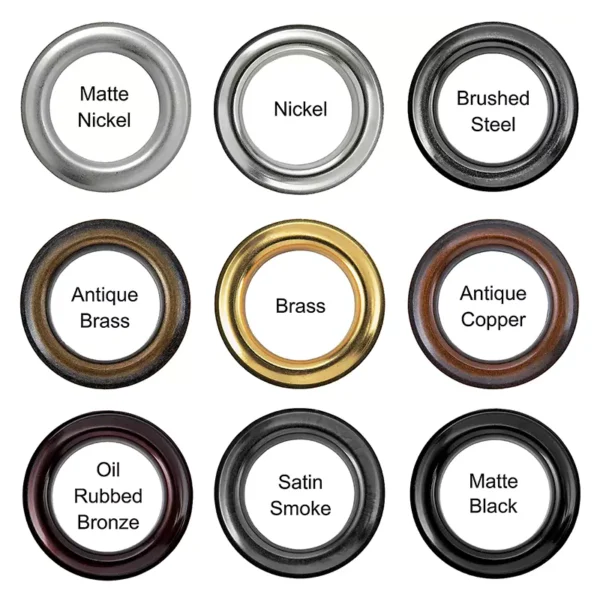
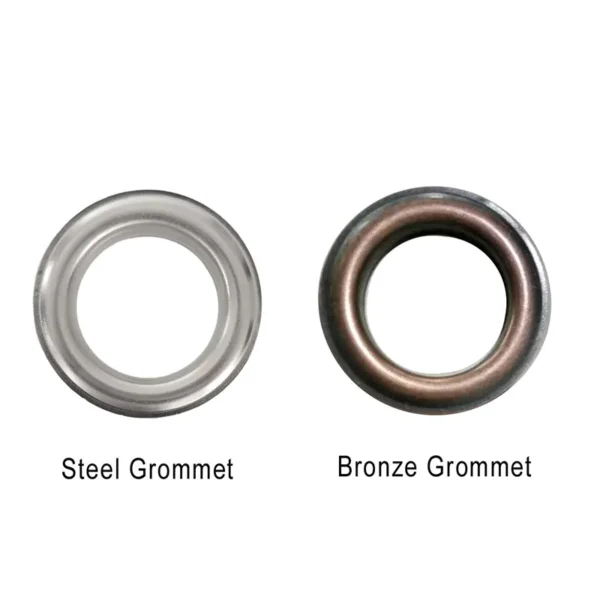
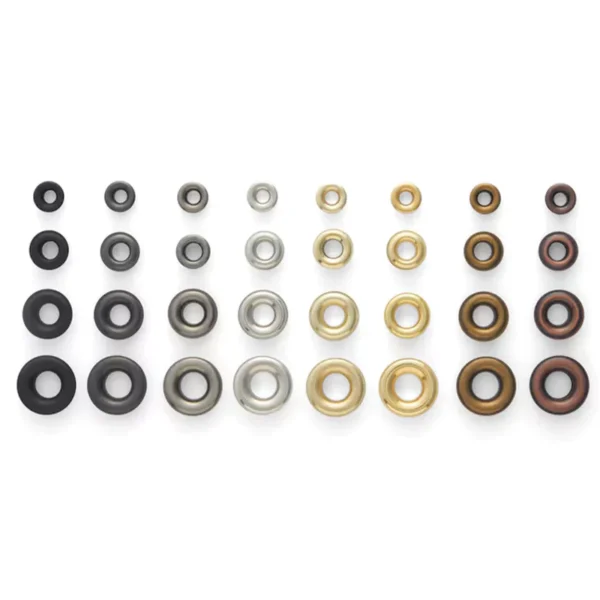
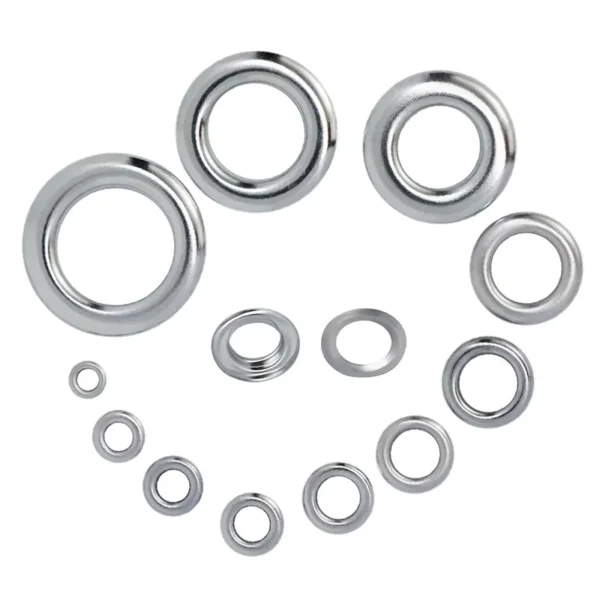
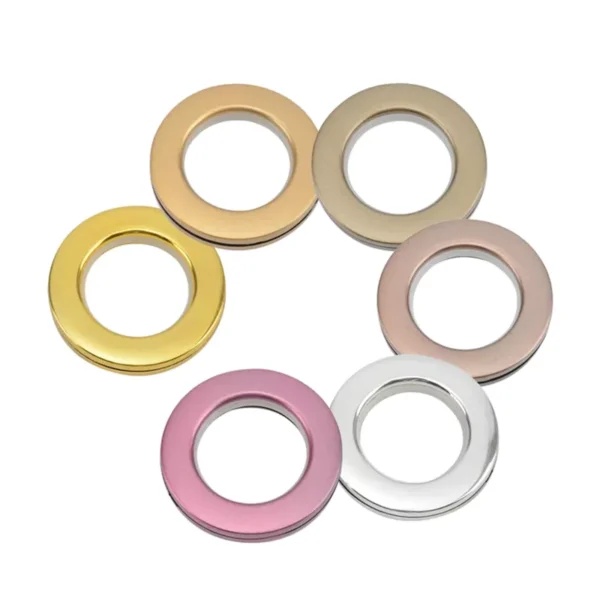
A grommet is a small ring or reinforced hole made of metal, plastic, or rubber that is inserted into a hole in a material to prevent tearing, provide structure, or protect the edges of the hole from damage. Grommets are often used in various applications, such as in clothing, tarps, tents, and, importantly, signs.
The primary purpose of a grommet in these applications is to add durability and strength to an area that may be prone to wear and tear. When placed in a hole (which could otherwise fray or rip), a grommet ensures that the fabric or material can withstand tension and weather conditions, preventing the material from degrading over time.
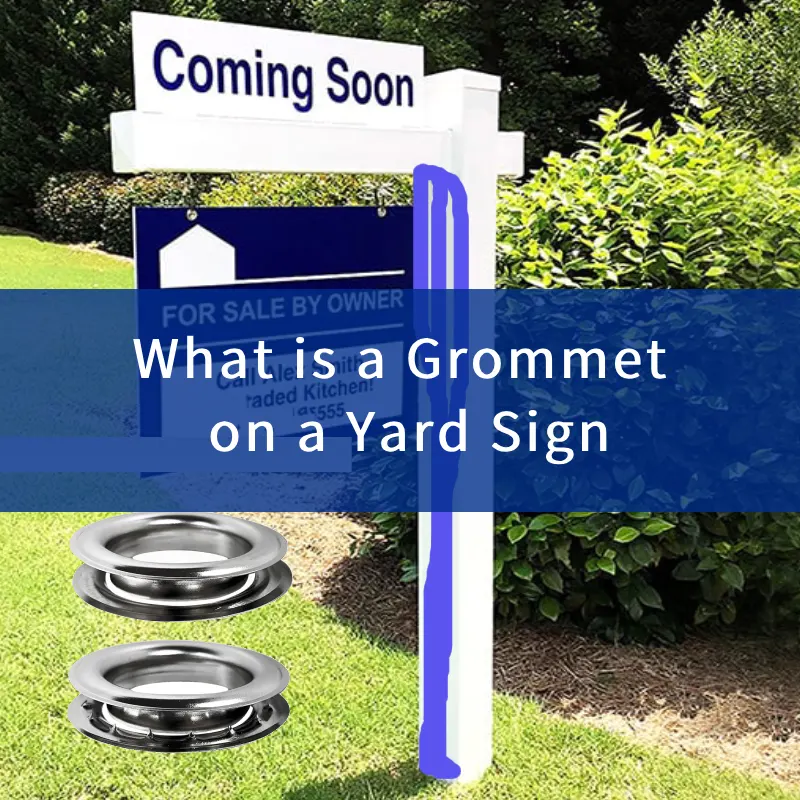
What is a Grommet on a Yard Sign?
When it comes to yard signs, grommets serve a crucial function. They are often placed in the corners or along the edges of yard signs to facilitate easy installation and to enhance the longevity of the sign. By reinforcing the holes where the sign is typically staked, grommets help to prevent rips and tears that could occur from wind, rain, or the physical tension created when the sign is displayed.
Using grommets also makes the signs more versatile. They allow for various installation methods, whether attaching to a frame, hanging from a structure, or securing to stakes for outdoor display. The reinforced holes also prevent fraying, enabling the sign to maintain its professional appearance over time.
Grommet on a Yard Sign Installation Steps

Installing a yard sign with grommets is a straightforward process, but it does require a few specific steps to ensure that the sign is displayed securely and effectively. Here is a detailed guide for installing a yard sign with grommets.
Step 1: Gather Your Materials
Before you begin, make sure you have all the necessary materials:
- Yard sign (with grommets)
- Stakes or frames (depending on your installation method)
- A hammer (if using stakes)
- Rope or zip ties (if hanging or securing with a frame)
- Level (optional, for ensuring even placement)
Step 2: Determine the Installation Location
Select an appropriate location for your yard sign. Consider visibility, local regulations regarding signage placement, and any obstacles that may obstruct the view. Ensure the chosen spot allows for ample exposure to passing traffic, whether foot or automotive.
Step 3: Prepare the Sign
Inspect the yard sign before installation. Ensure that the grommets are intact and that the material is clean and free from dirt or debris. This is also a good time to double-check your sign for any damage or defects.
Step 4: Install Using Stakes
- Position the Stakes: If using stakes, position them on either side of the sign. The number of stakes may depend on the size and weight of the sign.
- Insert the Stakes: Drive the stakes into the ground at an angle. This helps increase stability. A good rule of thumb is to bury at least one-third of the stake’s length in the ground.
- Attach the Sign: Thread the grommet openings over the stakes. Depending on your setup, you might need to adjust the sign to ensure it hangs correctly and is visible from the intended angles.
Step 5: Secure the Sign
If you are using zip ties or rope, wrap these through the grommet holes for additional security. This step is especially important in windy conditions, as it helps prevent the sign from becoming dislodged or damaged.
- For Zip Ties: Insert the zip ties through the grommets and then around the stake or frame. Pull tight and trim the excess.
- For Rope: Cut a piece of rope long enough to double back on itself through the grommet. Tie it securely to the frame or a stable object.
Step 6: Check for Level
Use a level to ensure the sign is straight. A crooked sign can detract from the professional appearance and effectiveness of your message. Adjust as necessary by repositioning the stakes or retying the zip ties or rope.
Step 7: Regular Maintenance
Once your sign is installed, regularly check it for any signs of wear, especially after significant weather events. Wind, rain, or snow can take a toll on outdoor signs, so maintaining its condition ensures it remains effective throughout its intended display period.
Auto Grommet Machine Installs Grommet to Yard Sign Steps
Installing grommets on yard signs is an essential step for enhancing their durability and ease of display. An auto grommet machine streamlines the process and ensures consistent, high-quality results. Here’s a step-by-step guide on how to install grommets on yard signs using an auto grommet machine.
Step 1: Prepare the Yard Sign Material
Before using the auto grommet machine, ensure that the yard sign material (typically vinyl or plastic) is clean and free from wrinkles. Lay the sign flat on a clean surface to prevent any errors when positioning the grommets.
Step 2: Measure and Mark Grommet Locations
Determine where you want to place the grommets on your yard sign. Common locations include the corners and sometimes along the edges, depending on how the sign will be displayed. Use a measuring tape and a marker to clearly mark these positions, making sure they are evenly spaced and aligned for a professional appearance.
Step 3: Set Up the Auto Grommet Machine
Once the sign is prepared, set up the auto grommet machine according to the manufacturer’s instructions. Ensure that the machine is calibrated and that the appropriate size grommets are loaded. Check that the cutting die and anvil are clean and free from debris, as this will ensure a smooth operation.
Step 4: Position the Yard Sign
Place the yard sign under the grommet machine. Align the marked spots for the grommets with the cutting die of the machine. Double-check the positioning to avoid misalignment, which can lead to ineffective grommet installation.
Step 5: Activate the Machine
Once the sign is correctly positioned, activate the auto grommet machine. The machine will cut a hole in the sign material and simultaneously place the grommet in position. Depending on the machine model, this may involve pressing a button or stepping on a pedal.
Step 6: Inspect the Installation
After the grommet is installed, inspect it to ensure it is securely fastened and that there are no sharp edges that could damage the sign or pose a safety hazard. The grommet should be flush with the sign material, providing a clean, professional look.
Step 7: Repeat for Additional Grommets
Continue this process for each grommet location you have marked on the sign. Take your time to ensure that each grommet is installed correctly and that the sign maintains its integrity throughout the process.
Step 8: Clean Up and Finalize the Sign
Once all the grommets are installed, clean up any excess debris from the work area. Handle the yard sign carefully to avoid damaging the newly installed grommets. Your sign is now ready for display—either staked in a yard or hung wherever it needs to be positioned.
Conclusion
Grommets play a vital role in the durability and installation of yard signs. They not only make the signs easier to install and secure but also enhance their longevity, ensuring the message remains visible and clear even in challenging weather conditions. Whether you’re promoting a cause, advertising a business, or celebrating a personal milestone, understanding the importance of grommets in yard signs can make a significant difference in your overall display success.
As yard signs continue to be a popular method of communication in our communities, leveraging grommets effectively will ensure that your messages are delivered loud and clear. With the right installation practices, you can ensure that your yard sign stands tall and proud, capturing attention and conveying your message accurately for all to see.

