
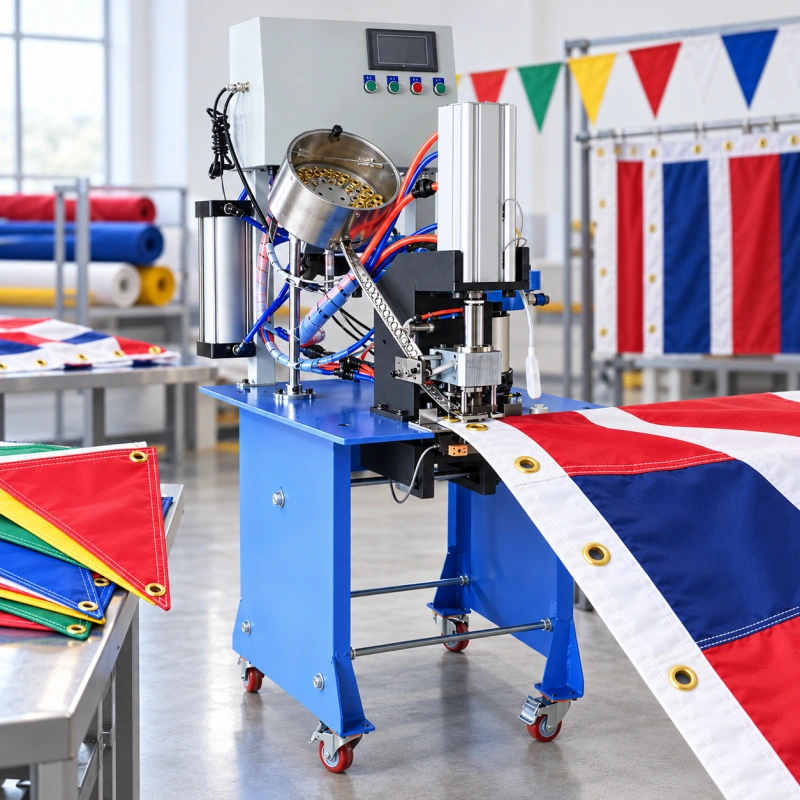
A flexible flag can shift while an operator positions its hoist edge under the die. The flag body may be thin, but a folded header or reinforced corner creates a thicker stack at the attachment point. Tooling and settings that work on a stiff vinyl banner may wrinkle or cut a textile flag.
Choosing an eyelet machine for flags starts with the finished construction, the hardware, and how each position reaches the setting station.
The process must produce clean holes and repeatable settings without damaging the flag. Compare good finished products from a representative run, including the time needed to handle the fabric, rather than relying on the machine stroke alone.
Why flags and pennants need a different trial
A hem, canvas header or sewn patch can support the attachment point, but it also changes the thickness and compressibility under the die. A small pennant may have a narrow header or tab; a large flag may require support for a broad, flexible panel between positions. Even with the same specified hardware, these products present different handling and tooling conditions.
Placement matters to the complete assembly. An eyelet set too close to a seam, patch edge or finished corner may leave uneven material under its flange. A visible wrinkle may be a cosmetic defect on a printed promotional flag, while a cut yarn or tear path toward the hoist edge may also affect retention.
Define the acceptable position and appearance on the finished product, then test whether the process can reproduce them.
Some flags use a pole sleeve or another attachment method. For grommeted products, define the actual header and reinforcement before choosing equipment. A machine listing that mentions flags does not confirm compatibility with your finished construction.
Map the complete stack at each eyelet location
Start with a production drawing or finished sample. Note the base fabric and any coating or print finish. Record the layers at each eyelet position, including a folded hem, header, tape, patch, reinforced corner or tab. The open flag body does not represent a thicker attachment point. Include the thinnest and thickest approved stacks, especially any seam crossing or local build-up the tooling will encounter.
Identify the actual eyelet or grommet, its dimensions and material, any washer, and the hook, clip or cord that will pass through the finished opening. Buyers may use “eyelet” and “grommet” interchangeably, but the names alone do not establish which die and forming method will work. Confirm the particular hardware and tooling combination with the machine supplier.
Control the hole and position before forming the eyelet
Reference each position to the finished hoist edge, corner or approved pattern. A loose cut edge may shift during hemming. For repeat work, a stop, guide, template or suitable fixture can help the operator use the same reference each time.
The fabric should lie flat at the setting point without being stretched to reach the guide. On a triangular pennant, verify the position against the finished header and the way it will hang.
Inspect an un-set hole through the complete stack. A ragged cut, trapped slug, misaligned layer or severed reinforcement can be hidden once the flange covers it. A pre-punched process gives you a separate hole check but requires accurate transfer to the setting die.
An integrated punch-and-set process can remove that transfer step if the proposed tooling cuts this fabric cleanly. A matched self-piercing system is another distinct option; never assume a conventional setting die creates the right hole.
Set hole size and edge distance from the hardware, finished construction, expected loading and validation results. Too much material removed can weaken the attachment point; forcing a barrel through an undersized hole can damage the fibers.
No single hole diameter or edge distance suits every fabric, reinforcement and grommet. Inspect all required positions against the approved pattern at the frequency in your quality plan.
Let the reinforcement carry its part of the load
The metal fitting defines the opening, but the surrounding textile carries the load into the flag. A sewn header, reinforcement tape, patch or tab can change how force spreads away from the hole. Its benefit depends on its size, attachment, orientation and compatibility with the base fabric. A well-formed eyelet can still tear through a weak header or detach with a poorly secured patch.
Consider how the intended hook, clip or cord loads each attachment point. An upper hoist corner and a lower attachment may see different directions. A narrow pennant header or tab leaves less room for the opening and surrounding material. Test reinforcement as part of the finished assembly. A washer or patch changes the stack and may require a different barrel length or forming setup.
If an attachment pulls out, keep the failed flag and distinguish metal release from fabric tearing, patch separation or a tear toward the edge. QC Machinery’s eyelet pull-through failure guide covers the broader diagnosis. More press force is not a substitute for a suitable hole, hardware and reinforcement construction.
Choose the feed, setting action and hole method
Machine labels such as “manual” and “automatic” can describe different things. Compare how the hardware is fed, what drives the setting action, how the hole is made and what the operator must still position. These functions can be combined in different ways.
| Selection dimension | Options to compare | Flag trial question |
| Hardware feed | Operator placement or automatic feeding of the eyelet and, when required, the washer. | Does the system feed your specified parts reliably through a normal run? |
| Setting action | Hand-operated, pneumatic or other powered actuation, depending on the proposed machine. | Does it form the hardware consistently through every approved stack? |
| Hole method | Separate punching, integrated punching and setting, or a compatible self-piercing system. | Is the hole clean and aligned at each intended position? |
| Fabric presentation | Operator positioning, guides and support for the finished flag. | Can the operator reach every position without stretching or twisting the panel? |
QC Machinery’s QC16002 automatic eyelet punching machine is a specific candidate for this evaluation. Its product page describes automatic feeding of both eyelets and washers, with punching and pressing using customized dies.
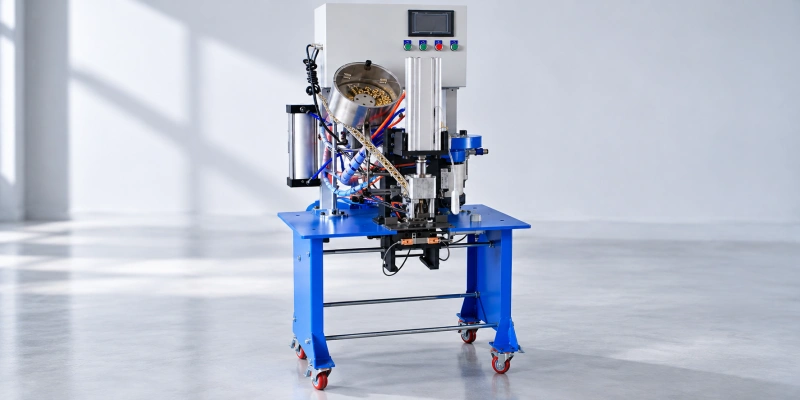
Confirm that the proposed configuration accepts your exact hardware, makes a clean hole through the finished header and reaches every required flag position. The page does not specify flag-specific throughput or validate every fabric and reinforcement construction. For broader purchasing criteria, see the automatic eyelet machine buying guide.
When automatic feeding is useful
Automatic feeding can reduce repeated part placement when a production run uses the same compatible hardware. QC16002 is described as feeding both the eyelet and washer, but that description does not establish compatibility with your particular components.
Check the feed track and tooling against the actual eyelet and washer; verify any detection features fitted to the proposed configuration. A different flange profile or washer may require more than a change to the fabric guide.
The operator may still need to move and align every flag position. For mixed small orders, hardware and guide changeovers can consume the time saved by automatic feeding. For stable runs, feed reliability and comfortable fabric handling may matter more than the quoted machine stroke.
Support flexible fabric at the station
A flag that drapes off the work surface can pull the intended spot away from the reference. Support the panel so an operator can bring the finished edge into the station without twisting it or dragging a printed face across the machine.
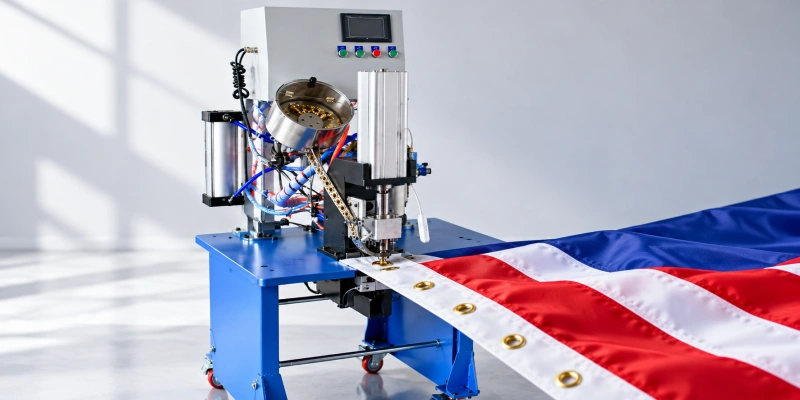
Check reach for the first and last hole on a large flag and where the finished portion goes after each setting. A table extension or a suitable support fixture may help, but its dimensions should come from your actual flag sizes and workstation.
Keep the reference method consistent between operators. A guide should locate the product without stretching the fabric, covering the hole or putting hands in an unsafe position. Evaluate pedal reach and safe access with the guarding in place. Follow the machine supplier’s instructions for setup, guarding and tooling changes; a production trial is not a reason to bypass protection for easier positioning.
Trial QC16002 with finished flag constructions
Use the constructions mapped earlier, including the easiest and most demanding positions. Supply the actual eyelet and washer, if used, and identify changes in fabric or print finish. Ask QC Machinery to check the proposed QC16002 tooling and feed configuration with these samples. A neat setting on a flat offcut cannot establish how a reinforced corner or completed header will run.
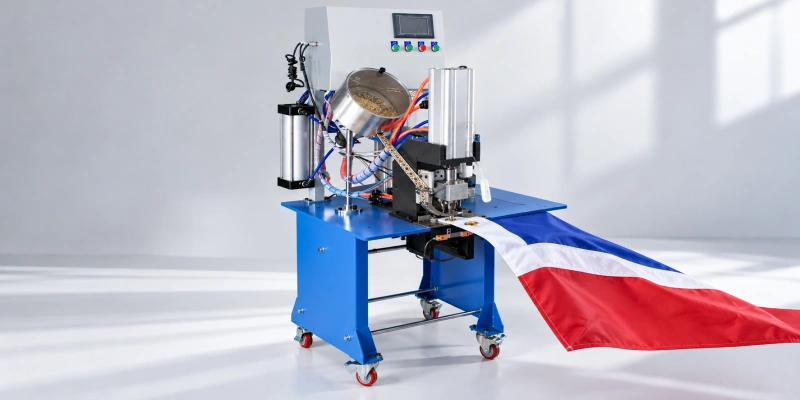
Agree on pass criteria before the trial. Inspect the prepared hole where the process permits, then check both faces, the surrounding fabric and the position against the drawing. Run a representative sequence using the normal handling method. Record misfeeds, repositioning, damaged pieces, refilling and changeover time. Compare good finished flags over the trial period rather than unloaded cycles.
Finally, check the attachment in the way the flag will be used. The customer’s product requirement should define any pull, flex or other functional test, including loading direction and acceptance limit.
Where retention is specified, QC Machinery’s production pull-out test guide explains how to keep test method and failure mode comparable. Do not infer a universal strength value from a machine model or from the appearance of the metal.
Inspect the finished flag assembly
Set a reference sample and written limits for each approved construction. At first-off and at the frequency in your quality plan, check:
- Position against the finished flag datum, including the full pattern of attachment points.
- Front flange and formed back or washer: orientation, even formation, gaps, unintended cracks, burrs and sharp edges.
- Fabric and reinforcement: cuts, torn yarns, excessive puckering or crushing, lifted patch edges and seam damage.
- Fit under the approved inspection method: no unintended rocking, looseness or rotation where the specification prohibits it.
- Function on the finished assembly under the required attachment and load conditions, with the specified test method when applicable.
Keep approved and rejected samples with their material, hardware, die and setup identification. Recheck after a change that can affect the result. The eyelet setting inspection standard explains how to set product-specific visual and dimensional criteria. A good-looking front cannot make up for a damaged header or a failed attachment test.
Information to send with a machine inquiry
A useful recommendation needs the parts and the job, not only a photograph of a grommet. Send:
- Flag or pennant dimensions and material, including coating or print finish when relevant.
- The complete eyelet-location stack: hem, header, tape, patch, tab, corner and layer count.
- Actual eyelet or grommet and matching washer samples, if the design uses one.
- Finished attachment method, number of eyelets and their positions on the drawing.
- Product variants, expected order quantities, changeover pattern and target sustained output.
- Your current hole method, inspection or functional requirements, available utilities, and physical samples or clear photos of both faces.
Send QC Machinery these specifications and representative finished samples to evaluate QC16002 with the required hardware and tooling. If the sample trial shows a different setup is needed, use those results to select it. Approve the production method only after the complete flag passes your position, appearance and functional checks.