
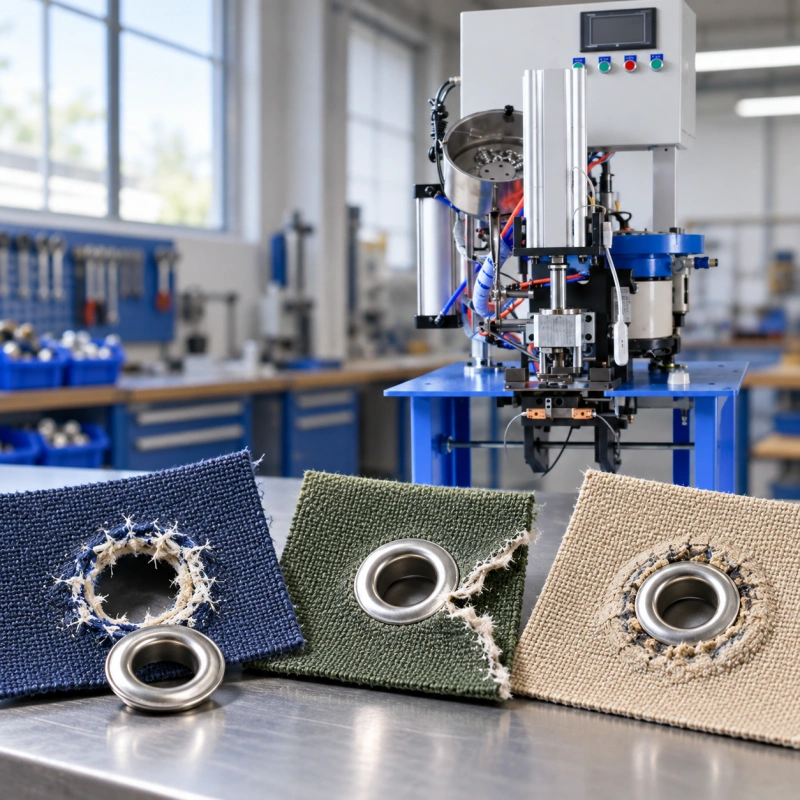
An eyelet can look secure at the press and still pull out when a cord is tightened or the finished product is used. If an eyelet is pulling through fabric, inspect the failed assembly before increasing the machine setting.
The hole may be too large, the barrel may not have formed a sound back-side retaining edge, or the fabric may be tearing around an otherwise well-formed eyelet. Each failure calls for a different correction.
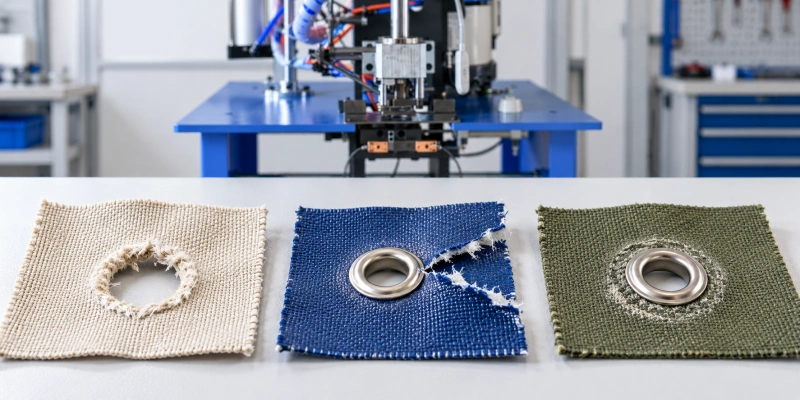
Keep failed and acceptable samples from the same job. Their hole edges and tear patterns reveal how the assembly failed.
What Does Eyelet Pull-Through Failure Look Like?
Pull-through means the installed eyelet no longer remains retained in the material under the required load or use condition. Sometimes the complete eyelet comes out and leaves a fairly clean hole. Sometimes the metal stays formed while the fabric splits toward an edge. A washer can also detach on the back, allowing the assembly to loosen before the final tear.
Record when it happened and photograph both sides before disturbing the sample. A neat front flange cannot prove that the back formed correctly or that the assembly meets its load requirement.
Why Do Eyelets Pull Through Fabric?
The Hole Does Not Support the Barrel
An oversized punched hole removes the material that should support the barrel. The eyelet may rotate or lift, and the formed back edge may eventually pass through the enlarged opening. A hole that is too small can be harmful in a different way: forcing the barrel through may stretch, split or delaminate the material before the eyelet is set. Neither condition is solved by blindly applying more force.
Compare the punched hole with the actual barrel and approved sample. Frayed yarns, a partial slug or ragged coating can start a tear. A validated self-piercing system still needs a sound resulting hole.
The Barrel and Back-Side Formation Do Not Match the Stack
The eyelet barrel must pass through the complete working stack and form a retaining edge on the back. A short barrel may leave too little material to roll or flare, particularly at a folded hem or reinforced corner. An excessively long barrel can form poorly or interfere with the die. A tilted, incomplete, or uneven roll may grip on one side while leaving a release path on the other.
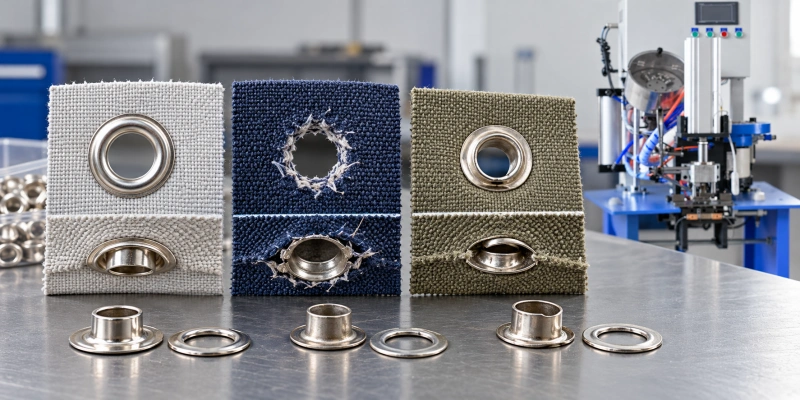
Check the actual stack, including lining, patch, fold, and washer. Confirm that the formed barrel captures any specified washer. For a deeper component check, use the eyelet, washer and die matching guide.
The Setting Damages the Material
Too little setting action may leave an incomplete roll and a loose assembly. Too much can crush yarns, cut a coating, indent a laminate, split the barrel, or create a sharp edge under the flange. The eyelet then feels tight when newly set but has weakened the very material that must hold it.
Inspect the flange underside and back side. Whitening, a circular cut, flattened fibers, or coating cracks suggest punching or forming damage. Examine tool faces, alignment, and settings, changing one variable at a time. The setting-force window guide covers process qualification after the cause is identified.
The Washer or Material Cannot Carry the Load
A compatible washer can give the back side a broader bearing area, but it cannot repair an oversized hole, a malformed roll, or weak fabric by itself. A washer with the wrong inner opening or shape may sit loose, tilt, or fail to be captured.
An open-weave, highly elastic, thin or brittle material can deform or tear even when the hardware looks correct. Coatings and laminates may fail between layers rather than tear like a woven fabric.
If the substrate limits strength, test a backing patch, folded hem, or other reinforcement in the finished construction and intended load direction.
The Eyelet Is Too Close to an Edge or Loaded Sideways
An eyelet near a free edge leaves less material to resist a tear toward that edge. A cord pulling across the face may also peel or shear the material rather than pull the eyelet straight out. Repeated lacing, vibration, and flexing can reveal a weakness that a straight hand tug misses.
Compare positions on failed and approved finished pieces. If one corner fails, reproduce its load direction. Establish edge distance from the actual construction and strength requirement, not a universal number.
Diagnose the Failure Before Changing the Machine
Stop and segregate the affected work according to your quality procedure. Keep at least one failed sample untouched. Then compare it with a known good sample made from the same material stack, if available.
- Read the tear. A clean enlarged opening suggests loss of retention; a tear running toward the edge suggests material or load geometry; a circular cut beneath the flange suggests process damage. These are clues, not final diagnoses.
- Check the hole. Inspect its diameter, roundness, alignment, cut edge, and any slug. Compare punched pieces before setting with approved samples. Look for yarn pull, coating cracks, or layer separation.
- Inspect both faces. Check whether the front flange sits flat without cutting the material. On the back, look for a continuous, evenly formed edge and a fully captured washer where the design calls for one.
- Check the complete stack. Measure the actual layers at ordinary and thick positions. Compare the selected barrel, washer, and die with those used on good pieces. Part substitutions and mixed washer lots deserve attention.
- Examine tools and position. Check for worn or sharp die surfaces, inconsistent punch condition, and off-center forming. Stop and isolate the machine under your factory procedure before inspecting, changing, or aligning tooling.
- Reproduce the load. Prepare controlled samples using the actual construction and intended loading direction. Record the failure location and mode, not only the force reading.
If good and bad samples share a setting, investigate hole, stack, feed, and placement variation. For measurable appearance criteria, use the eyelet setting inspection standard.
Eyelet Pull-Through Troubleshooting Table
| Observed failure | Likely causes to investigate | What to inspect | Corrective action to trial |
| Eyelet comes out; little fabric tear | Oversized hole; weak or incomplete back formation | Hole before setting; barrel and formed edge; movement in good samples | Restore controlled hole size; match barrel and die; verify formation on samples |
| Fabric splits toward an edge | Limited edge distance; weak construction; side load | Tear direction; final hem position; reinforcement; load path | Relocate attachment or redesign reinforcement; test in the real load direction |
| Circular cut or crushed ring under flange | Excessive forming, damaged die or incompatible profile | Flange underside; compressed fibers; tool faces | Correct tooling and qualify a setting that forms the barrel without cutting material |
| Back-side roll is uneven or incomplete | Mismatched die or barrel; misalignment; unstable placement | Roll around full circumference; stack thickness; component centering | Correct component/tool match and alignment; rerun controlled samples |
| Washer tilts, spins or separates | Wrong washer fit; incomplete capture; feeding error | Washer opening, shape and position; formed barrel | Use a verified matched washer and tooling combination; check feeding |
| Failures vary within one batch | Variable hole, stack, components, or feed | Compare failed and passing parts by location, lot and shift | Hold suspect work; isolate the variable and restore the approved process |
| Passes straight pull, fails when laced sideways | Load direction or edge construction not represented by test | Lacing path, angle, edge distance, and tear pattern | Test the actual loading geometry; revise reinforcement or position |
Several causes can act together, particularly weak fabric and a damaged hole.
How to Fix Eyelets That Pull Through Fabric?
Start with the failure evidence and change the smallest relevant part of the assembly. If the hole is ragged or inconsistent, check punch condition and hole preparation on unset pieces. Verify the proposed hole with the actual barrel and fabric stack; do not cut a smaller hole merely because the old one looks large. If the material splits when the barrel enters, reassess the hole-making method and the component geometry.
For a loose assembly with an incomplete back formation, confirm barrel length against the thickest and thinnest approved stacks. Then check washer fit, die profile, and alignment. Only after the components and tooling match should you qualify an adjustment to the machine setting. Compare front-face damage as well as back-side retention at each trial setting.
A pressure increase that improves the roll but cuts the fabric is not a valid fix.
If the eyelet stays formed while the fabric tears, changing the machine may have little effect. Trial a stronger finished construction, a different compatible hardware footprint, greater edge distance, or a load path that avoids peeling at the opening. Test each proposal on production-representative pieces. Do not add a washer or patch to the drawing without checking access, appearance, and end-use requirements.
If failure follows a lot, separate it and compare with the approved reference. For intermittent failures, check position and feed first. If strength cannot be achieved without damage, reconsider the assembly design.
When Should You Add a Washer or Reinforcement?
Consider a washer when the approved eyelet system can capture one correctly, and the back-side bearing area needs improvement. It may help a thin or flexible material spread the load around the hole. The washer’s inner opening, outer support area, shape, and setting die must suit the specific eyelet and stack. A loose washer can give an impression of added strength while allowing the assembly to move.
Consider reinforcement when the substrate tears, stretches, or separates. Test the finished patch or folded layer with its actual attachment method and hole. The patch must stay joined to the base material, and laminated layers must resist separation. Washer and reinforcement address different weaknesses.
How Edge Distance Affects Eyelet Retention?
The material between the eyelet and a free edge carries the load when the product is pulled in that direction. If that bridge is narrow, the tear can travel to the edge before the eyelet itself deforms. A folded hem may help, but its strength depends on the fold, stitching, or bond and the direction of pull. Measure the eyelet location on the finished product and include the actual corner or seam in the test piece.
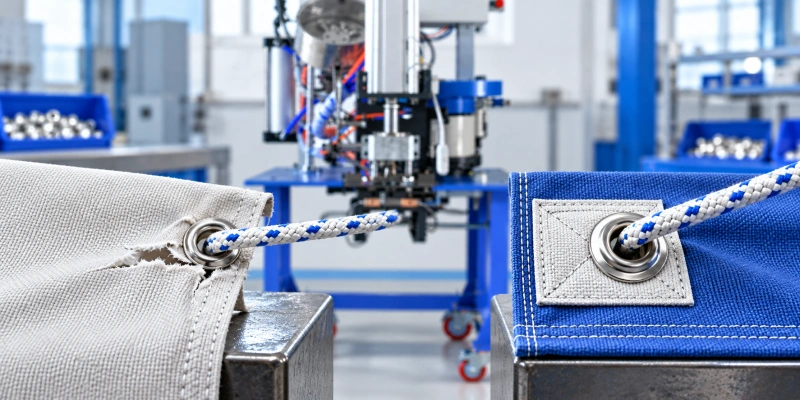
Trial a position farther from the edge where possible; otherwise adjust the construction around the opening. A larger flange alone may not compensate for too little sound material.
How to Verify That the Fix Works?
Define acceptance before comparing trials. Use the applicable product drawing, customer requirement, or approved baseline to set the test load, direction, rate, conditioning, and allowable failure mode. A pull-out result measured straight through the hole may not represent a laced garment or a cover pulled sideways.
If use includes flexing, laundering, or environmental exposure, include the relevant conditions in qualification when required by the product specification.
Make samples from the same material stacks and component lots intended for production, including the thin and thick ends of the approved range. Hold other variables constant while changing one suspected cause. Record settings and sample identification. Inspect the hole, front face, back formation, and material after each test.
A higher force reading is not enough if the proposed fix creates a new cut or leaves a loose washer.
Repeat the trial on production-representative pieces and set check frequency and reaction rules. There is no universal eyelet pull-out force; use the application specification for both the threshold and acceptable failure mode.
How to Prevent Pull-Through Failure in Production?
Keep an approved assembly sample and setup record for each material and eyelet combination. Identify the eyelet and washer parts, tooling, finished stack, hole-making method, position, and qualified machine settings. At the start of a run and after a component, material, or tool change, compare new pieces with the reference from both sides.
Check the punch and dies for wear and inspect representative holes before they are covered by hardware. Monitor material thickness at folds, seams, and reinforcement patches, where a recipe proven on a flat single layer may no longer apply.
Use the agreed sampling and functional checks; quarantine suspect output and trace it to the last passing check if retention fails. Record the observed failure mode so the next shift does not simply increase pressure and repeat the damage.
When the Eyelet, Tooling or Machine Setup Needs Review?
If the hole, material, and placement have been checked but the formed edge remains inconsistent, review the entire eyelet, washer, die, and machine combination. A short barrel cannot be made long enough by extra force. A mismatched die cannot form the intended back edge consistently, and an unstable feed can put otherwise suitable parts in the wrong position.
Send QC Machinery close-up photos of both sides of failed and acceptable pieces, un-set punched material, the eyelet and washer specifications, the complete material stack, and the current tooling or machine details. Include where the part is used and how it is loaded.
Samples of the real construction make a more useful trial than photographs alone; the machine-trial sample guide explains what to prepare. The goal is to identify which element of the assembly needs changing and verify the candidate setup on representative material.
FAQs
Why Does an Eyelet Pull Out Even When the Front Looks Correct?
The front can hide an oversized hole, an incomplete back-side roll, a washer that was not captured, or fabric damaged under the flange. Inspect both sides and compare the failed hole with an un-set punched sample.
Can Too Much Setting Force Weaken Fabric?
Yes. Excessive forming can crush fibers, cut a coating, or leave a sharp edge, even if the eyelet initially feels tight. Check for a circular mark or tear beneath the flange and qualify a setting that retains the eyelet without damaging the stack.
Will Adding a Washer Stop Pull-Through?
Sometimes, if the design and tooling capture a compatible washer and the added bearing area addresses the actual failure. It will not correct a poor hole, wrong barrel length, or a fabric that tears beyond the washer. Test the complete assembly.
How Large Should the Punched Hole Be?
There is no single diameter for every eyelet. Match the hole to the actual barrel, material stack, and hole-making process, then inspect for easy insertion without yarn damage or looseness. Approve the size by testing the finished assembly.
Why Do Only Some Eyelets in the Same Batch Fail?
Compare failed and passing pieces by material thickness, position, hole quality, eyelet and washer lot, feed, and formed back edge. Intermittent failure often points to a variable process or stack. Keep the machine setting fixed while you isolate the difference.
Is a Straight Pull Test Enough?
Only if it represents the actual requirement. A laced opening or side-loaded cover may fail by tearing toward an edge at a different force. Define and reproduce the intended load direction and inspect how each sample fails.
If the cause is still unclear, send QC Machinery failed pieces, usable material samples, and the eyelet and washer specifications. Photos of the front, back, and tear path, plus your current tooling and end-use requirement, will help narrow the trial to the right combination instead of another blind pressure adjustment.