
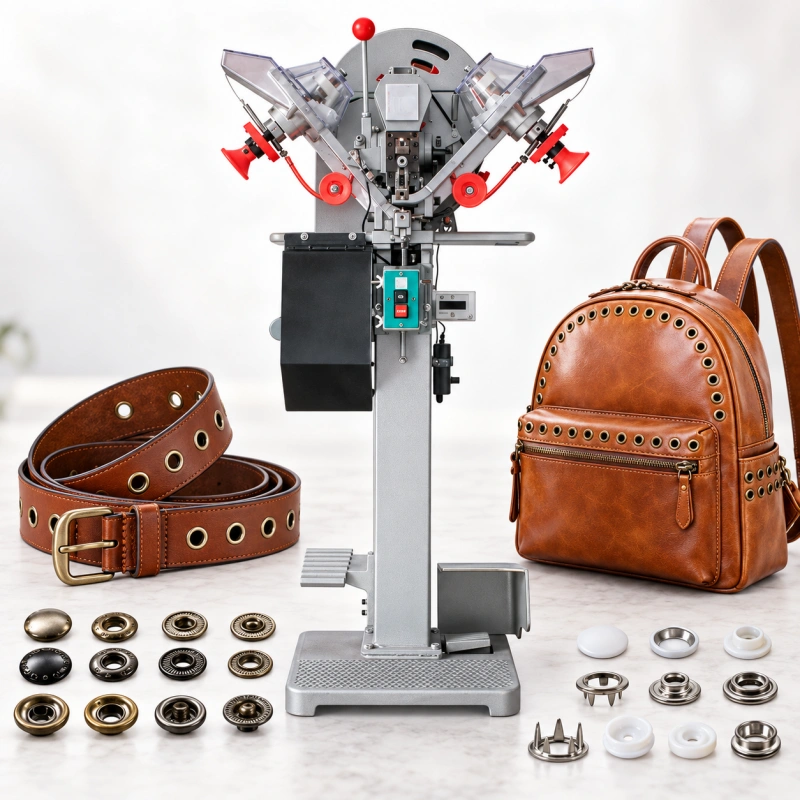
A belt eyelet can look neat on the front yet have an uneven flare on the back or leave a ring-shaped mark on the leather. On a bag, the fastener may pass through leather, reinforcement, and lining. The machine has to form it securely without damaging the visible surface. Those details matter as much as setting speed.
If you are choosing an eyelet machine for leather, start with the finished belt or bag: where the eyelet sits, which layers it passes through, and what each face must look like. Then match the hardware, hole preparation, dies, and machine workflow to that construction.
Why Leather Changes the Eyelet Setting Decision?
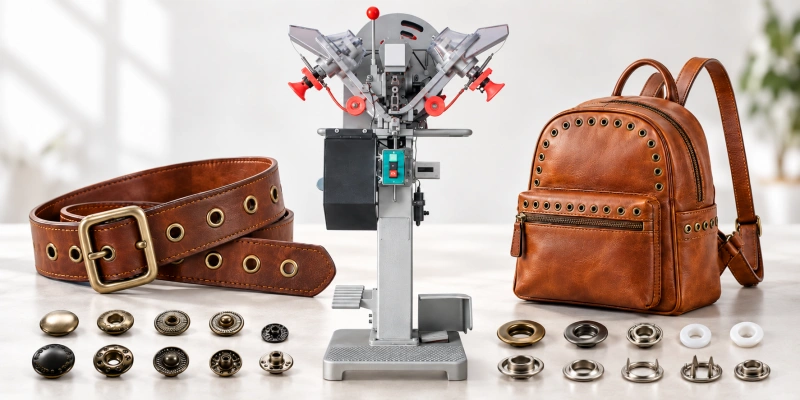
Leather constructions vary. A firm belt blank, a soft bag panel, a coated split, and a laminated leather-and-fabric panel respond differently under a press. Measure thickness at the eyelet location in the finished assembly, including any fold, adhesive, lining, or reinforcement. A single leather swatch may not represent the area the eyelet must grip.
The finish matters too. A smooth or pale surface may show die marks more readily than a textured one. A coating may crack around a damaged hole, while a soft assembly may compress enough for the setting to loosen after handling. Test these risks on your own materials.
Ask the supplier which operations the proposed machine performs. Punching makes the hole; setting forms the eyelet barrel; a feeder presents the hardware; and the operator or another system positions the workpiece. Some machines combine steps, while others require pre-punched panels or manual placement.
Define the Complete Hardware and Material Stack
Document the intended assembly before comparing presses. Record the local material thickness, eyelet barrel diameter and length, flange shape, finish, and required opening size. If the design uses a washer, identify its type and position. The barrel needs enough usable length to form through the material and chosen hardware; more setting force cannot compensate for a barrel that is too short.
Some eyelets are specified without washers; others form part of a matched eyelet-and-washer set. Check retention and the appearance of both faces before choosing. The eyelet, washer, and die matching guide explains the component measurements to include in your purchase enquiry. A shared trade size does not guarantee that parts are interchangeable.
Identify what the opening does. A decorative detail, a drawstring passage, and an eyeleted belt adjustment hole see different use. If the location carries repeated tension, define a suitable retention requirement and test the finished assembly under its expected loading. A tidy flare alone does not establish the strength of the surrounding leather.
Eyelet Machines for Leather Belt Production
A belt is a narrow workpiece with visible, often regularly spaced holes. If the design uses eyelets at adjustment holes or as trim, check edge distance and hole spacing across the run. A stop or guide can improve repeatability, but it must suit the belt widths and eyelet locations. Include any position near a buckle fold in the clearance check.
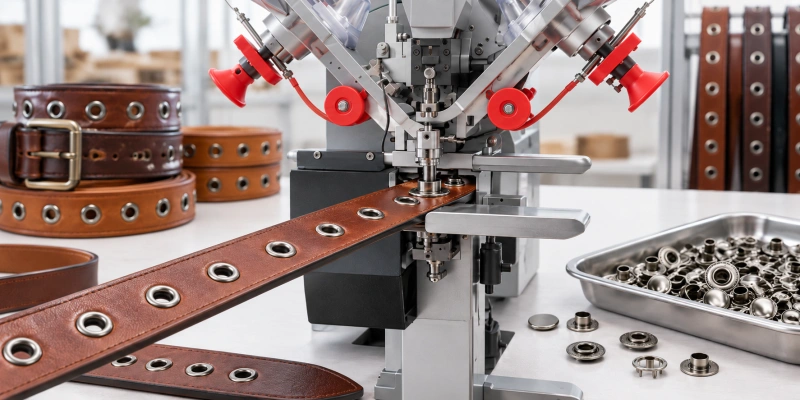
Try the main belt section and any thicker eyeleted area. A bonded or stitched belt may differ from an unlined blank. Check that the front flange sits evenly and that the back has no sharp edge that could catch on clothing. Flex the belt as it will be used and check whether the eyelet loosens.
Many belts use plain punched adjustment holes. If only selected holes receive eyelets, tell the supplier which ones; a punching workflow and an eyelet-setting workflow are different. QC Machinery’s leather grommet installation article covers the basic installation sequence.
Eyelet Machines for Leather Bag Production
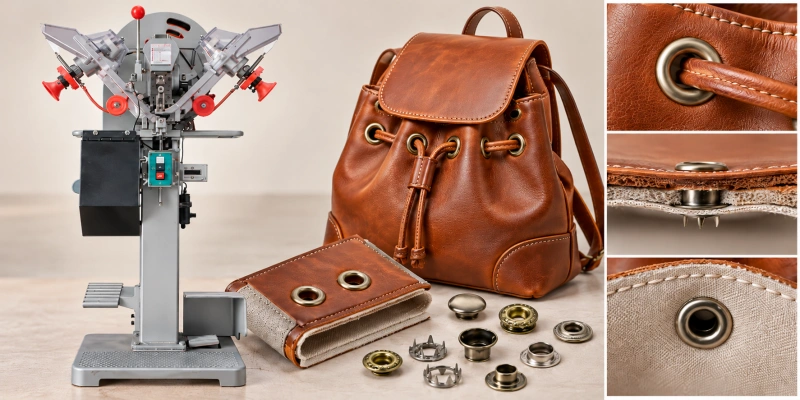
On a bag, an eyelet may finish a drawstring opening, ventilation hole, or decorative detail. An eyelet near a strap attachment or other loaded area needs a separate functional check. A decorative sample does not validate a loaded application.
Mark eyelet locations on a drawing and say whether setting takes place on flat panels or a partly assembled bag. A loose panel may fit under the die while a gusset or bag body blocks access. Check workpiece support and throat clearance with the actual component. See how throat depth affects machine selection for more on access.
At reinforced locations, keep the leather, stiffener, lining, and patch aligned through punching and setting. A setting that works on one layer may leave an incomplete flare through several. Inspect the back as well as the visible face before a lining hides the set hardware.
Decide Whether to Pre-Punch the Leather
Some eyelets need a prepared hole. Certain matched self-piercing fastener systems or punch-and-set machines make the hole during setting, but their suitability for your leather construction must be demonstrated. A setting-only machine does not punch a hole simply because it applies pressure.
Pre-punching is a useful option to trial with dense, multilayered, or finish-sensitive leather, and it may be required by the selected hardware. The opening must suit the barrel and material: too small can damage the edge during insertion, while too large may weaken the grip. Use the proposed punch and compare the cut edge and finished setting. There is no hole diameter that suits every fastener and leather construction.
If the supplier proposes a combined operation, ask for repeated samples on your thickest and most delicate constructions. Check whether the hole is fully cut, any waste is cleared, the layers stay aligned, and the finished face remains intact. The broader pre-punching decision guide covers the process choice in more detail.
Protect the Finished Face With the Right Die Set
The die must support the flange and form the barrel for the chosen fastener. Its contact surfaces may also touch the finished leather. Rough or misaligned tooling can leave marks or deform the hardware. Have the supplier match the dies to the eyelet and washer, then inspect samples under normal quality-control lighting.
A protective layer or revised support surface may help with a sensitive finish, but it can change how the tooling supports the hardware and compresses the stack. Test it with the complete setup. If a mark appears, distinguish a scratch from a pressure ring, a finish crack, or a torn hole edge before changing the settings.
Increasing the setting force will not fix a short barrel, an oversized hole, or misaligned dies. It may deepen a surface mark or distort the flange. For setup detail, see QC Machinery’s die selection guide and material thickness and press pressure guide.
Choose a Workflow That Fits Your Production Mix
Manual workpiece positioning can suit short runs, changing belt patterns, and shaped bag panels. The operator can orient each part, but still needs a consistent way to locate and support it. A powered press reduces effort during setting; check how the hardware and workpiece reach the dies.
Automatic hardware feeding may help on longer runs with repeatable eyelet specifications. Ask whether the machine feeds the eyelet alone or also feeds a compatible washer, and whether it punches the hole. Automatic part feeding does not mean the machine indexes a belt or positions a bag panel; the operator may still place the workpiece for each cycle.
For mixed orders, compare changeover time, tooling, fixtures, and acceptable finished output as well as setting speed. Ask the supplier to demonstrate your fastener and leather combination rather than a substitute material.
Trial Priorities by Production Situation
| Production situation | Priority to verify during a trial |
| Several belt widths and changing eyelet patterns | Repeatable edge location, pitch, and quick fixture adjustment |
| Finished leather with a delicate surface | Contact marks, flange support, and safe panel handling |
| Reinforced or lined bag panel | Full-stack clearance, hole quality, and complete barrel formation |
| Repeated high-volume hardware | Feed reliability, workpiece positioning, changeover, and accepted output |
Run a Sample Trial Before You Order
Send typical and difficult samples. For a belt, include the actual width, finish, and any eyeleted fold or laminate. For a bag, include a panel or partly assembled component that shows the final lining, reinforcement, and access constraints. Supply the production hardware and identify the visible side. A flat offcut alone cannot prove that an assembled bag will fit the machine.
Agree on acceptance checks before the trial: hole location, visible flange, barrel flare, washer seating where applicable, sharp edges, and leather marks or cracks. Check looseness after handling or flexing. For a loaded location, define a product-specific retention test.
Set measurable limits from your approved assembly rather than borrowing generic force or height figures. The eyelet setting inspection standard offers a framework for recording them.
Ask for a short consecutive run, including the thickest and thinnest relevant constructions. Record the material and hardware batches, hole method, dies, settings, and any protective layer. If a variant was not tested, keep it outside the approved range. QC Machinery’s sample trial checklist helps you prepare and label the materials.
Choose a Machine Around the Approved Sample
Once samples pass, ask the supplier to document the approved fastener, die set, hole method, material construction, workpiece positioning, and feed arrangement. If you produce several belt or bag variants, test the thinnest, thickest, and most finish-sensitive cases before treating one setup as suitable for the range.
FAQs
Can One Eyelet Machine Set Eyelets in Both Leather Belts and Bags?
Possibly, if the tooling and workpiece clearance suit both designs. A flat belt and a shaped bag panel can require different fixtures or access. Demonstrate both on the proposed machine.
Must You Pre-Punch Leather Before Setting an Eyelet?
Not always. Your hardware or setting-only tooling may require it; a validated self-piercing or punch-and-set system may combine operations. Test the proposed method on the finished leather construction.
Does Every Leather Eyelet Need a Washer?
No. Follow the specified fastener system and the product’s appearance and retention requirements. A matched two-piece assembly needs its compatible washer; another eyelet design may not use one.
Why Does an Eyelet Look Good on the Front but Feel Loose?
Possible causes include a short barrel, oversized hole, poor reverse-side flare, washer mismatch, or material compression. Inspect the back and check component dimensions before changing the setting force.
Is Automatic Eyelet Feeding the Same as Automatic Belt or Bag Positioning?
No. A feeder presents hardware to the dies. Moving a belt to the next hole or locating a bag panel is a separate operation; ask for a demonstration with your product.
Send Your Leather Samples for Machine Selection
Send QC Machinery a belt or bag sample, or a drawing that shows the eyelet locations. Include the leather type and finish, local assembled thickness, number of layers, fastener and washer specifications, and expected production volume. Show us the hardest area to reach or protect so we can review the machine and tooling options for your application.